I recently needed to Use SSH keys to connect to a Linux Azure VMs from my primary development machine, a Windows desktop. OpenSSH has been available on Windows since 2018 as per this OpenSSH for Windows overview. I downloaded my private key for the Azure VM to a file called my_key.pem. Just to be sure I knew which executable would run when I launched ssh, I used this command line.
C:\> where ssh
C:\Windows\System32\OpenSSH\ssh.exe
I then passed the -i my_key.pem option to ssh when connecting to the VM.
It was then that I discovered that ssh checks the file permissions on Windows and considered them too open by default. This is the error I got:
Bad permissions. Try removing permissions for user: BUILTIN\\Users (S-1-5-32-545) on file C:/.../my_key.pem.
@@@@@@@@@@@@@@@@@@@@@@@@@@@@@@@@@@@@@@@@@@@@@@@@@@@@@@@@@@@
@         WARNING: UNPROTECTED PRIVATE KEY FILE!          @
@@@@@@@@@@@@@@@@@@@@@@@@@@@@@@@@@@@@@@@@@@@@@@@@@@@@@@@@@@@
Permissions for 'my_key.pem' are too open.
It is required that your private key files are NOT accessible by others.
This private key will be ignored.
Load key "my_key.pem": bad permissions
someuser@0.0.0.0: Permission denied (publickey).
The Security identifiers on Windows are well documented. BUILTIN\\Users (S-1-5-32-545)
A security identifier is used to uniquely identify a security principal or security group. Security principals can represent any entity that can be authenticated by the operating system, such as a user account, a computer account, or a thread or process that runs in the security context of a user or computer account.
The icacls docs explain that /reset “Replaces ACLs with default inherited ACLs for all matching files.” That doesn’t change anything on my system. The /grant option adds my personal account to the list of accounts with permission to the file.
The /inheritance:r option removes the 4 security identifiers shown previously from the private key file’s DACL. SSH is now happy to get the authentication identity from this private key file.
In the post on Experimenting with Async Profiler, I mentioned the basic (trial division) integer factorization app I wrote. I’ve been experimenting with perf to see what the system looks like when running this application. On Ubuntu, I started with this command:
perf record -F 97 -a -g -- sleep 10
Turns out perf isn’t installed by default.
WARNING: perf not found for kernel 5.19.0-41

  You may need to install the following packages for this specific kernel:
    linux-tools-5.19.0-41-generic
    linux-cloud-tools-5.19.0-41-generic

  You may also want to install one of the following packages to keep up to date:
    linux-tools-generic
    linux-cloud-tools-generic
Interestingly, running sudo apt install linux-tools-generic only picks up 5.17:
...
The following NEW packages will be installed:
  linux-tools-5.15.0-72 linux-tools-5.15.0-72-generic linux-tools-generic
...
which perf now shows /usr/bin/perf but even perf -v fails with the above warning so I have to run
sudo apt install linux-tools-5.19.0-41-generic

...
The following NEW packages will be installed:
  linux-hwe-5.19-tools-5.19.0-41 linux-tools-5.19.0-41-generic
...
Once that completes, perf can now run but perf version doesn’t display anything meaningful. Back to the original command:
perf record -F 97 -a -g -- sleep 10
This fails with an error about restricted access. Interesting reading but I just use sudo and carry on.
Error:
Access to performance monitoring and observability operations is limited.
Consider adjusting /proc/sys/kernel/perf_event_paranoid setting to open
access to performance monitoring and observability operations for processes
without CAP_PERFMON, CAP_SYS_PTRACE or CAP_SYS_ADMIN Linux capability.
More information can be found at 'Perf events and tool security' document:
https://www.kernel.org/doc/html/latest/admin-guide/perf-security.html
perf_event_paranoid setting is 4:
  -1: Allow use of (almost) all events by all users
      Ignore mlock limit after perf_event_mlock_kb without CAP_IPC_LOCK
>= 0: Disallow raw and ftrace function tracepoint access
>= 1: Disallow CPU event access
>= 2: Disallow kernel profiling
To make the adjusted perf_event_paranoid setting permanent preserve it
in /etc/sysctl.conf (e.g. kernel.perf_event_paranoid = <setting>)
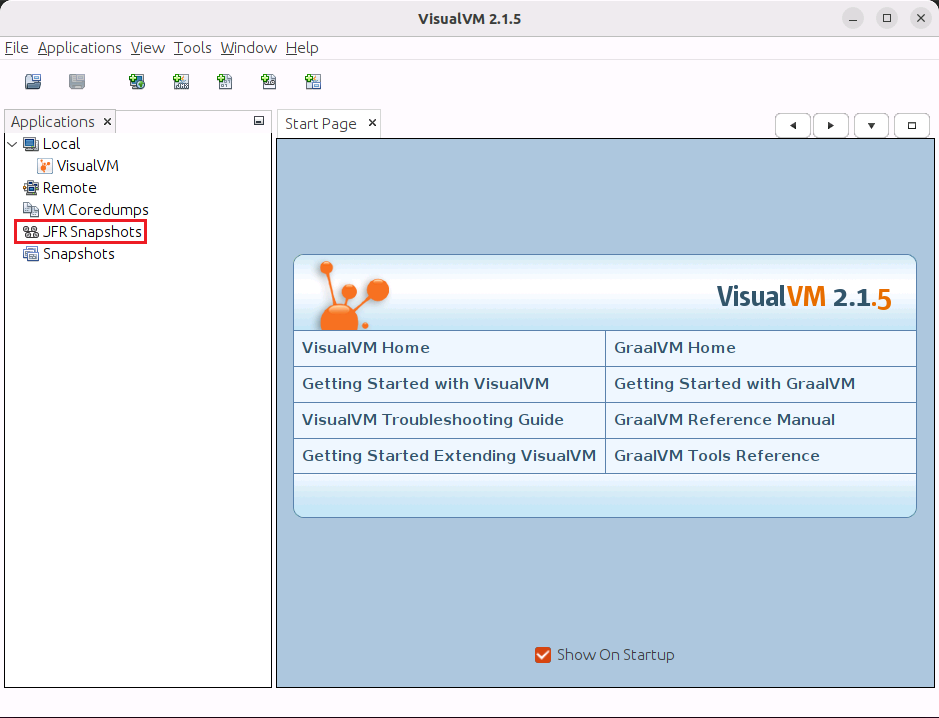
Once the command completes, a perf.data file is created in the current directory. To generate a report, run this command. See the sample perf-report.txt file on GitHub.
perf report -n --stdio > perf-report.txt
To generate a flame graph, use Brendan Gregg’s scripts:
cd ~/repos
git clone https://github.com/brendangregg/FlameGraph

cd -

perf script --header > stacks.txt

~/repos/FlameGraph/stackcollapse-perf.pl < stacks.txt | ~/repos/FlameGraph/flamegraph.pl --hash > myflamegraph.svg
I have been studying the performance of a simple Java application (for integer factorization) using async-profiler. The application’s source code is on GitHub.
async-profiler is a low overhead sampling profiler for Java that does not suffer from Safepoint bias problem.
Once the application is running, use the profiler.sh script to attach to the Java process and start profiling it. I was interested in wall clock profiling. This is specified using the -e wall argument (see Part 2: Improving Performance with Async-profiler by Andrei Pangin. – YouTube). The command line below will profile the Java application with a 5ms sampling interval for a duration (-d) of 10 seconds.
# macos:
cd ~/java/binaries/async-profiler-2.9-macos

# Linux:
cd ~/java/binaries/async-profiler-2.9-linux

./profiler.sh -e wall -t -i 5ms -d 10 -f result.html jps
The jps argument above lets the profiler.sh script determine which Java process is running by calling The jps Command (oracle.com). If there are multiple Java processes, then run jps first to determine the process id of the one to be profiled then explicitly pass that pid to profiler.sh e.g.
To find out file types on macos, run file -I rawdata. In my case, I had flamegraph data that was shared as application/gzip (causing unzip to fail with End-of-central-directory signature not found. I needed to use gzip -d rawdata.
git clone https://github.com/vortexmethods/VM2D
cd VM2D
cmake .
This fails with an error about MPI missing:
-- -------------------------2D CODE-------------------------
-- Checking for module 'mpi-c'
--   Can't find mpi-c.pc in any of C:/software/strawberry/c/lib/pkgconfig
use the PKG_CONFIG_PATH environment variable, or
specify extra search paths via 'search_paths'
-- Could NOT find MPI_C (missing: MPI_C_LIB_NAMES MPI_C_HEADER_DIR MPI_C_WORKS)
-- Checking for module 'mpi-cxx'
--   Can't find mpi-cxx.pc in any of C:/software/strawberry/c/lib/pkgconfig
use the PKG_CONFIG_PATH environment variable, or
specify extra search paths via 'search_paths'
-- Could NOT find MPI_CXX (missing: MPI_CXX_LIB_NAMES MPI_CXX_HEADER_DIR MPI_CXX_WORKS)
CMake Error at C:/Program Files/CMake/share/cmake-3.25/Modules/FindPackageHandleStandardArgs.cmake:230 (message):
  Could NOT find MPI (missing: MPI_C_FOUND MPI_CXX_FOUND)
Call Stack (most recent call first):
  C:/Program Files/CMake/share/cmake-3.25/Modules/FindPackageHandleStandardArgs.cmake:600 (_FPHSA_FAILURE_MESSAGE)
  C:/Program Files/CMake/share/cmake-3.25/Modules/FindMPI.cmake:1837 (find_package_handle_standard_args)
  src/VMlib/CMakeLists.txt:31 (find_package)
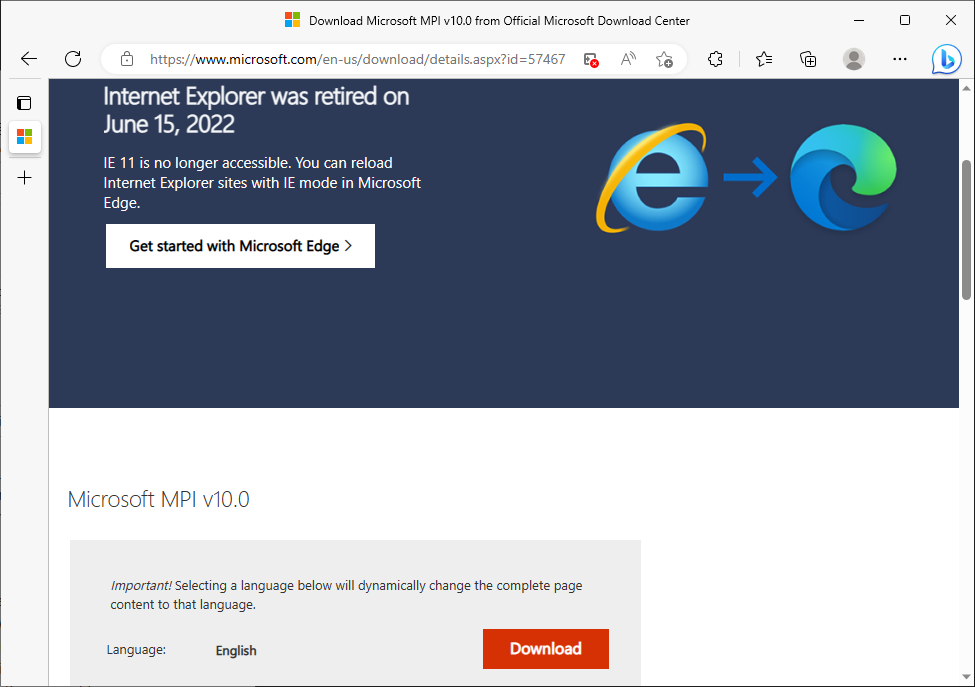
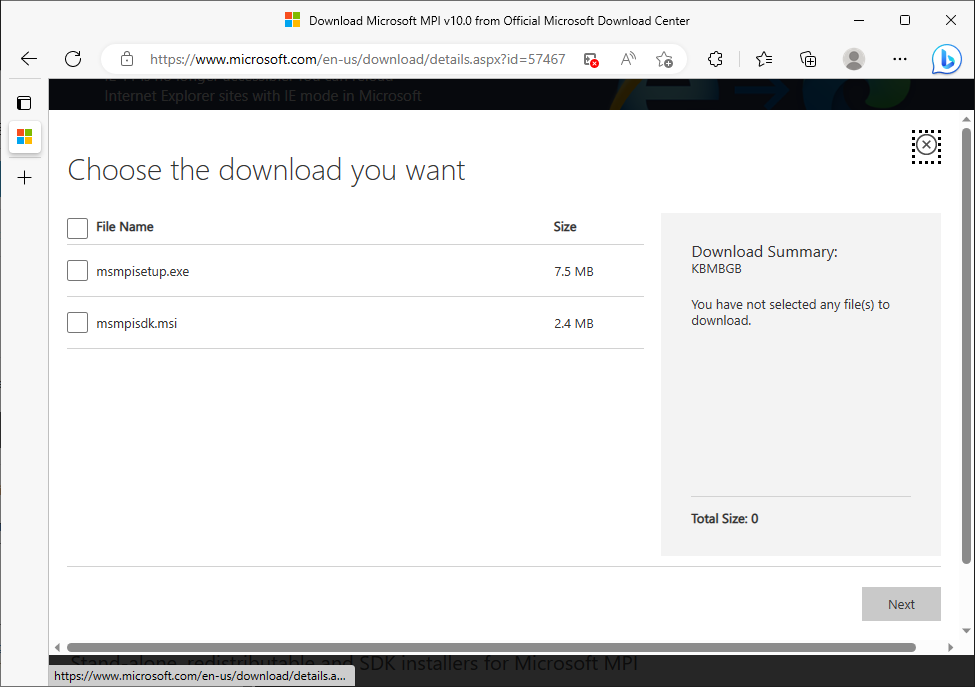
How do I know which one I want? I’ll start with the SDK MSI.
Choose the download you want
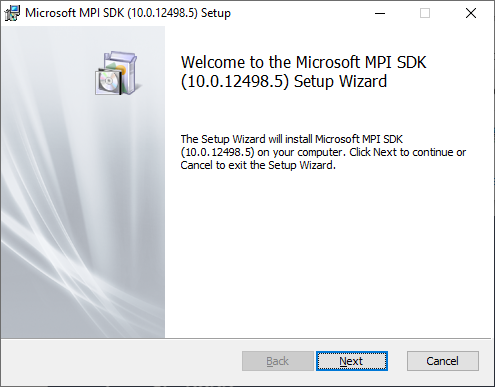
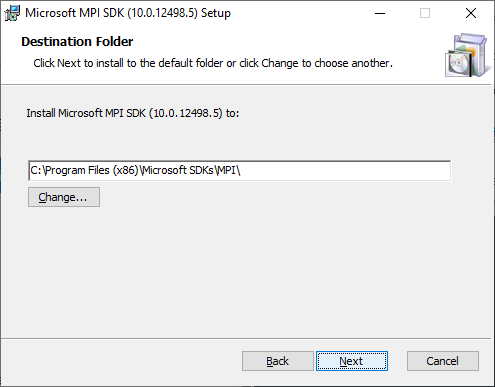
MPI SDK Setup
asdf
The publisher certificate expired in December 2021. Shouldn’t there be a warning about that? I guess the publisher is well known and not revoked? Oh well, plough ahead and install it. Reopen the developer command prompt and run cmake . again. This time, there are no errors (and I ignore all the warnings since I have things to do). A Visual Studio solution is generated. Open VM.sln in Visual Studio 2022. Building fails with these errors:
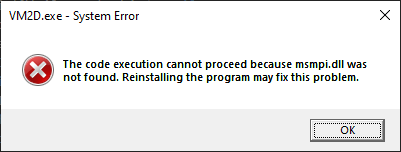
The solution is to remove the segment -gencode arch=compute_35,code=sm_35 -gencode arch=compute_37,code=sm_37 from VM2D/CMakeLists.txt · vortexmethods/VM2D (github.com). Launching the application (VM2D.exe) fails with this message: The code execution cannot proceed because msmpi.dll was not found. Reinstalling the program may fix this problem.
VM2D.exe Failing to Launch
The SDK doesn’t have that DLL, so I guess that’s what the other setup executable is for.
MPI 10.0.12498 Setup
MPI Setup
I don’t see any DLLs in that installation directory. However, mpi – msmpi.dll error message in Visual Studio C++ – Stack Overflow says reinstalling MPI is the solution. Before doing so, I run the application in Visual Studio once again and this time it launches successfully. This message is displayed: queue ERROR: file problems is not found. These files are in the VM2D/run folder. Other files will not be found though if using the run folder as the current directory.
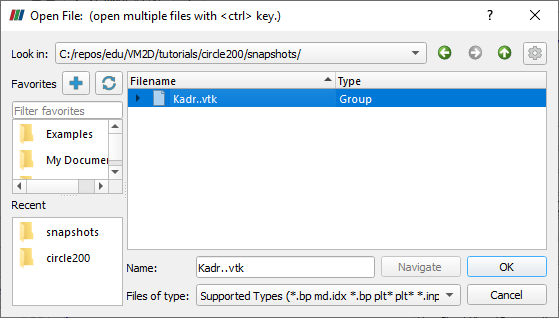
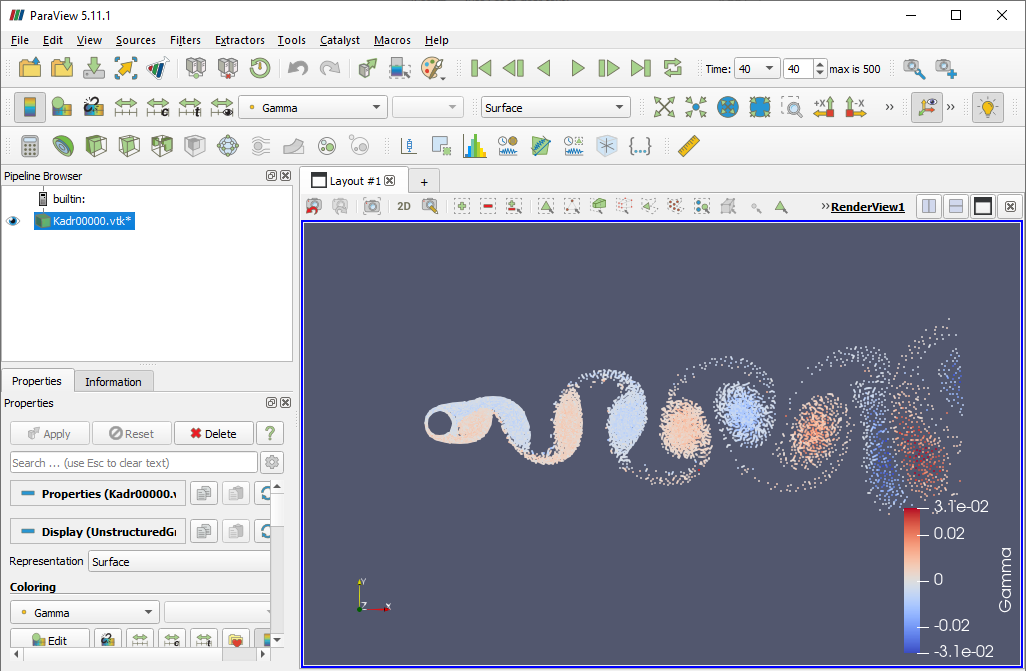
I guess I need to translate VM2D/03_starting.rst. This is the first time I have needed to translate a web page. Looks like the problems file expects to be in the tutorials directory. Copying the file in the VM2D/run folder to the VM2D/tutorials directory allows the program to find the expect files and it appears to run now. Task manager shows 100% CPU usage on my AMD Ryzen 7 5800X 8-Core Processor. The program runs for an hour and as per VM2D/05_run.rst, creates a csv file and a snapshots directory containing vtk files. To view these files, Download ParaView and install it. Launch ParaView then open the snapshots directory (it should recognize all the vtk files as a group).
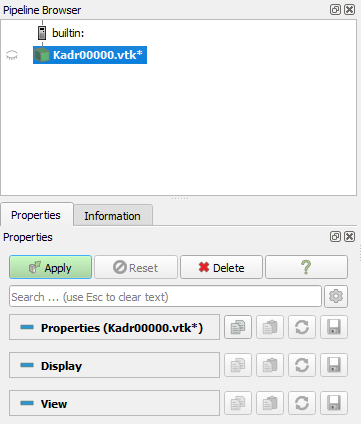
Opening snapshots
Click on the Apply button on the Properties pane (see image below).
Properties of the Snapshots
Finally, click on the Play button on the toolbar to see the animation of the snapshots. The next step will be figuring out how to use the GPU to generate these snapshots in (hopefully) much less than an hour.
Learning more about computer architecture has rekindled in me an interest in digital logic. I was perusing the Introduction to Logic Synthesis Using Verilog HDL book when I encountered tristate buffers – one of the less obvious circuit components to me. YouTube proved to be a valuable resource (as it often does) with a variety of explanations about what they are and how they are used. Below is my favorite video on the topic.
I wanted to learn more about the concept of impedance since the high impedance mode is one of the tristate buffer states. Wikipedia’s article on Electrical impedance seemed a bit much for the high level overview I sought. Back on YouTube, I found this video that, while not focussed on digital circuits, was quite interesting. It got me to order a P3 P4400 Kill A Watt Electricity Usage Monitor for myself.
We use SymChk to ensure that symbols are available for Windows applications. For the OpenJDK build, this command line can be used to ensure the symbols directory contains symbols for all the Java binaries:
/r causes SymChk to recursively search all subdirectories under the D:\java\binaries\jdk\x64\jdk-17.0.7+7\ directory for program files.
/s specifies the directories containing symbols and multiple directories should be separated with semicolons
Here’s the tail end of the SymChk output:
...
SYMCHK: api-ms-win-crt-utility-l1-1-0.dll FAILED  - api-ms-win-crt-utility-l1-1-0.pdb mismatched or not found
SYMCHK: msvcp140.dll         FAILED  - msvcp140.amd64.pdb mismatched or not found
SYMCHK: ucrtbase.dll         FAILED  - ucrtbase.pdb mismatched or not found
SYMCHK: vcruntime140.dll     FAILED  - vcruntime140.amd64.pdb mismatched or not found
SYMCHK: vcruntime140_1.dll   FAILED  - vcruntime140_1.amd64.pdb mismatched or not found

SYMCHK: FAILED files = 46
SYMCHK: PASSED + IGNORED files = 440
The components that have failures are binaries that are external dependencies of the OpenJDK. Those failures can therefore be safely ignored. An interesting thing to note is that java.dll and java.exe are in the same folder in the OpenJDK installation. Since their symbol files are both called java.pdb, the symbols for java.exe are placed in a subdirectory called exe. This applies to other binaries with similar PDB filename conflicts. See the Symbol Path Syntax section for more details.
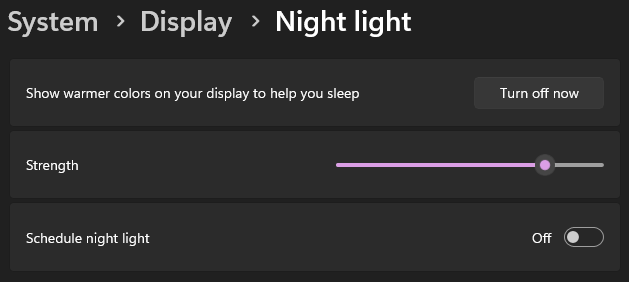
I have been trying to enable the Night Light on my Windows 11 desktop but nothing happens when toggling the “Turn on now” and “Turn off now” buttons. It would be nice if they at least provided an error message explaining that they couldn’t do what you asked. The “Strength” slider doesn’t do anything either.
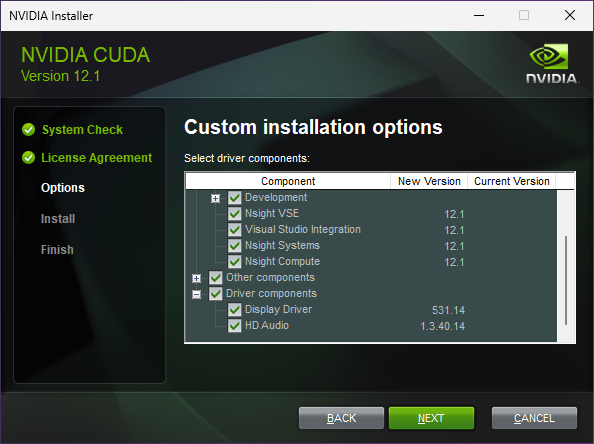
I download the latest CUDA Toolkit (12.1.0, Feb 2023) and install all available components. The driver version 531.14 should be installed based on this selection.
NVIDIA Installer
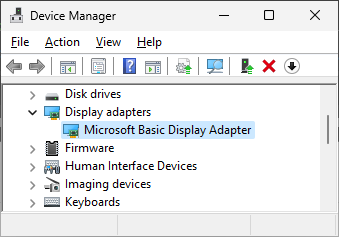
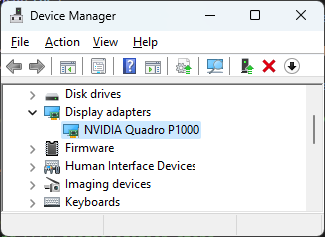
When the installation completes, the scale of my screen has increased from 100% to the recommended 300% and the night light is now on (even before closing the installer)! Ironically, the NVIDIA Installer window now looks horrific at the 300% scale! The Device Manager now shows the graphics card name.
nVidia Display Adapter in Device Manager
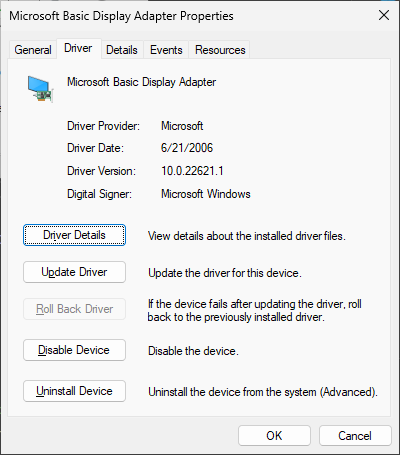
NVIDIA Quadro P1000 Properties
I also notice that the window corners are now rounded. I had tried running an OpenGL program and I had no idea why glfwCreateWindow returned NULL – it’s now obvious that there was no appropriate device driver.
The YCSB_COMMAND passed to the Client class is set to -load and -t respectively, for the load and run arguments to the script. The -db argument specified which class to use for the database client. This comes from the second parameter to the script (grep is used to match the script’s 2nd argument with a line in bindings.properties that specifies the corresponding Java class).
Setting up YSCB with a MySQL Database
Database Installation
In addition to the original paper, Planet MySQL also has YCSB results for runs against a MySQL database. The ease of use of a local database prompts me to start out with MySQL as well. Ubuntu docs explain how to Install and configure a MySQL server.
saint@ubuntuvm2:~$ sudo apt install mysql-server
[sudo] password for saint:
Reading package lists... Done
Building dependency tree... Done
Reading state information... Done
The following additional packages will be installed:
  libaio1 libcgi-fast-perl libcgi-pm-perl libevent-core-2.1-7
  libevent-pthreads-2.1-7 libfcgi-bin libfcgi-perl libfcgi0ldbl
  libhtml-template-perl libmecab2 libprotobuf-lite23 mecab-ipadic
  mecab-ipadic-utf8 mecab-utils mysql-client-8.0 mysql-client-core-8.0
  mysql-common mysql-server-8.0 mysql-server-core-8.0
Suggested packages:
  libipc-sharedcache-perl mailx tinyca
The following NEW packages will be installed:
  libaio1 libcgi-fast-perl libcgi-pm-perl libevent-core-2.1-7
  libevent-pthreads-2.1-7 libfcgi-bin libfcgi-perl libfcgi0ldbl
  libhtml-template-perl libmecab2 libprotobuf-lite23 mecab-ipadic
  mecab-ipadic-utf8 mecab-utils mysql-client-8.0 mysql-client-core-8.0
  mysql-common mysql-server mysql-server-8.0 mysql-server-core-8.0
0 upgraded, 20 newly installed, 0 to remove and 2 not upgraded.
Need to get 29.2 MB of archives.
After this operation, 242 MB of additional disk space will be used.
Do you want to continue? [Y/n]
Getting YCSB Sources
Now that MySQL is installed, we need the YCSB sources to run. I started out by cloning the YCSB repo.
mkdir -p ~/java/benchmarks/ycsb
cd ~/java/benchmarks/ycsb
git clone https://github.com/brianfrankcooper/YCSB
cd YCSB
As a Java repo rookie, I simply ran bin/ycsb.sh load basic -P workloads/workloada as mentioned in the readme without realizing that I needed to first build the repo, duh. That failed with this error:
$ export JAVA_HOME=~/java/binaries/jdk/x64/jdk-20+36
$ bin/ycsb.sh load basic -P workloads/workloada

Error: Could not find or load main class site.ycsb.db.JdbcDBCreateTable
Caused by: java.lang.ClassNotFoundException: site.ycsb.db.JdbcDBCreateTable
Use mvn to build the sources:
# Error: Could not find or load main class site.ycsb.db.JdbcDBCreateTable
# https://github.com/brianfrankcooper/YCSB/issues/257#issuecomment-104845560

sudo apt install maven
mvn clean package
I end up with test failures, what do you know?
Getting YCSB Binaries
I decided I might as well just follow the main readme steps and not deal with any build issues.
cd ~/java/benchmarks/ycsb

sudo apt install curl
curl -O --location https://github.com/brianfrankcooper/YCSB/releases/download/0.17.0/ycsb-0.17.0.tar.gz

tar xfvz ycsb-0.17.0.tar.gz
cd ycsb-0.17.0
Launching YCSB
Launch YCSB in the folder from the tar.gz file:
# Notice the version in the path below needs to be updated from what is used at
# https://github.com/brianfrankcooper/YCSB/tree/master/jdbc
#
# The MySQL connectors are at https://dev.mysql.com/downloads/connector/j/?os=26

java -cp jdbc-binding/lib/jdbc-binding-0.17.0.jar:../mysql-connector-j-8.0.32/mysql-connector-j-8.0.32.jar site.ycsb.db.JdbcDBCreateTable -P myjdbc.properties -n ycsbtable
Turns out the driver in the docs is outdated:
Loading class `com.mysql.jdbc.Driver'. This is deprecated. The new driver class is `com.mysql.cj.jdbc.Driver'. The driver is automatically registered via the SPI and manual loading of the driver class is generally unnecessary.
Error in creating table. java.sql.SQLException: Access denied for user 'admin'@'localhost' (using password: YES)
CREATE DATABASE ycsb;
CREATE USER 'ycsbuser'@'localhost' IDENTIFIED BY 'ProfileIt!';
GRANT ALL PRIVILEGES ON * . * TO 'ycsbuser'@'localhost';
Hard to believe but the JdbcDBCreateTable class fails!
losing database connection.
Error in creating table. java.sql.SQLSyntaxErrorException: You have an error in your SQL syntax; check the manual that corresponds to your MySQL server version for the right syntax to use near 'PRIMARY KEY, FIELD0 TEXT, FIELD1 TEXT, FIELD2 TEXT, FIELD3 TEXT, FIELD4 TEXT, FI' at line 1
Loading workload...
Starting test.
Error in initializing the JDBS driver: java.lang.ClassNotFoundException: com.mysql.jdbc.Driver
site.ycsb.DBException: java.lang.ClassNotFoundException: com.mysql.jdbc.Driver
	at site.ycsb.db.JdbcDBClient.init(JdbcDBClient.java:228)
	at site.ycsb.DBWrapper.init(DBWrapper.java:86)
	at site.ycsb.ClientThread.run(ClientThread.java:91)
	at java.base/java.lang.Thread.run(Thread.java:833)
Caused by: java.lang.ClassNotFoundException: com.mysql.jdbc.Driver
	at java.base/jdk.internal.loader.BuiltinClassLoader.loadClass(BuiltinClassLoader.java:641)
	at java.base/jdk.internal.loader.ClassLoaders$AppClassLoader.loadClass(ClassLoaders.java:188)
	at java.base/java.lang.ClassLoader.loadClass(ClassLoader.java:520)
	at java.base/java.lang.Class.forName0(Native Method)
	at java.base/java.lang.Class.forName(Class.java:375)
	at site.ycsb.db.JdbcDBClient.init(JdbcDBClient.java:199)
	... 3 more
bin/ycsb.sh run jdbc -P ../../mysqlworkload.properties
One question that arises is how to control the benchmark running time. There is a maxexecutiontime (in seconds) argument that can be passed to the benchmark.
bin/ycsb.sh run jdbc -P ../../mysqlworkload.properties -p maxexecutiontime=60
The run time is still about 12 seconds and an interesting message is displayed:
Loading workload...
Starting test.
Maximum execution time specified as: 60 secs
Adding shard node URL: jdbc:mysql://127.0.0.1:3306/ycsb
Using shards: 1, batchSize:-1, fetchSize: -1
DBWrapper: report latency for each error is false and specific error codes to track for latency are: []
Could not wait until max specified time, TerminatorThread interrupted.
[OVERALL], RunTime(ms), 6756
Looks like customizing the load is the way to prolong the benchmark:
# The number of records to load into the database initially.
recordcount=1000000

# The target number of operations to perform.
operationcount=10000

# Indicates how many inserts to do if less than recordcount.
# Useful for partitioning the load among multiple servers if the client is the bottleneck.
# Additionally workloads should support the "insertstart" property which tells them which record to start at.
insertcount=10000
I recently had a Windows 11 device that was disabled by IT. The process of getting assistance exposed me to the types of Windows tools I never use: administration tools. IT would have me launch Quick Assist and give them control of my computer. This is when I was learning of the existence of tools like dsregcmd /status, which turn out to be well documented, e.g. see Troubleshoot hybrid Azure Active Directory-joined devices – Microsoft Entra | Microsoft Learn.
The last resort was to reset my device. After years of dumping stuff all over my hard drives, I was forced to do some cleanup to ensure I didn’t lose anything valuable. Going forward, everything will now be well organized so that whatever isn’t on OneDrive should be fine to lose. Ironically, the device reset tool could not let me sign in, which I needed to do to reset the device. We tried using the Reset this PC tool but it could not find the recovery partition.
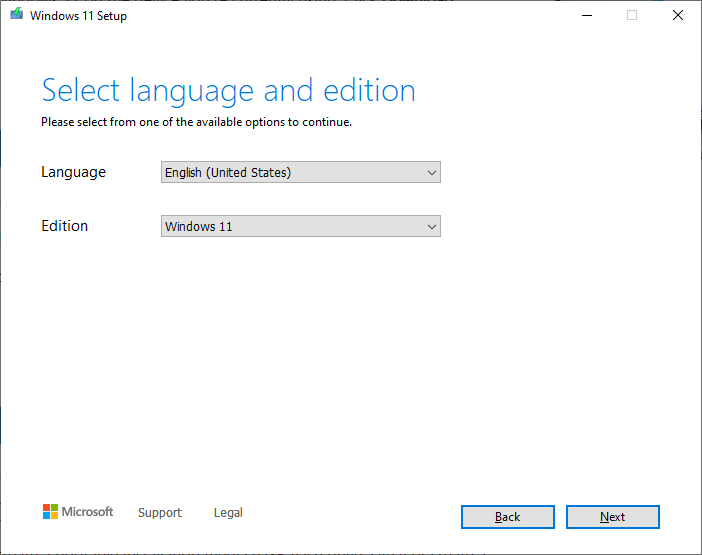
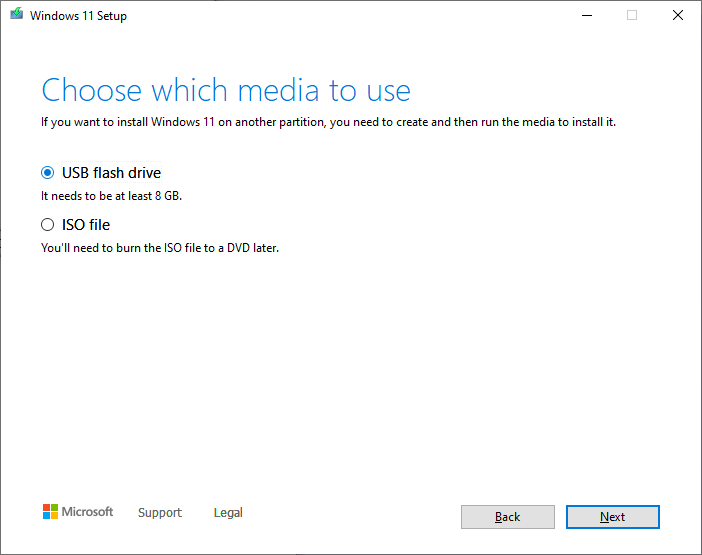
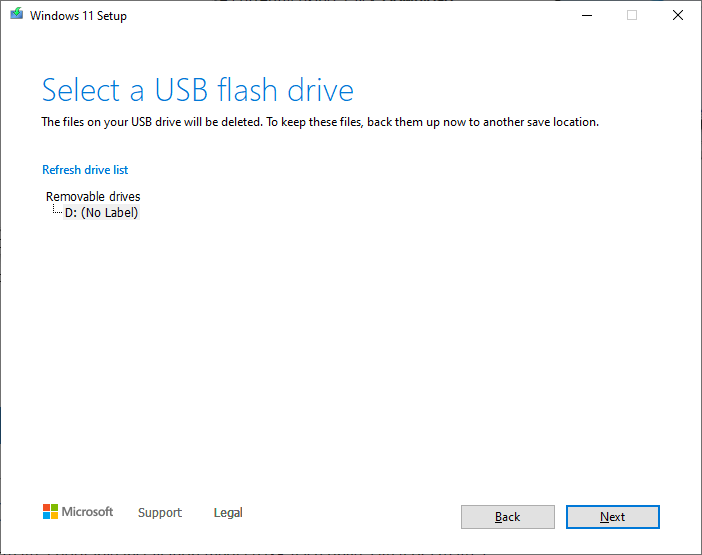
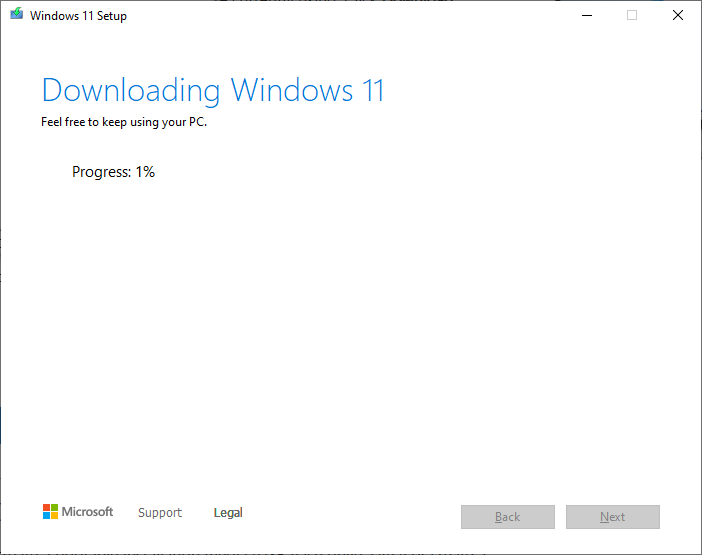
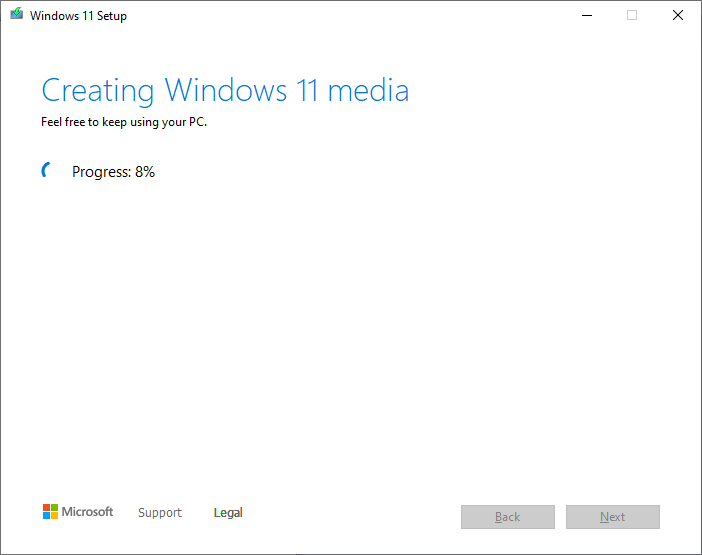
As a last resort, I went to Download Windows 11 (microsoft.com) and downloaded the media creation tool to make a bootable USB drive (the Create Windows 11 Installation Media section). I picked up a 128GB onn stick from Target.
I discovered that setup wouldn’t proceed if the selected disk still had BitLocker enabled. After turning off BitLocker, I formatted my disks and got a fresh installation going. Now that I have so much disk space available, I have no idea why my disk was almost full – I’m not yet missing anything but time will tell if I erased something valuable. The last bit was Windows activation. This is supposed to happen automatically but since it didn’t, we had to use the Slmgr.vbs script.