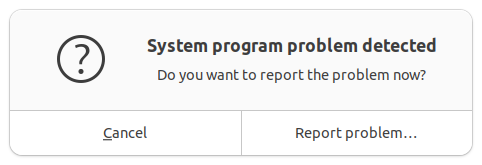
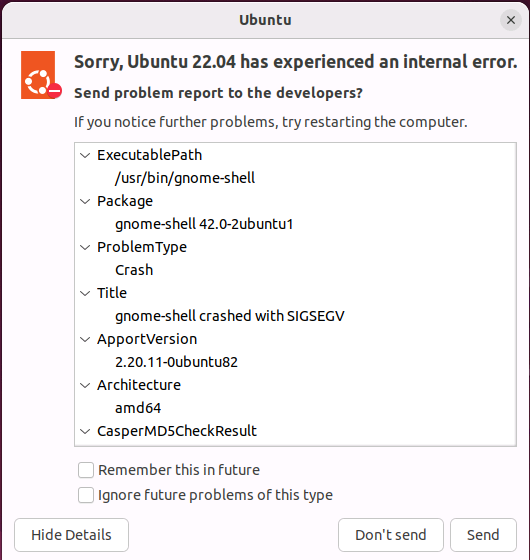
I recently turned on an Ubuntu VM I had not used in a while and was greeted by this error dialog about a system program problem. I looked up this message and got a reference to Apport – Ubuntu project documentation explaining that the crash reports are in /var/crash.
There were 3 files in that folder. Although I couldn’t initially read them since I wasn’t root, it was interesting seeing the callout warning me not to start VS Code as a super user.
saint@ubuntuvm3:~$ ls -l /var/crash
total 7428
-rw------- 1 root whoopsie  158635 Jul  1 15:35 python3.10.0.crash
-rw-r----- 1 root whoopsie 2995487 Jul  9 12:50 _usr_lib_cnf-update-db.0.crash
-rw-r----- 1 root whoopsie 4444576 Jul  1 15:35 _usr_lib_python3.10_py_compile.py.0.crash
saint@ubuntuvm3:~$ head -10 /var/crash/_usr_lib_cnf-update-db.0.crash
head: cannot open '/var/crash/_usr_lib_cnf-update-db.0.crash' for reading: Permission denied
saint@ubuntuvm3:~$ sudo code /var/crash/_usr_lib_cnf-update-db.0.crash
mkdir: cannot create directory ‘’: No such file or directory
You are trying to start Visual Studio Code as a super user which isn't recommended. If this was intended, please add the argument `--no-sandbox` and specify an alternate user data directory using the `--user-data-dir` argument.
I copied one of the files to my home folder and tried to open it without fixing the permissions. Several warnings appeared in VS Code, which was interesting to me because I never take this path in VS Code (taking me back to my full-time QA days).
2026-07-09 18:06:17.921 [error] [Window] Error: Unable to read file '/home/saint/cnf.txt' (NoPermissions (FileSystemError): An unknown error occurred. Please consult the log for more details.)
    at Kkt.G (vscode-file://vscode-app/snap/code/215/usr/share/code/resources/app/out/vs/workbench/workbench.desktop.main.js:3828:65903)
...
2026-07-09 18:06:18.102 [error] [Window] [File Watcher (node.js)] Failed to watch /home/saint/cnf.txt for changes using fs.watch() (Error: EACCES: permission denied, watch '/home/saint/cnf.txt')
...
I knew that I needed to update everything on this VM. Firefox was on version 146.0.1. The strange thing was that the Software Updater app didn’t even start! Nothing happened when clicking on its icon. I ran apt update anyway.
saint@ubuntuvm3:~$ sudo apt update
Hit:1 https://download.docker.com/linux/ubuntu jammy InRelease
Hit:2 http://security.ubuntu.com/ubuntu jammy-security InRelease
Hit:3 http://us.archive.ubuntu.com/ubuntu jammy InRelease
Get:4 http://us.archive.ubuntu.com/ubuntu jammy-updates InRelease [128 kB]
Hit:5 http://us.archive.ubuntu.com/ubuntu jammy-backports InRelease
Get:6 http://us.archive.ubuntu.com/ubuntu jammy-updates/main amd64 Packages [3,624 kB]
Get:7 http://us.archive.ubuntu.com/ubuntu jammy-updates/main i386 Packages [1,039 kB]
Get:8 http://us.archive.ubuntu.com/ubuntu jammy-updates/universe i386 Packages [814 kB]
Get:9 http://us.archive.ubuntu.com/ubuntu jammy-updates/universe amd64 Packages [1,277 kB]
Get:10 http://us.archive.ubuntu.com/ubuntu jammy-updates/universe Translation-en [321 kB]
Fetched 7,203 kB in 2s (4,014 kB/s)
Reading package lists... Done
Building dependency tree... Done
Reading state information... Done
7 packages can be upgraded. Run 'apt list --upgradable' to see them.
saint@ubuntuvm3:~$ apt list --upgradable
Listing... Done
docker-compose-plugin/jammy 5.3.1-1~ubuntu.22.04~jammy amd64 [upgradable from: 5.2.0-1~ubuntu.22.04~jammy]
fwupd/jammy-updates 2.0.20-1ubuntu2~22.04.2 amd64 [upgradable from: 2.0.20-1ubuntu2~22.04.1]
iproute2/jammy-updates 5.15.0-1ubuntu2.2 amd64 [upgradable from: 5.15.0-1ubuntu2]
libfwupd3/jammy-updates 2.0.20-1ubuntu2~22.04.2 amd64 [upgradable from: 2.0.20-1ubuntu2~22.04.1]
python3-distupgrade/jammy-updates,jammy-updates 1:22.04.21 all [upgradable from: 1:22.04.20]
ubuntu-release-upgrader-core/jammy-updates,jammy-updates 1:22.04.21 all [upgradable from: 1:22.04.20]
ubuntu-release-upgrader-gtk/jammy-updates,jammy-updates 1:22.04.21 all [upgradable from: 1:22.04.20]
saint@ubuntuvm3:~$ uname -a
Linux ubuntuvm3 6.8.0-90-generic #91~22.04.1-Ubuntu SMP PREEMPT_DYNAMIC Thu Nov 20 15:20:45 UTC 2 x86_64 x86_64 x86_64 GNU/Linux
saint@ubuntuvm3:~$ sudo apt upgrade
Reading package lists... Done
Building dependency tree... Done
Reading state information... Done
Calculating upgrade... Done
The following packages were automatically installed and are no longer required:
  libfwupd2 libfwupdplugin5 libgcab-1.0-0 libslirp0 libsmbios-c2 libwpe-1.0-1 libwpebackend-fdo-1.0-1 slirp4netns
Use 'sudo apt autoremove' to remove them.
The following packages have been kept back:
  fwupd libfwupd3 python3-distupgrade ubuntu-release-upgrader-core ubuntu-release-upgrader-gtk
The following packages will be upgraded:
  docker-compose-plugin iproute2
2 upgraded, 0 newly installed, 0 to remove and 5 not upgraded.
Need to get 9,172 kB of archives.
After this operation, 72.7 kB of additional disk space will be used.
Do you want to continue? [Y/n] y
Get:1 https://download.docker.com/linux/ubuntu jammy/stable amd64 docker-compose-plugin amd64 5.3.1-1~ubuntu.22.04~jammy [8,100 kB]
Get:2 http://us.archive.ubuntu.com/ubuntu jammy-updates/main amd64 iproute2 amd64 5.15.0-1ubuntu2.2 [1,072 kB]
Fetched 9,172 kB in 2s (5,743 kB/s)
Preconfiguring packages ...
(Reading database ... 181925 files and directories currently installed.)
Preparing to unpack .../iproute2_5.15.0-1ubuntu2.2_amd64.deb ...
Unpacking iproute2 (5.15.0-1ubuntu2.2) over (5.15.0-1ubuntu2) ...
Preparing to unpack .../docker-compose-plugin_5.3.1-1~ubuntu.22.04~jammy_amd64.deb ...
Unpacking docker-compose-plugin (5.3.1-1~ubuntu.22.04~jammy) over (5.2.0-1~ubuntu.22.04~jammy) ...
Setting up iproute2 (5.15.0-1ubuntu2.2) ...
Setting up docker-compose-plugin (5.3.1-1~ubuntu.22.04~jammy) ...
Processing triggers for man-db (2.10.2-1) ...
These were not as many packages as I expected to have updates! The next question was therefore how to determine whether I was on the latest security release. 22.04.5 appears to be the latest build, which is what cat /etc/lsb-release showed to my relief. Unfortunately, I didn’t check this value before I ran apt upgrade so I don’t know if this was already the version I was running when I started.
saint@ubuntuvm3:~$ uname -r
6.8.0-90-generic
saint@ubuntuvm3:~$ uname -a
Linux ubuntuvm3 6.8.0-90-generic #91~22.04.1-Ubuntu SMP PREEMPT_DYNAMIC Thu Nov 20 15:20:45 UTC 2 x86_64 x86_64 x86_64 GNU/Linux
saint@ubuntuvm3:~$ cat /etc/lsb-release
DISTRIB_ID=Ubuntu
DISTRIB_RELEASE=22.04
DISTRIB_CODENAME=jammy
DISTRIB_DESCRIPTION="Ubuntu 22.04.5 LTS"
At this point, I decided to abandon the VM and create a new one with the latest release. I downloaded the 26.04 ISO from Ubuntu 24.04.4 (Noble Numbat) and verified its entry in the SHASUMS file. I ran into some errors setting up the VM in Hyper V so I ended my experiment with VMs there.
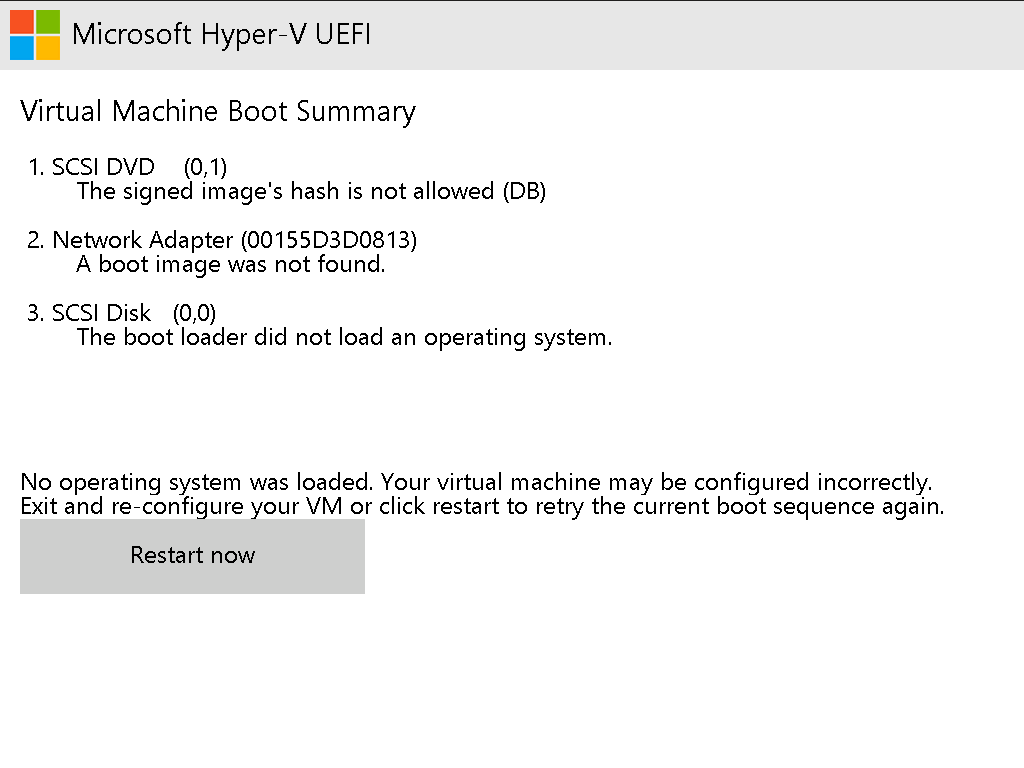
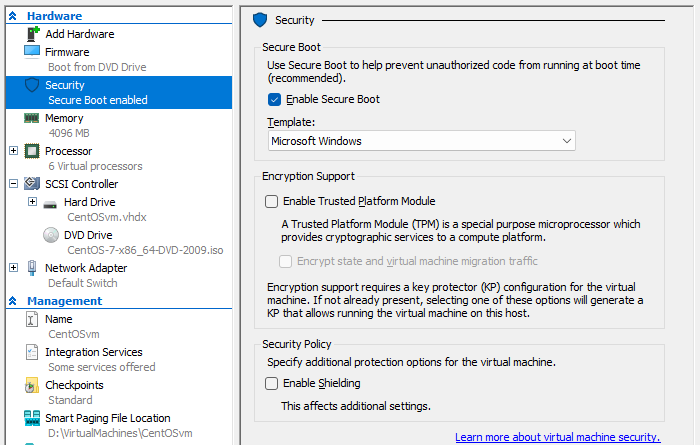
Next, I created a new VM in Hyper-V and set the downloaded ISO as the boot disk. This was not sufficient to start the VM. Hyper-V failed to boot because the signed image’s hash is not allowed.
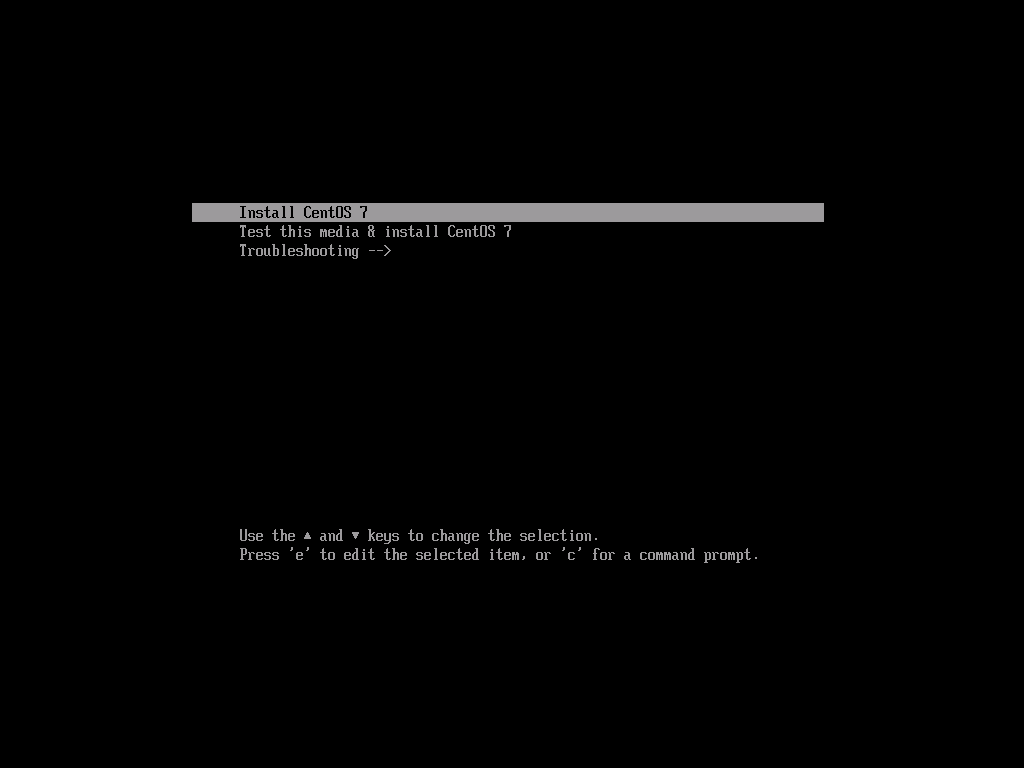
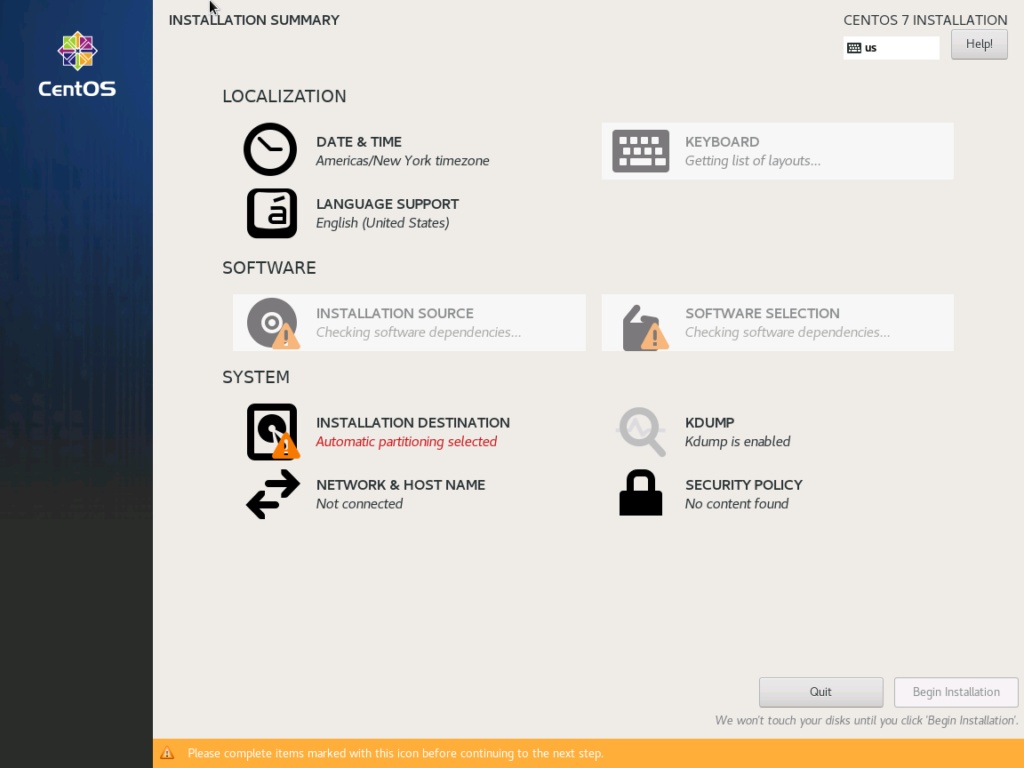
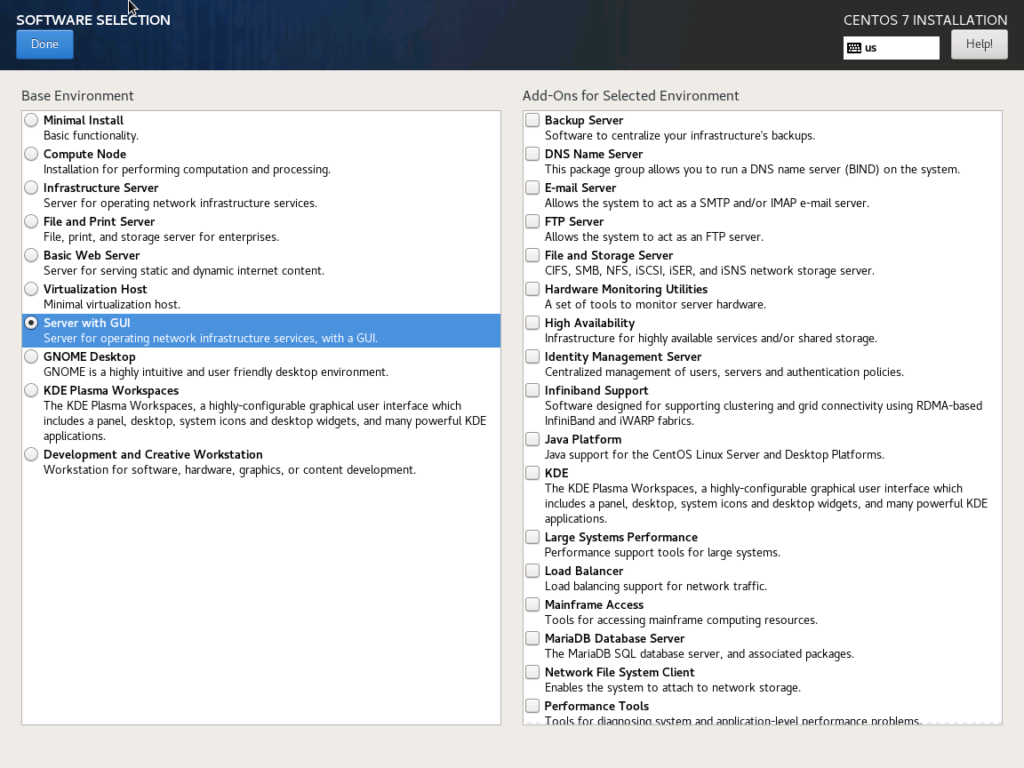
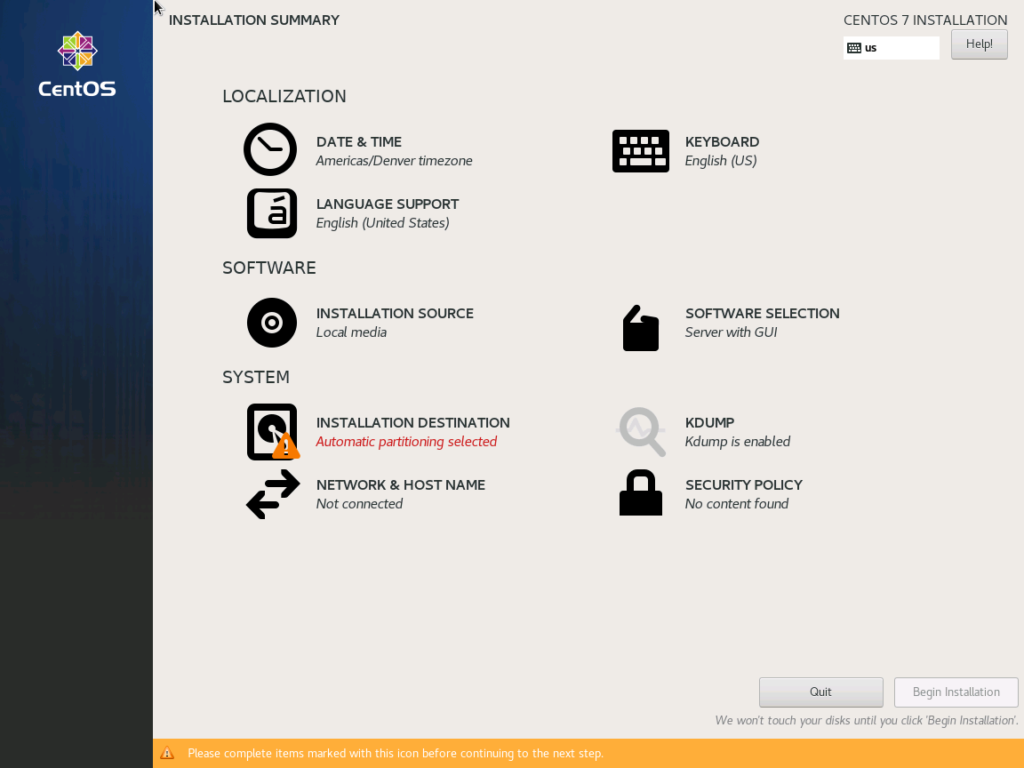
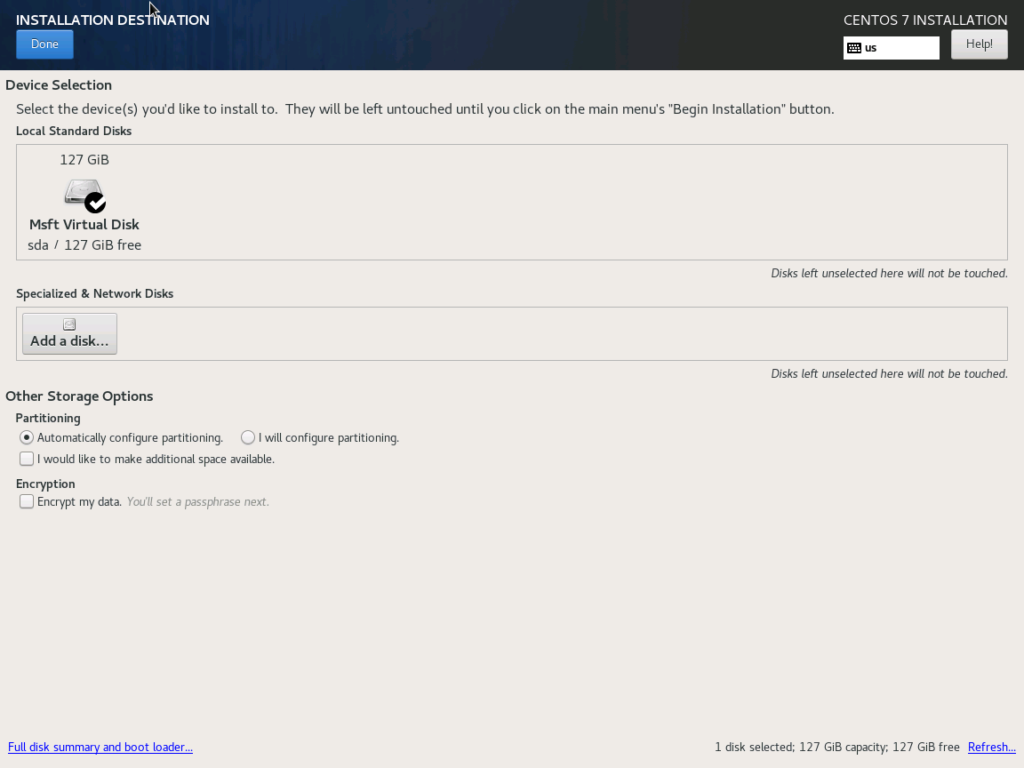
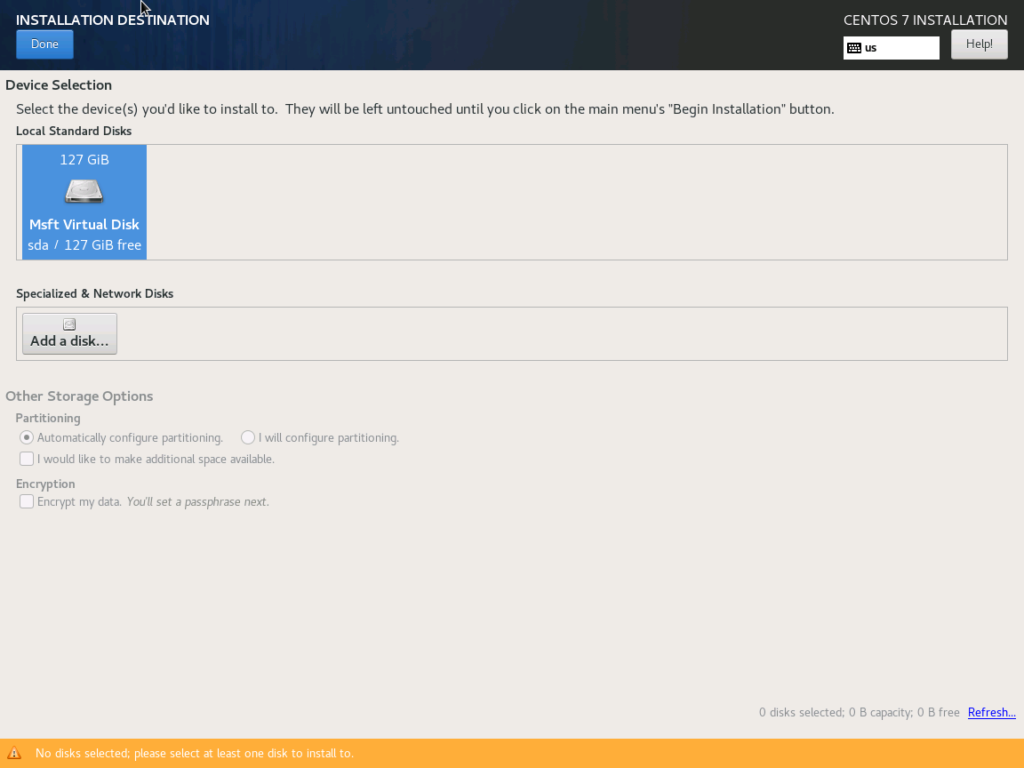
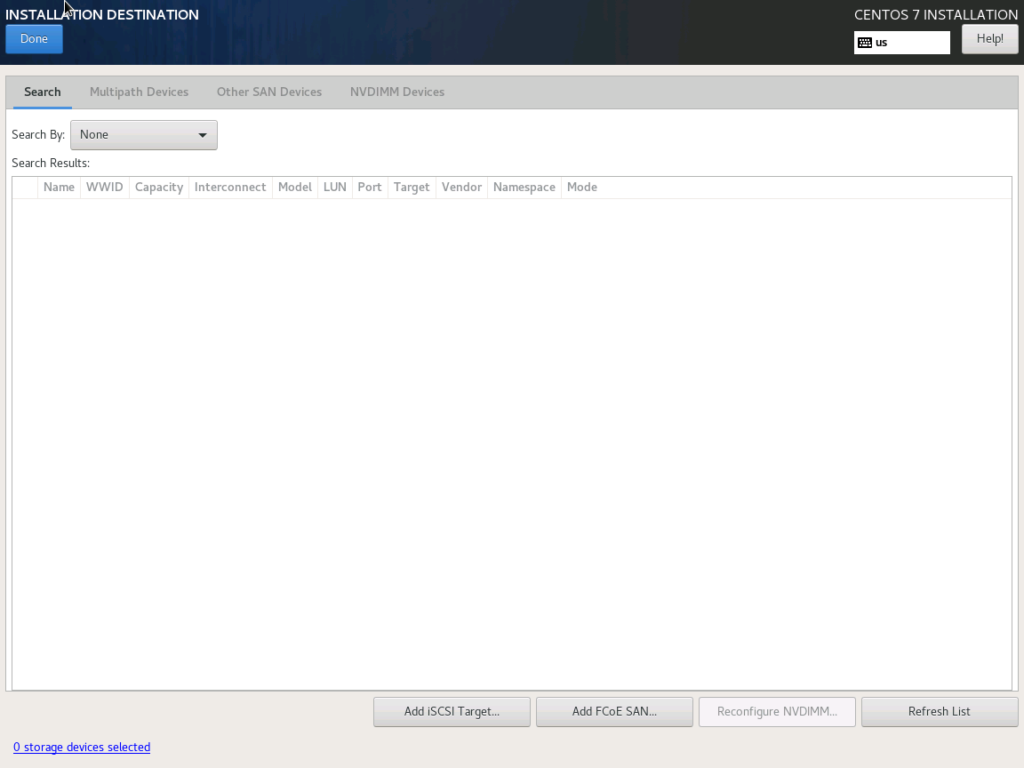
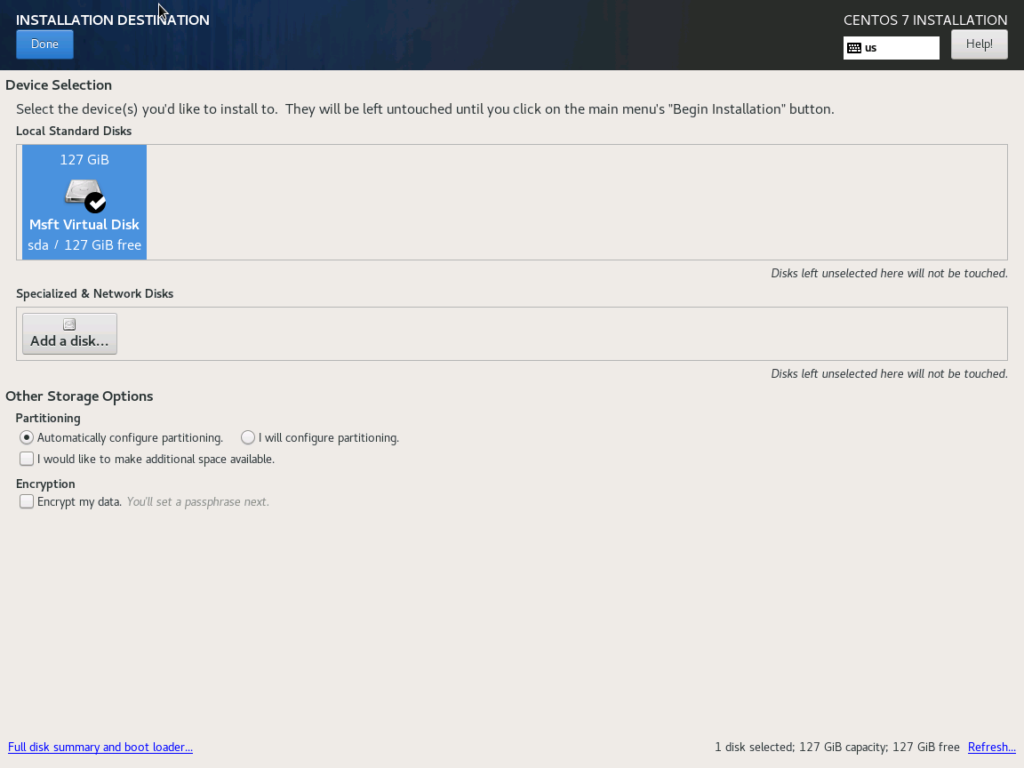
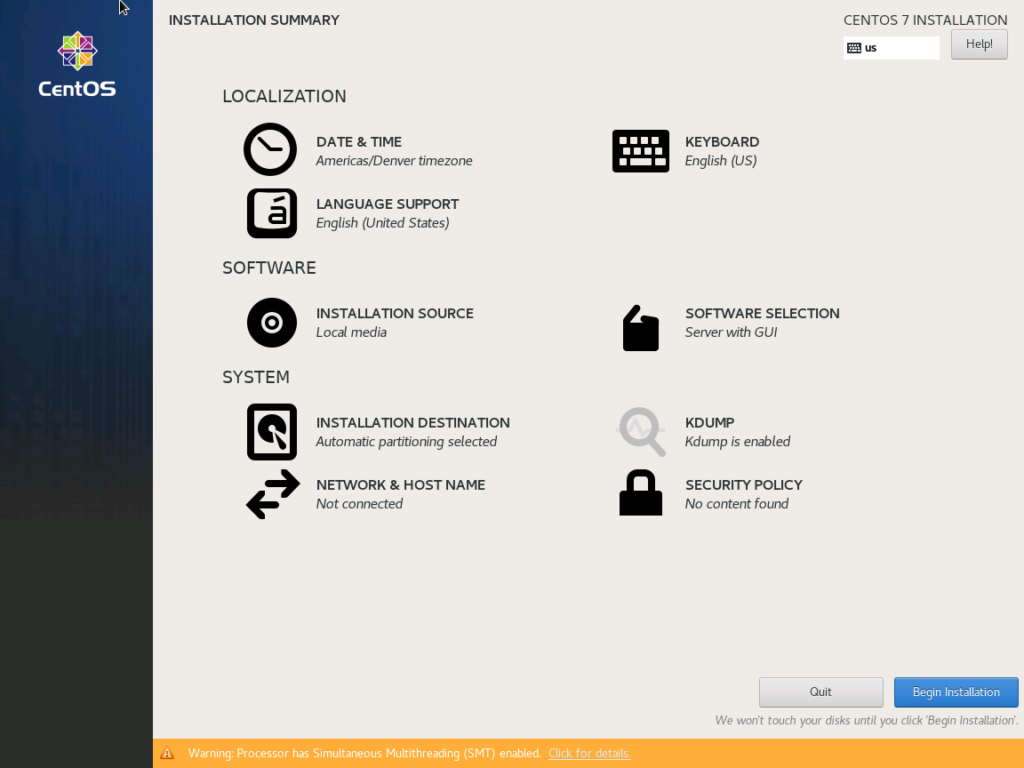
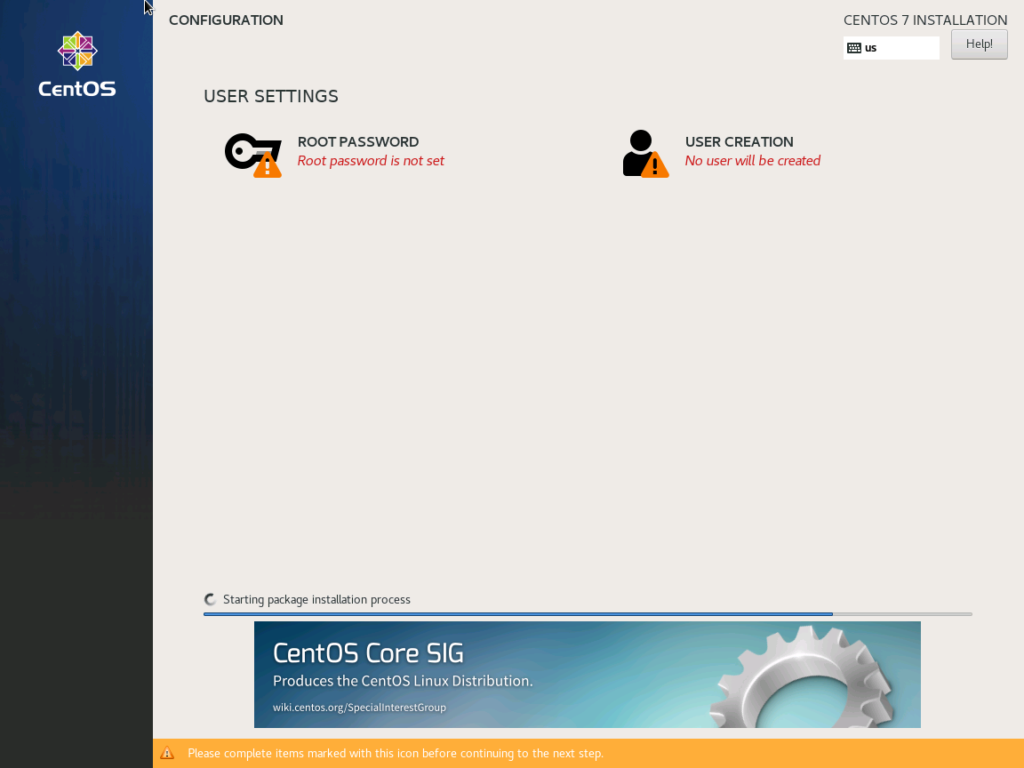
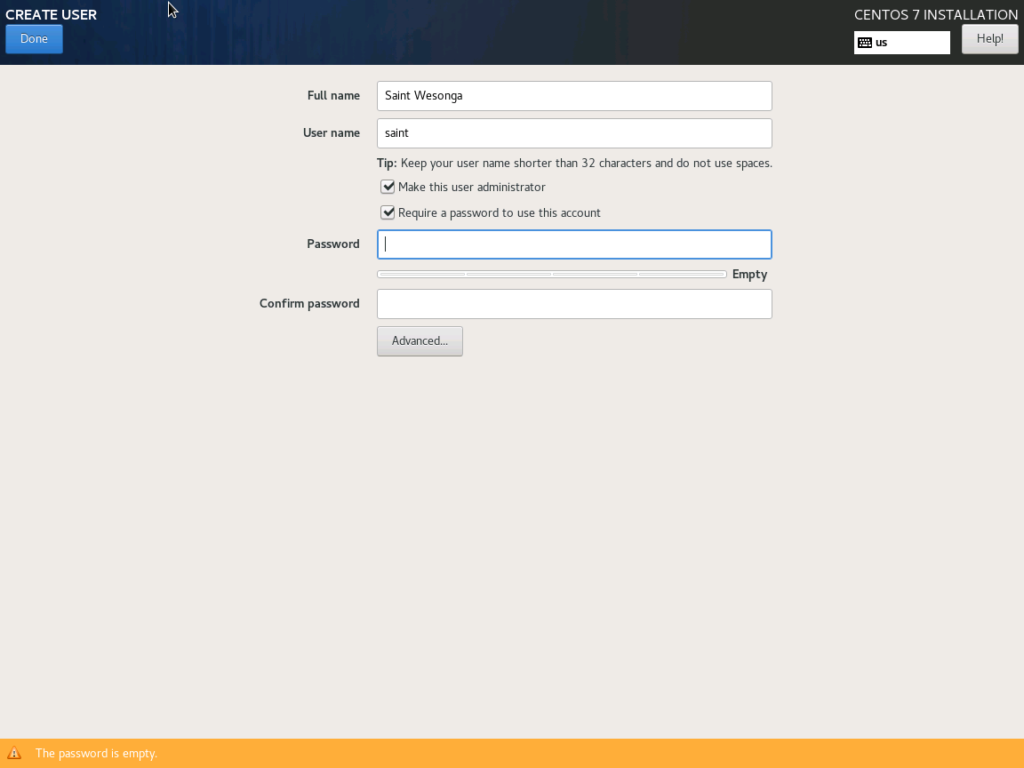
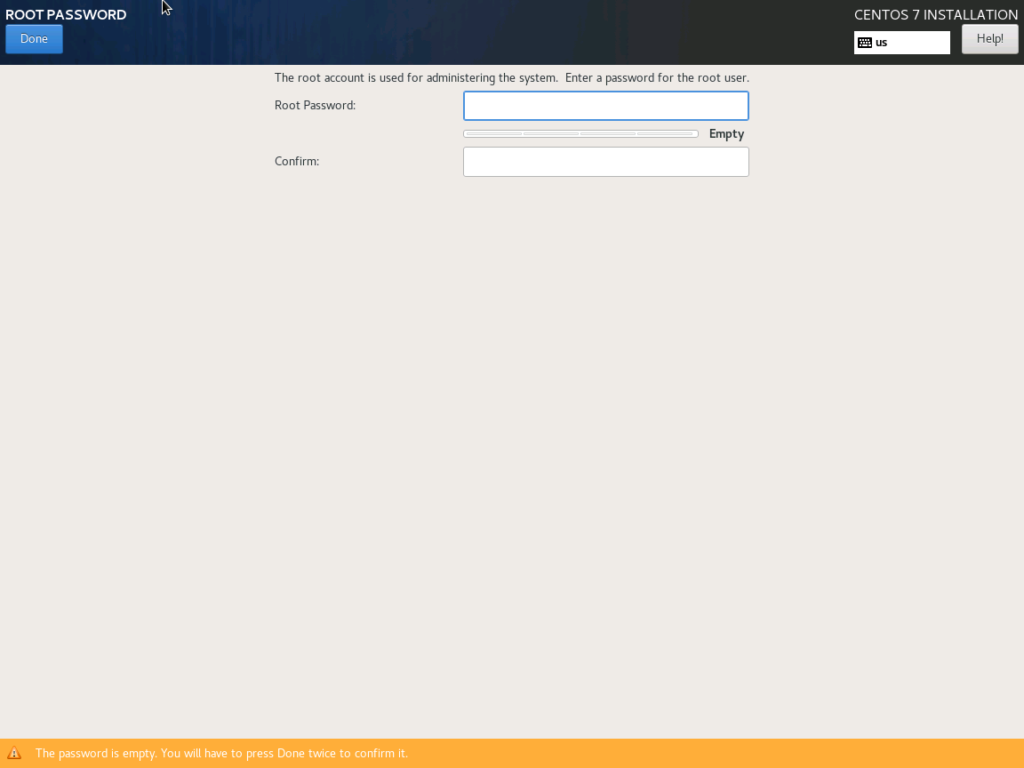
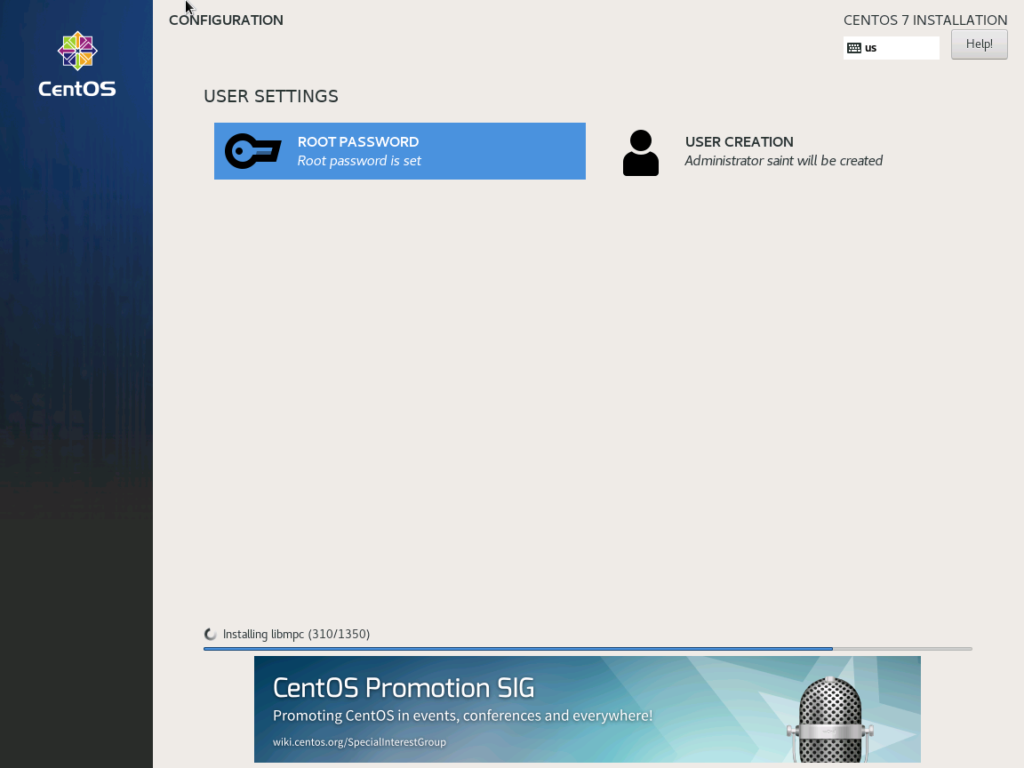
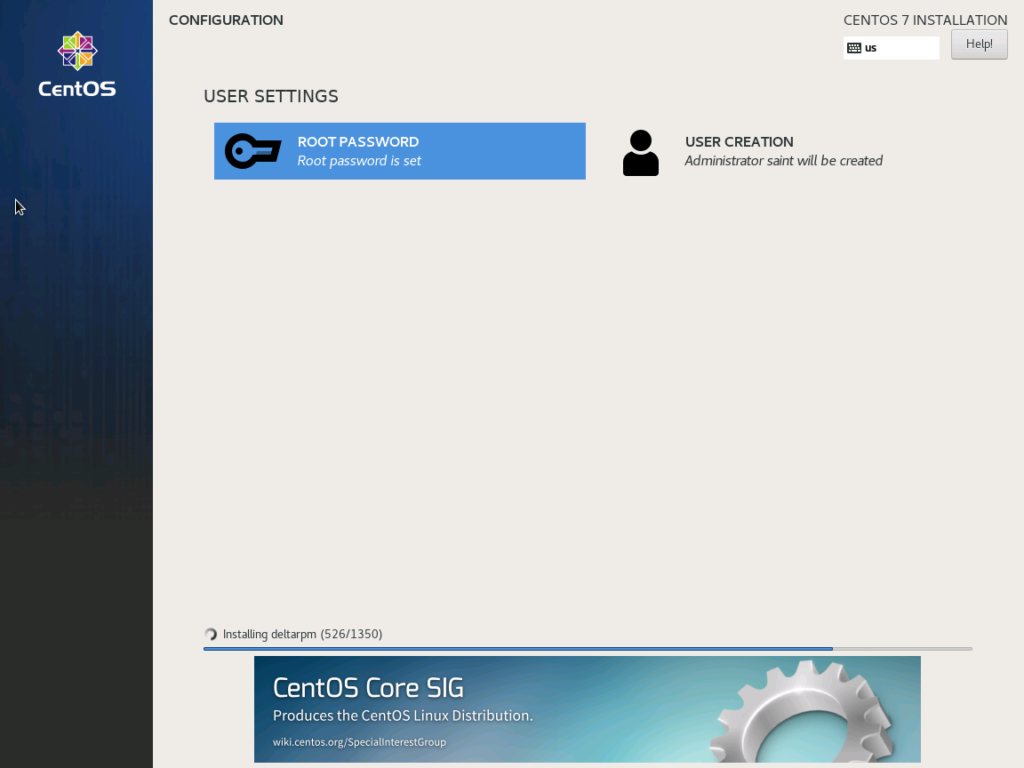
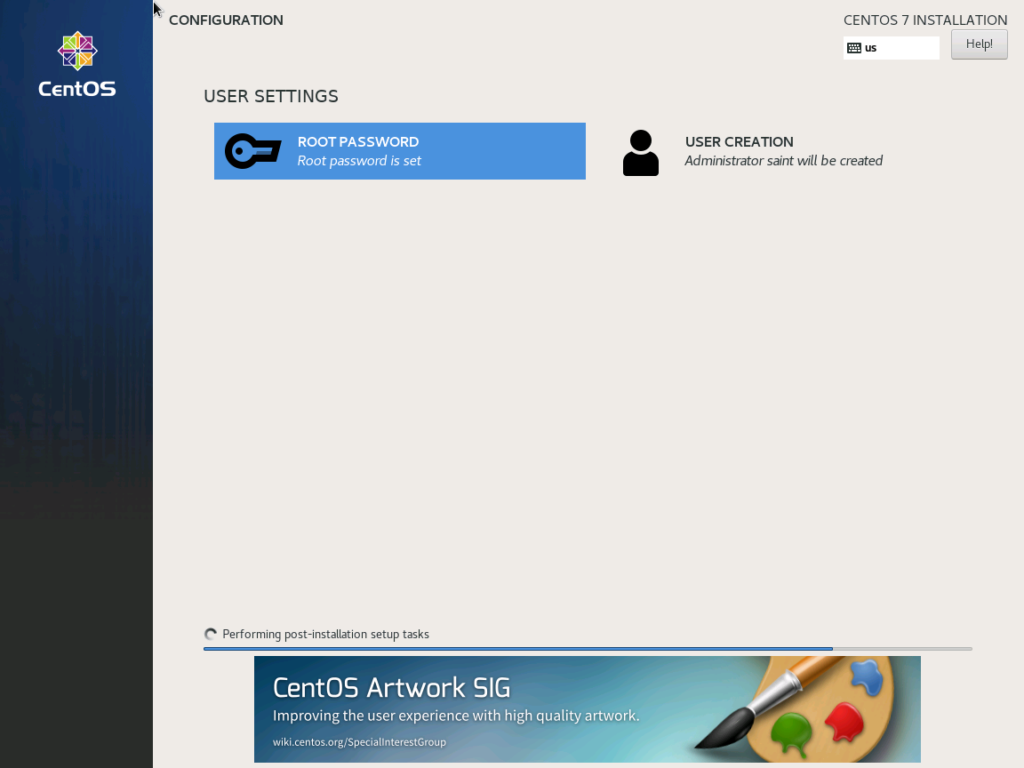
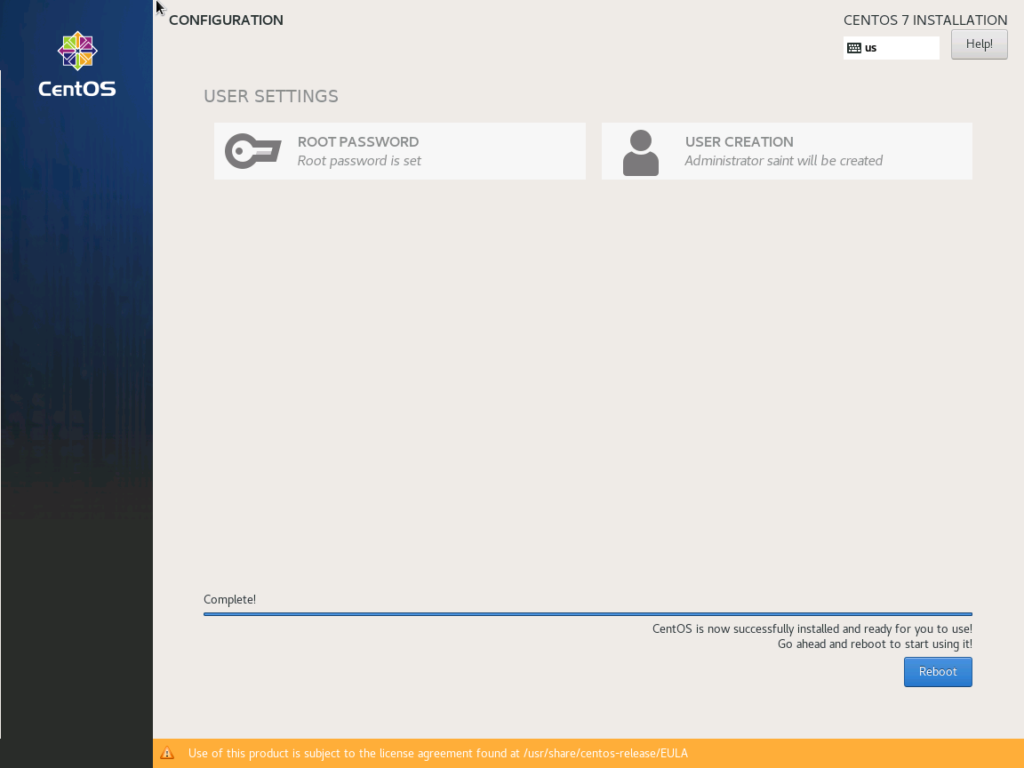
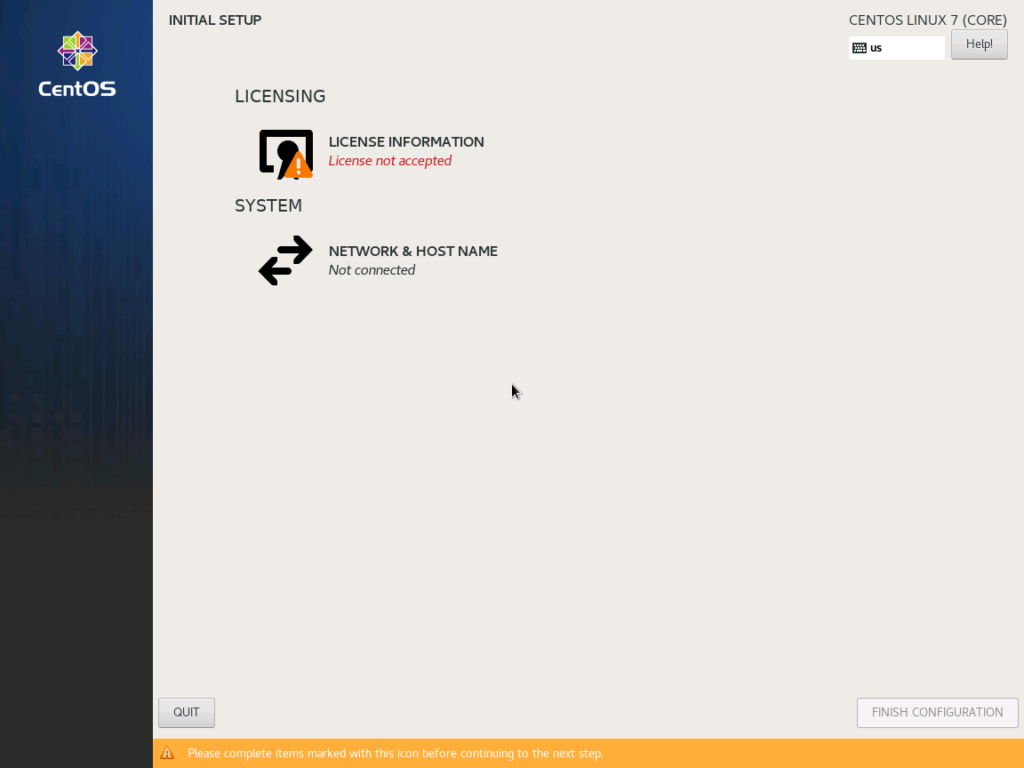
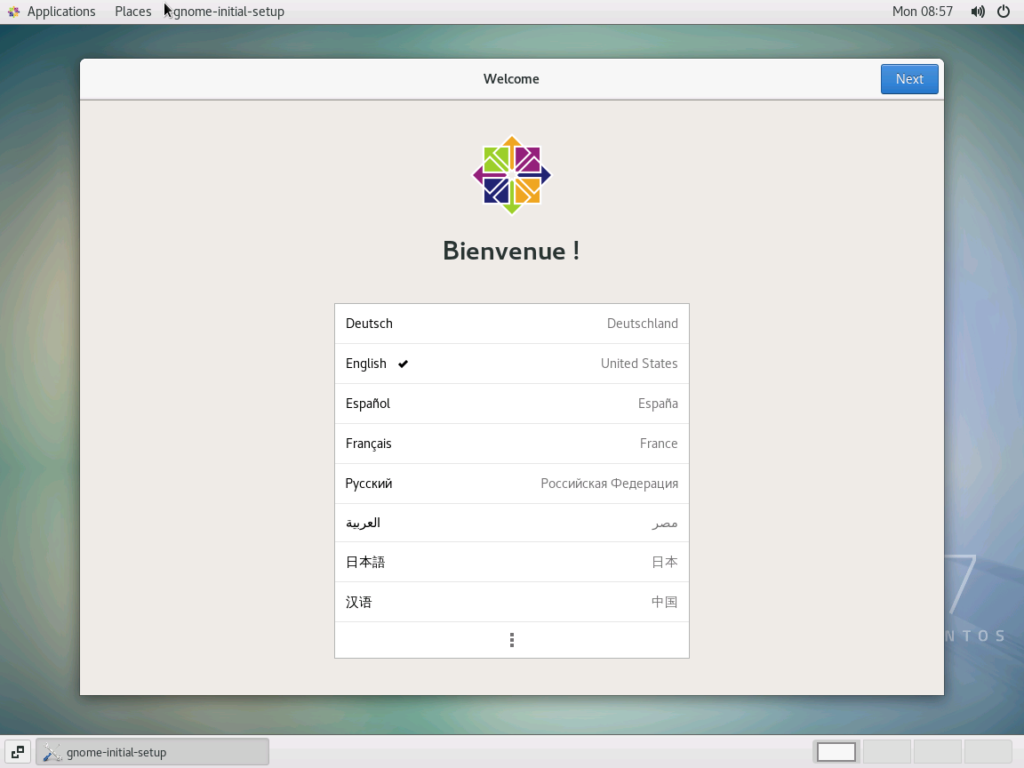
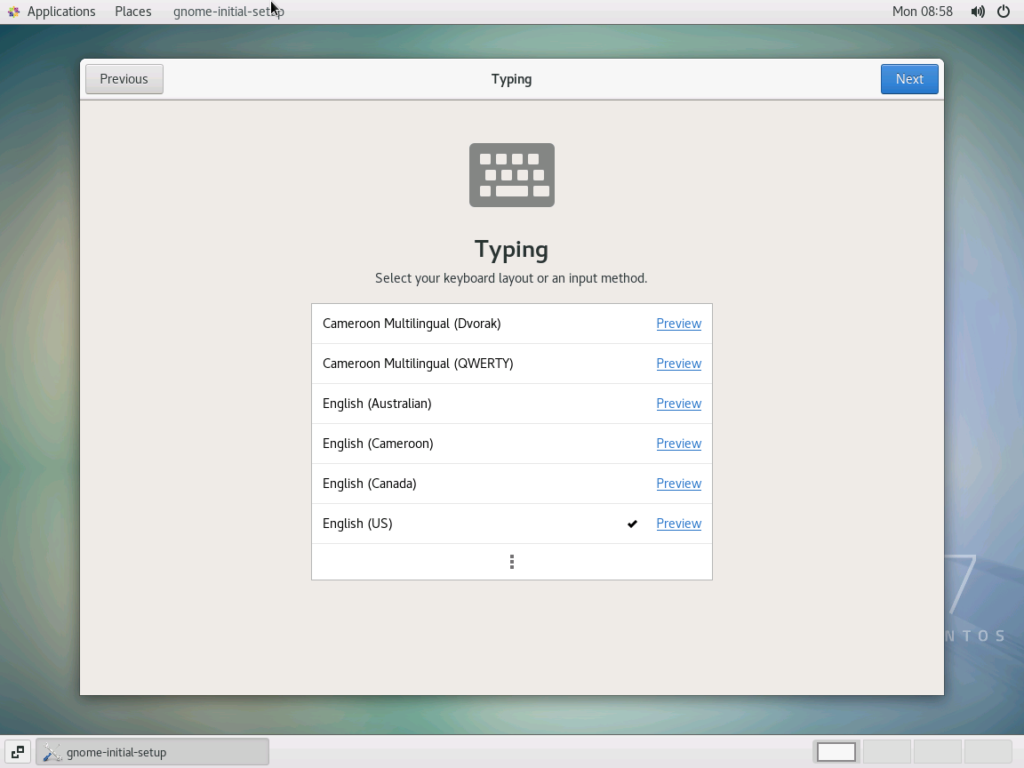
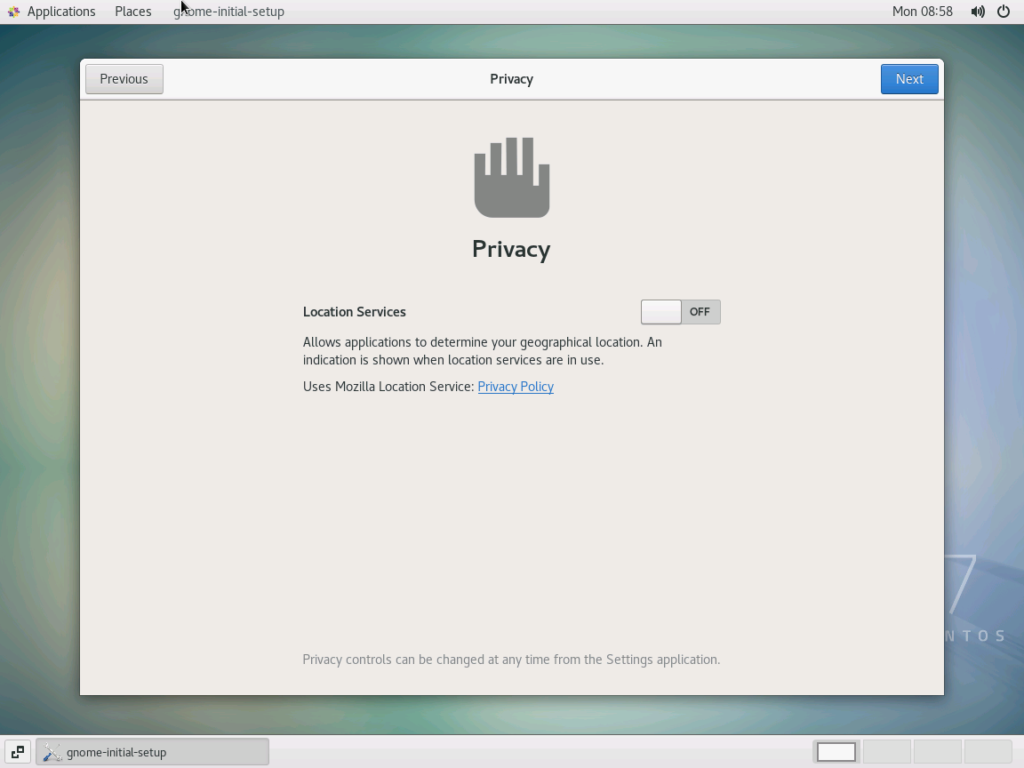
Setup is now straightforward. Here are the screenshots of the setup process. I selected the Server with GUI Base Environment with the Performance Tools and System Administration Tools add-ons.
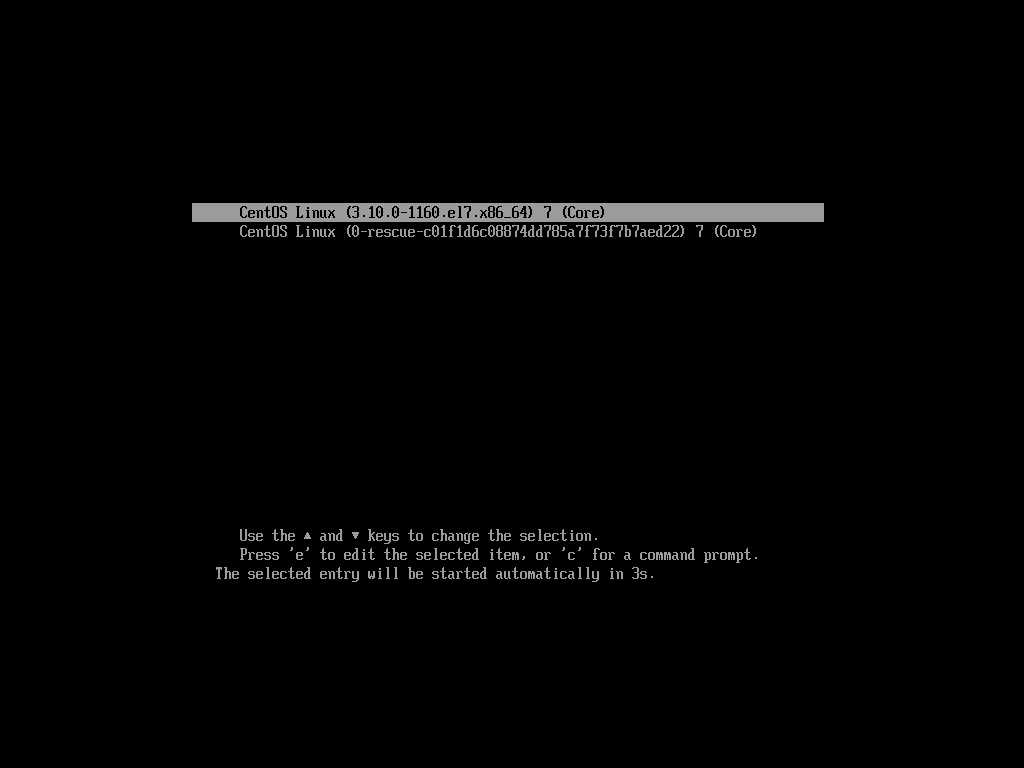
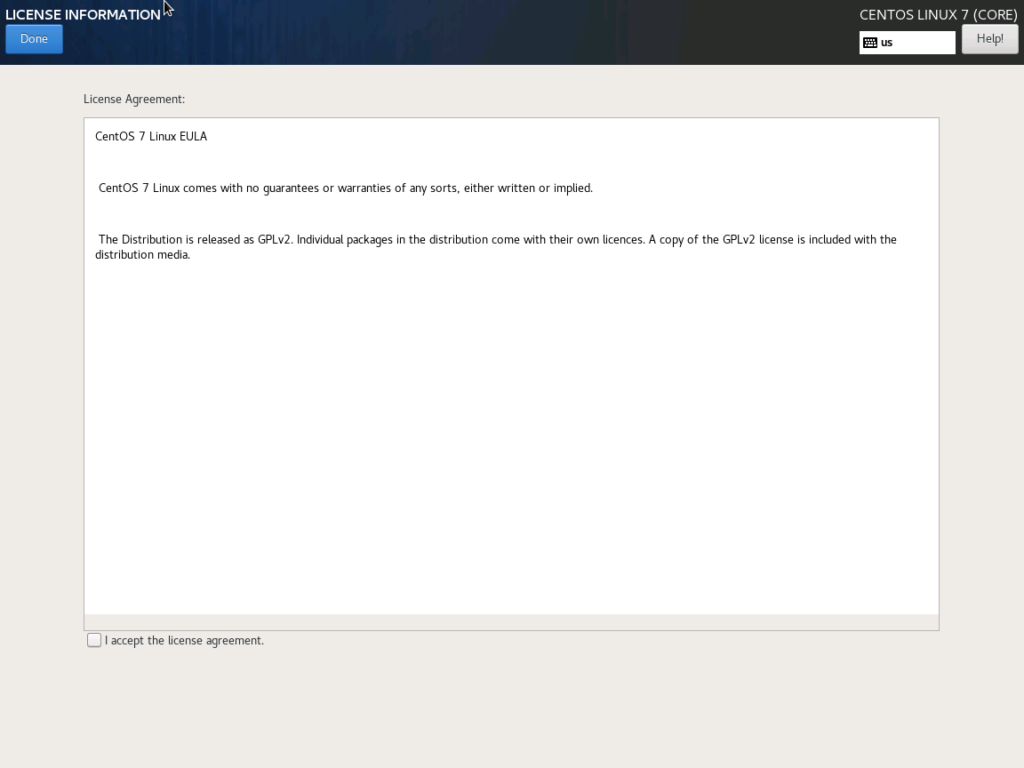
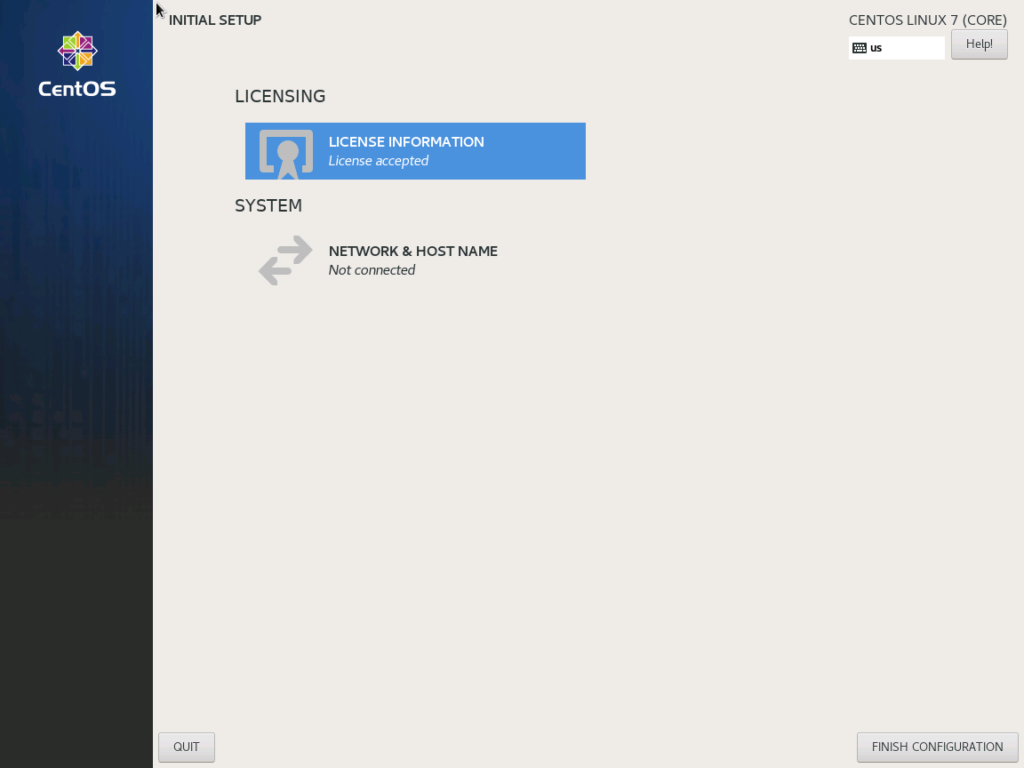
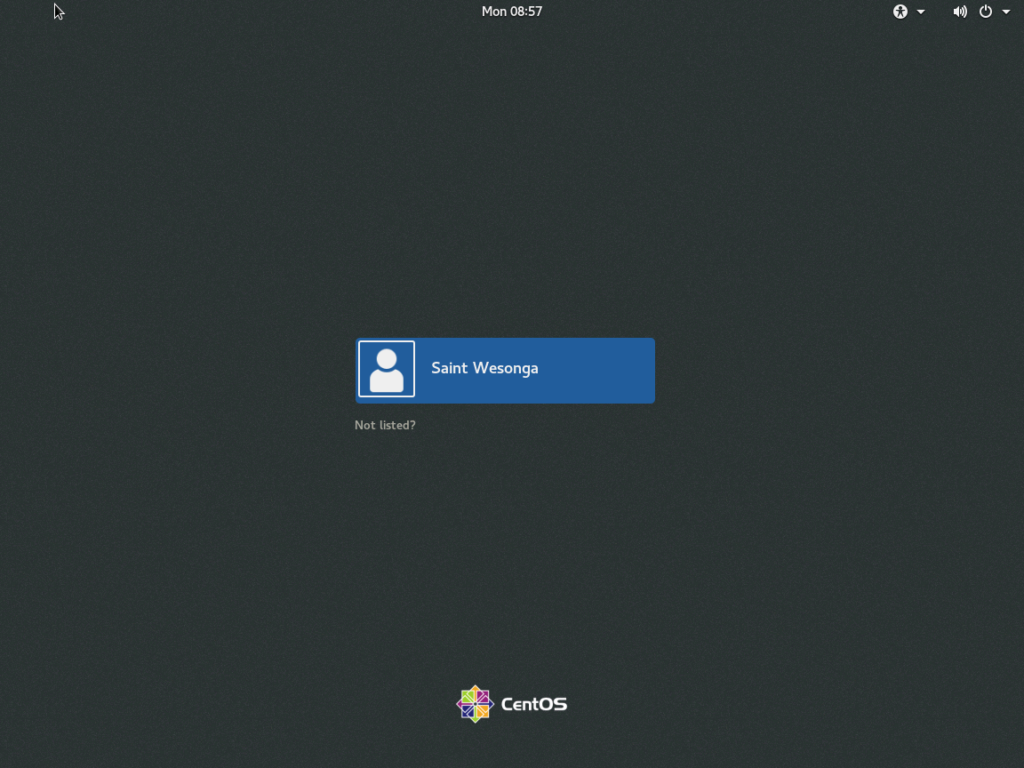
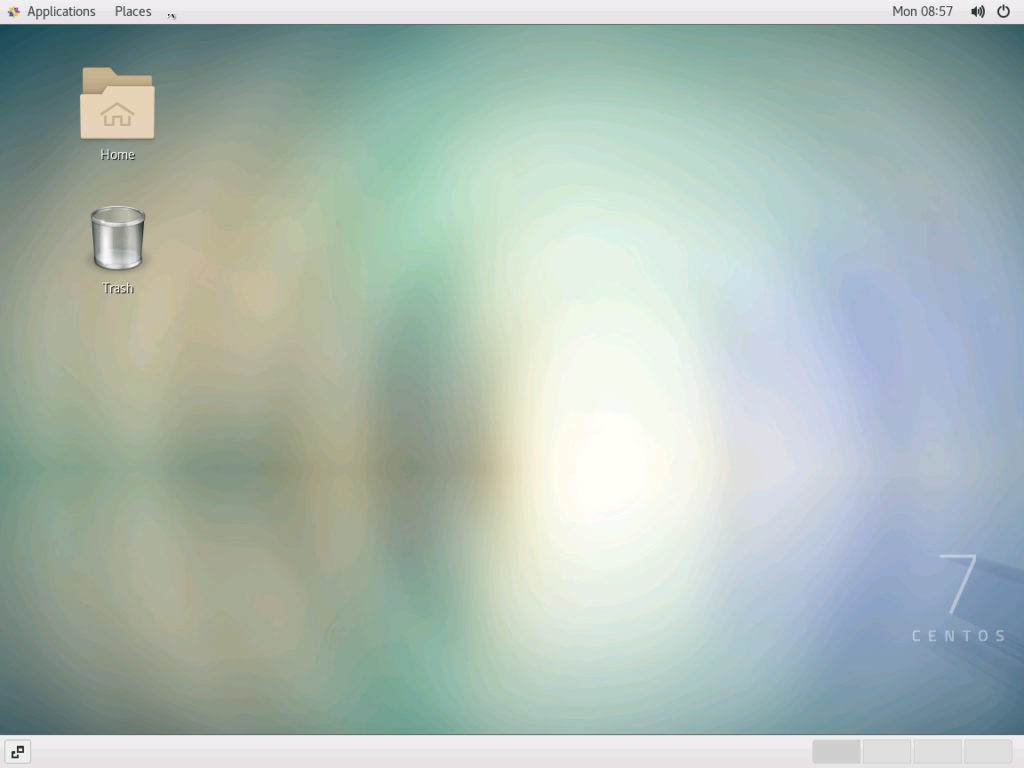
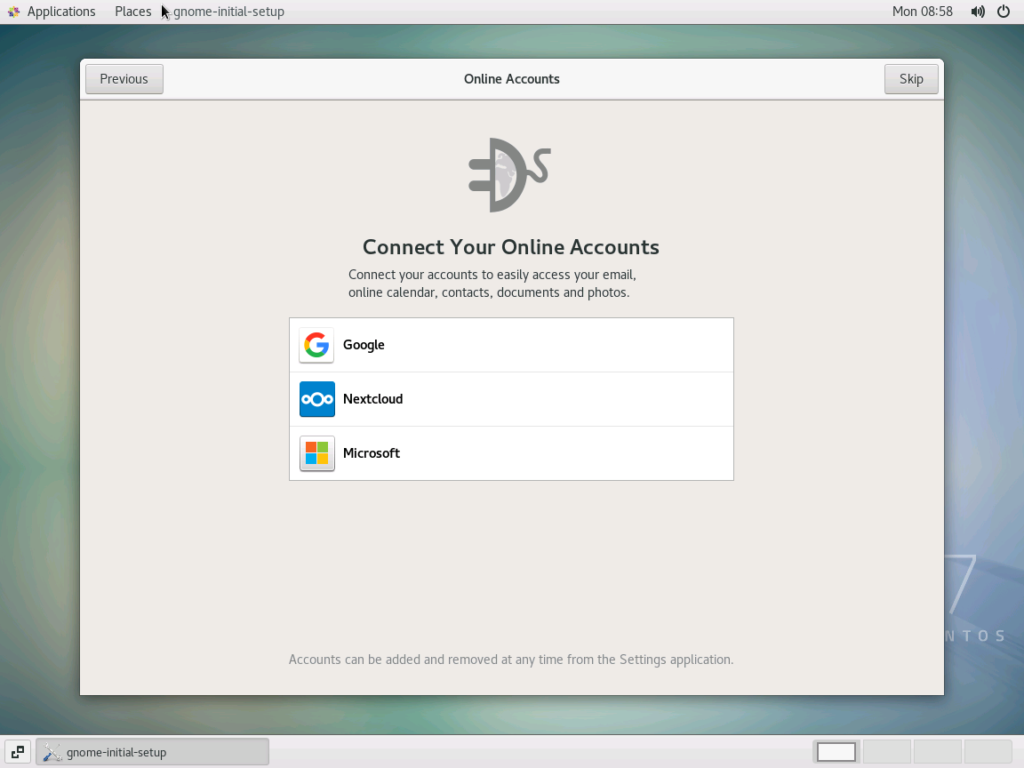
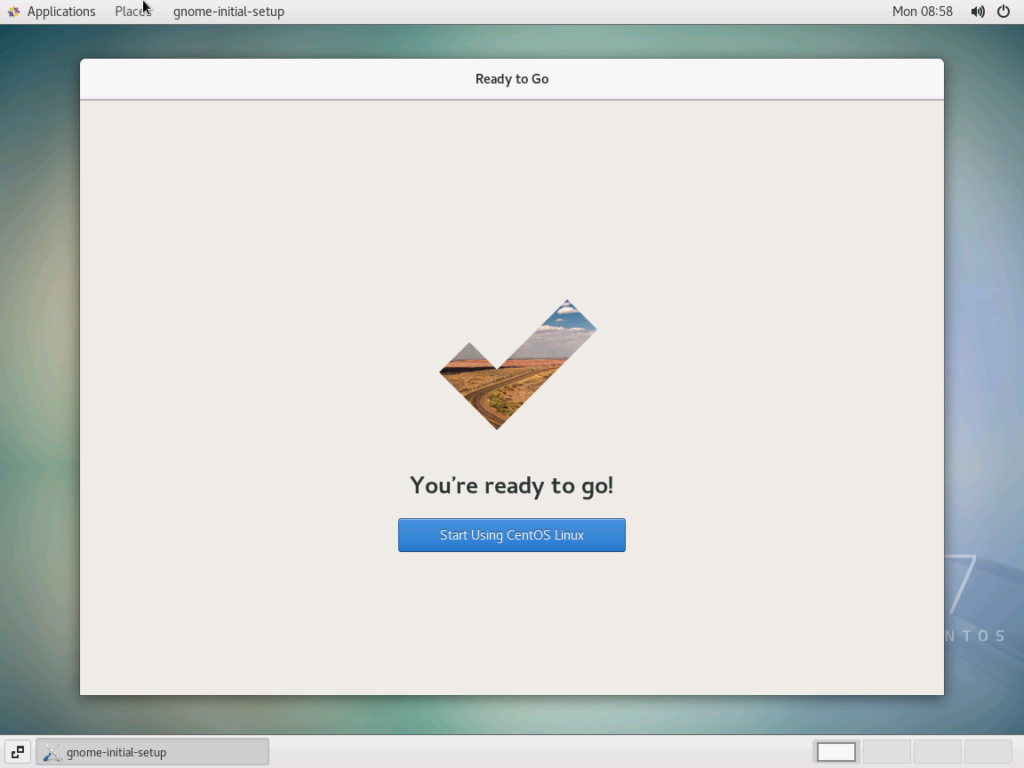
Once setup completed, CentOS booted and prompted me to accept the license as shown in these screenshots.
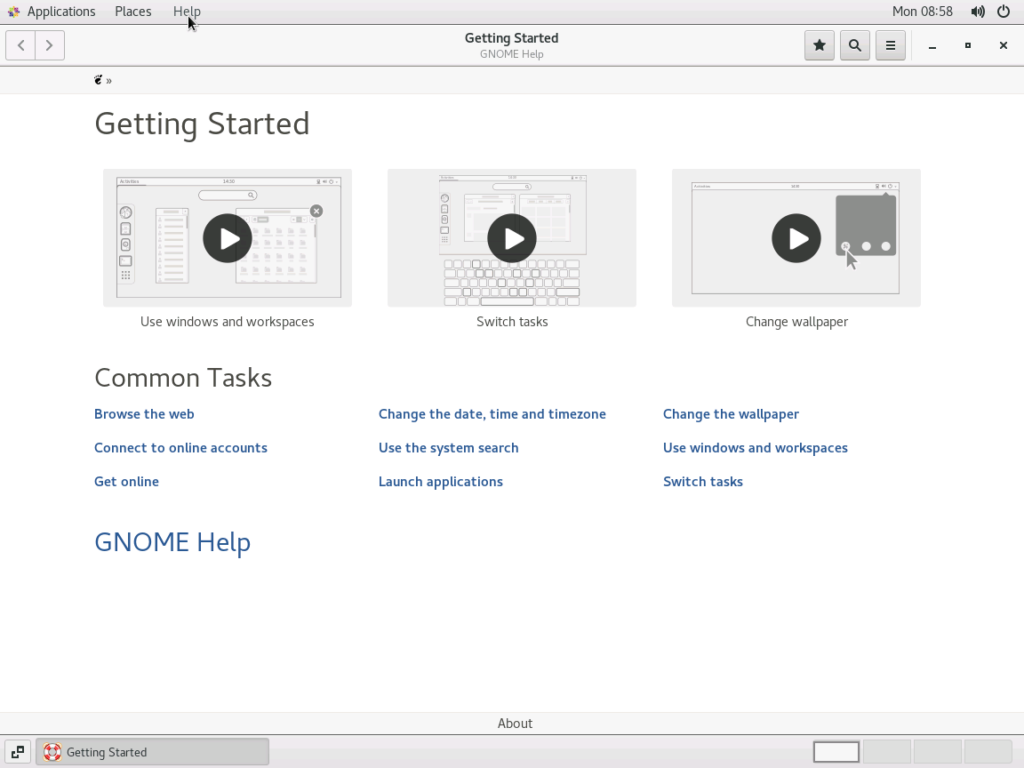
This was my first time using CentOS in more than a decade so I was pleased that there wasn’t anything particularly jarring about the experience.
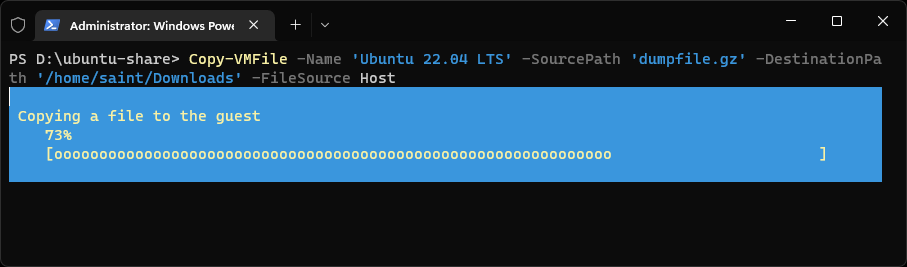
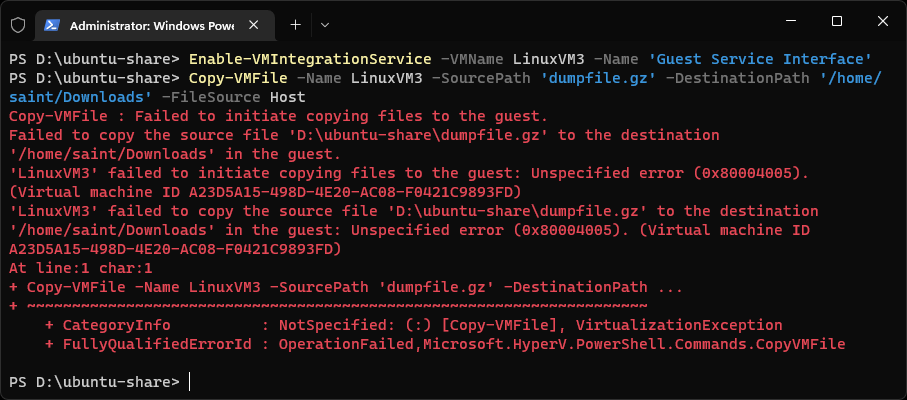
Of the many ways to transfer files to an Ubuntu guest on Hyper-V, running these PowerShell commands (as admin) suffices for a one-off file transfer. See 4 Ways to Transfer Files to a Linux Hyper-V Guest (altaro.com) for more details about this approach.
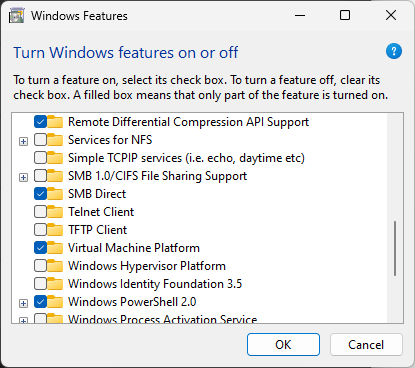
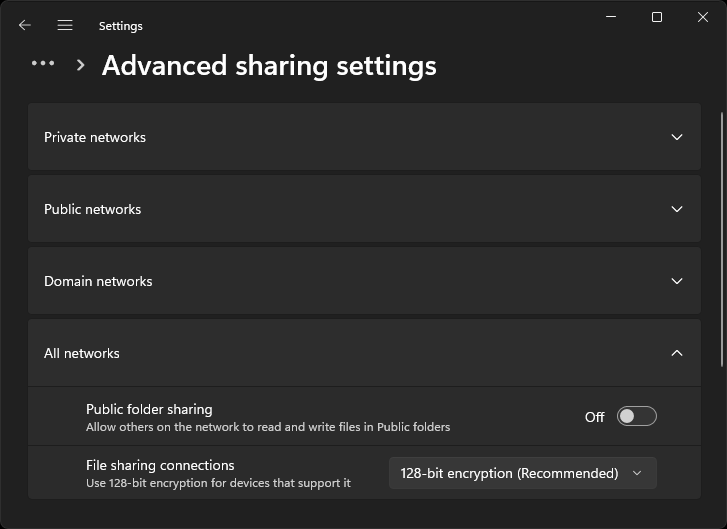
Yesterday I had a core dump from a Linux process that I wanted to specifically inspect in an Ubuntu VM. My host machine is a Windows 11 (10.0.22621.674) machine. The simple question of how to share files with my Ubuntu VM took me all over the map. Searching for hyper-v share files linux guest led me to Shared Folders over Hyper-V Ubuntu Guest (linuxhint.com). This had me enabling SMB 1.0/CIFS File Sharing Support (already had SMB Direct enabled) and Public folder sharing.
SMB Windows Features
Public Folder Sharing Settings
I then created an empty directory and turned on sharing on it as instructed. However, accessing it from Ubuntu turned out to be the problem. These are the suggested commands:
sudo apt install cifs-utils
mkdir ~/SharedFolder
sudo mount.cifs //<NAME OF YOUR PC>/<SHARED FOLDER NAME>
~/SharedFolder -o user=<YOUR WINDOWS USERNAME>
mount.cifs failed though.
saint@linuxvm:~$ sudo mount.cifs //DEVICENAME/virtual-machines
~/shared -o user=USERNAME
Password for USERNAME@//DEVICENAME/virtual-machines: ***
mount error(13): Permission denied
Refer to the mount.cifs(8) manual page (e.g. man mount.cifs) and kernel log messages (dmesg)
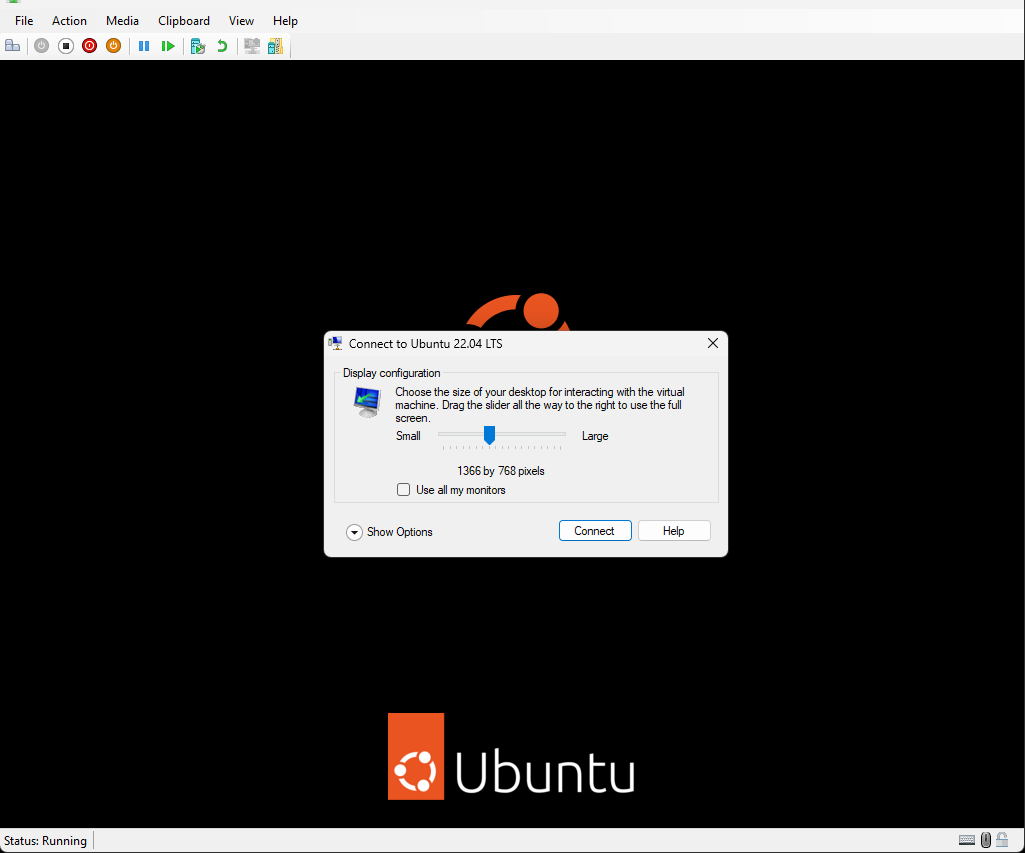
Click on Hyper-V’s Quick Create… command to start creating a VM. Select the latest Ubuntu LTS (22.04). Unfortunately, the only options available are the VM name and the network switch to use. Clicking on Create Virtual machine creates a VM on the primary/OS disk. I was pleasantly surprised to find that the Ubuntu 22.04 VM appeared to support enhanced session mode when Hyper-V asked for the screen resolution when connecting to it:
Connecting to Ubuntu VM
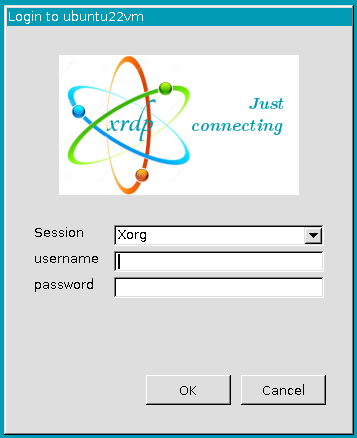
The enhanced session gives this xrdp login window:
xrdp Login Window
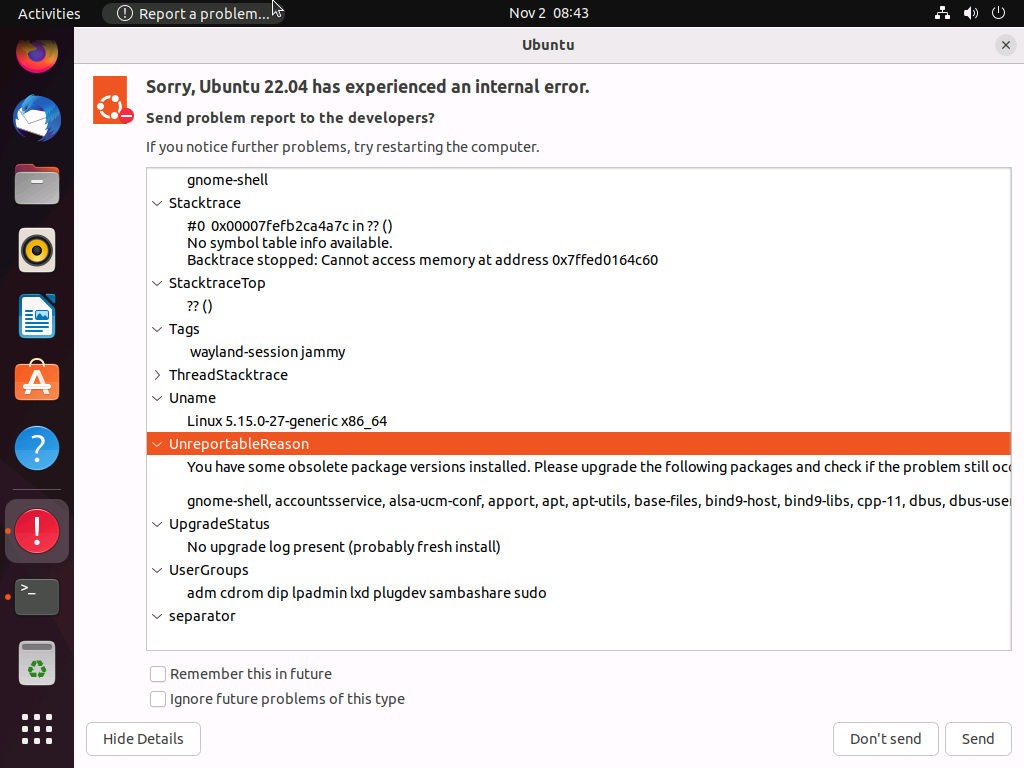
The window disappears when I enter my credentials and nothing happens for some time. I used the “Basic Session” toolbar button to switch back to the normal mode I’m used to. These are some of the errors I encounter:
Oh no! Something has gone wrong.
Internal Error Details
The error report points out that I have obsolete packages, among them gnome-shell (which crashed). I run sudo apt upgrade and says yes to the 368 upgrades (826 MB of archives). That is not sufficient to address this rdp bug so I stay in Basic Session mode for the rest of the time.
This leads me back to the PowerShell commands I used above. Lo and behold, they work this time! This is despite the fact that there don’t appear to be any processes displayed by ps -u root | grep hyper as described at 4 Ways to Transfer Files to a Linux Hyper-V Guest (altaro.com).
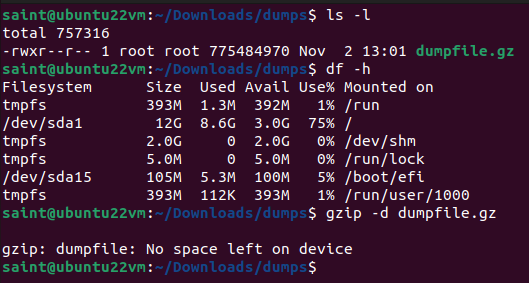
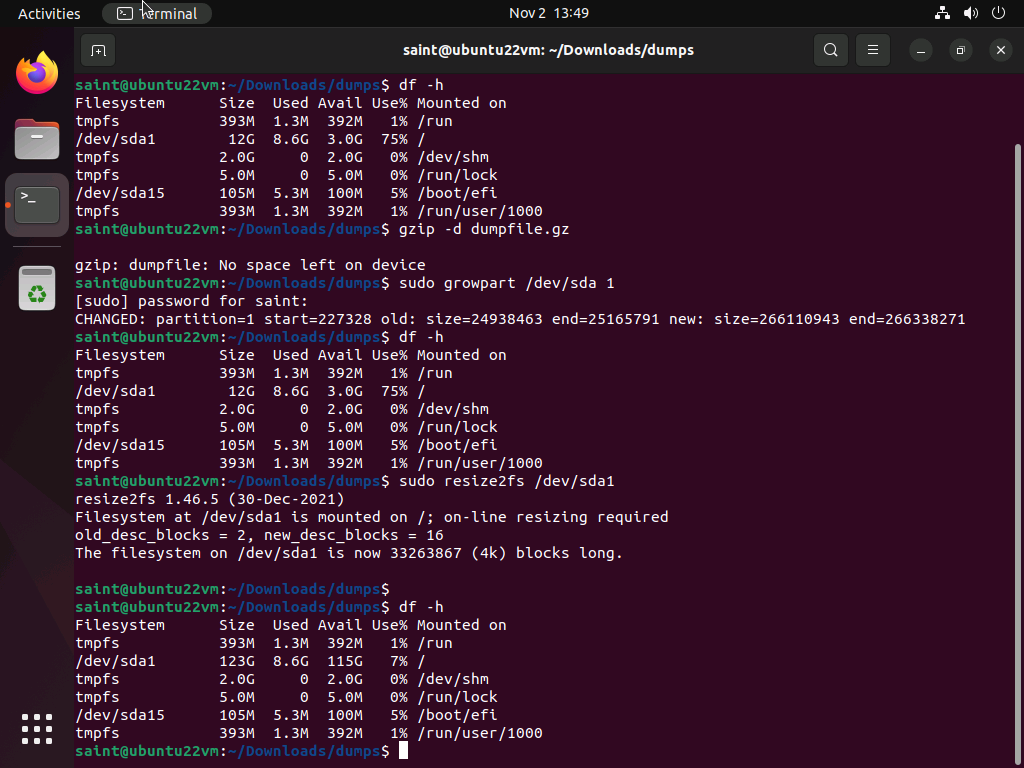
This is when I discover that I do not have enough space on the VM to expand my .gz file.
Inspecting Disk Usage
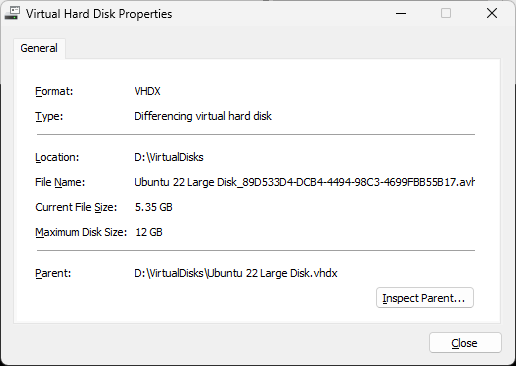
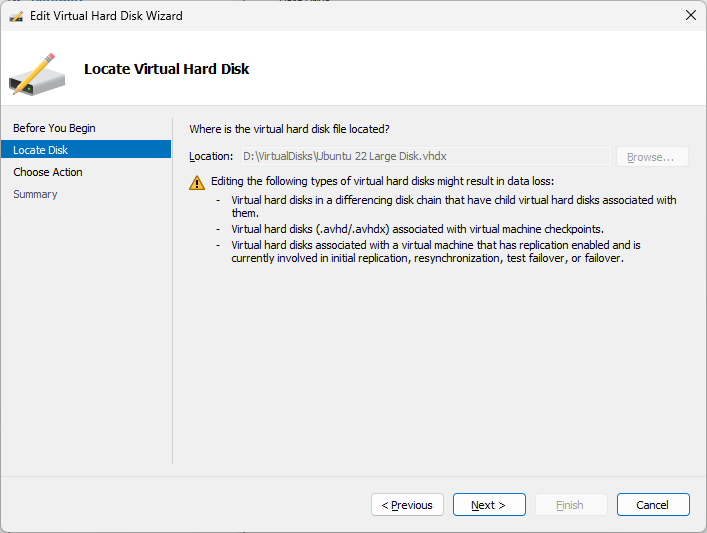
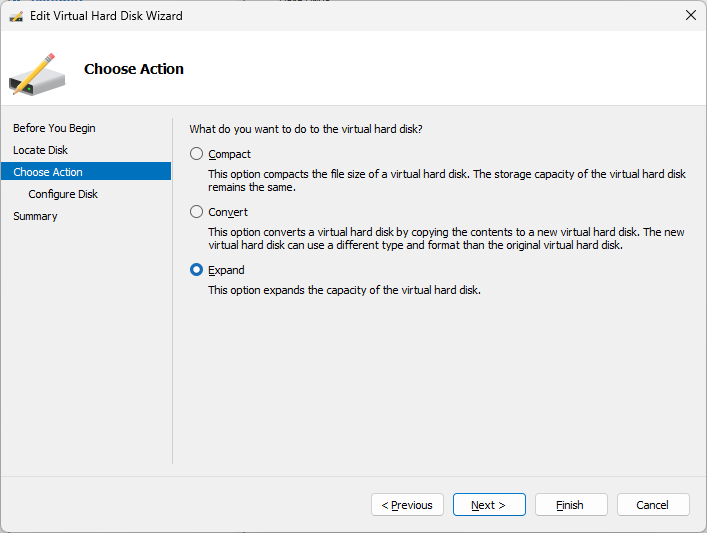
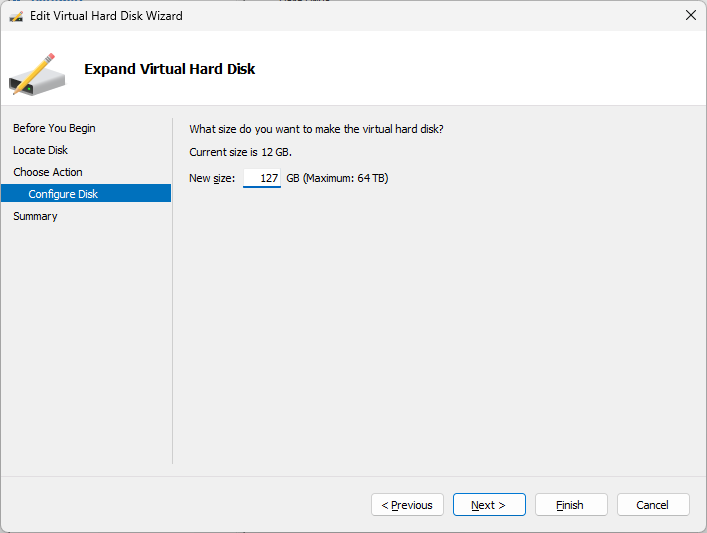
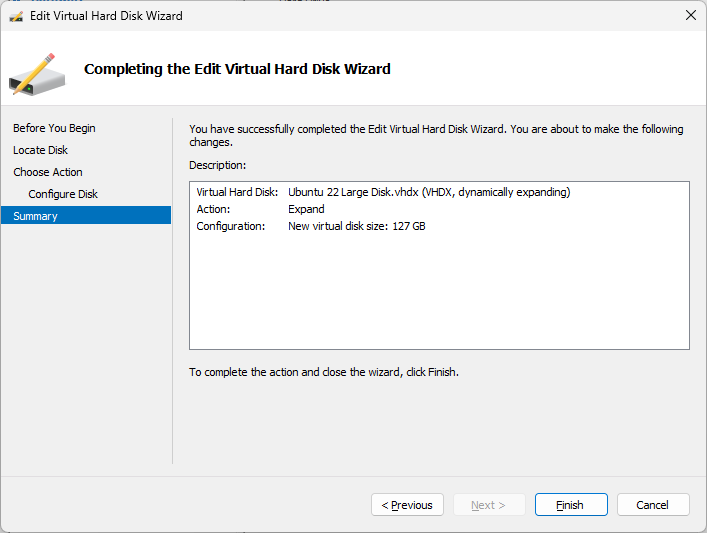
Unfortunately, the disk for the VM is only 12 GB (confirmed by launching Ubuntu and running out of space). Therefore, once the installation completes, expand the disk from 12 GB to a more reasonable size (e.g. 127 GB). If the default drive Quick Create used for the VM’s virtual disk does not have sufficient space, you will need to move the virtual hard disk to another drive then expand the partition in Ubuntu to use the whole virtual disk.
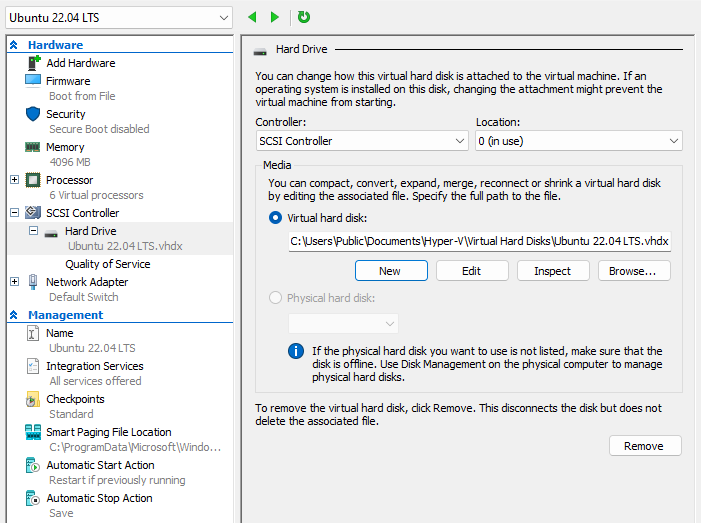
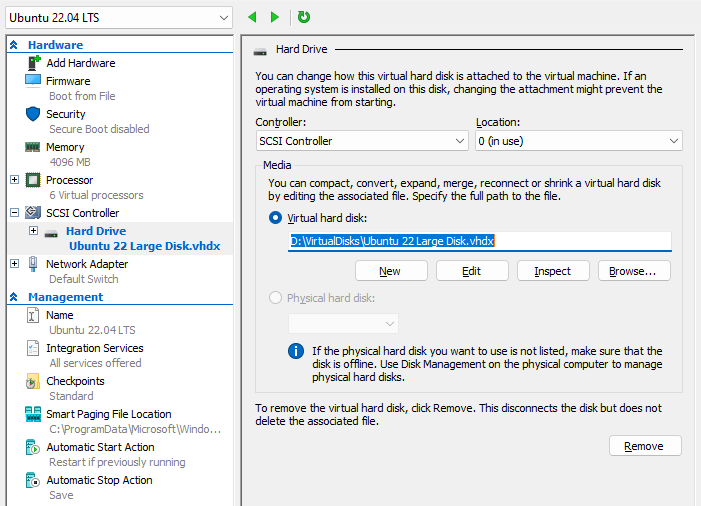
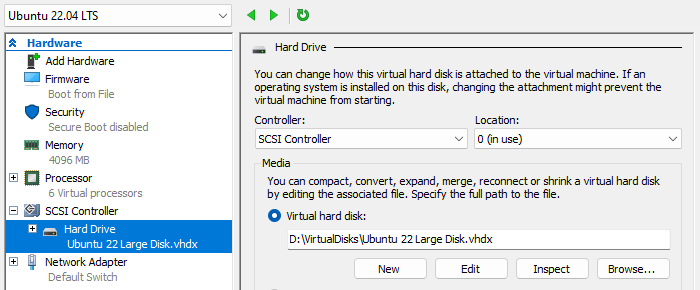
Open the virtual machine’s settings and select the VM’s Hard Drive. Click on the “New” button.
Select the disk type, e.g. “Dynamically Expanding“
Specify the name and location of the virtual hard disk file. This is where I selected a hard drive with lots of space for expansion for the VM.
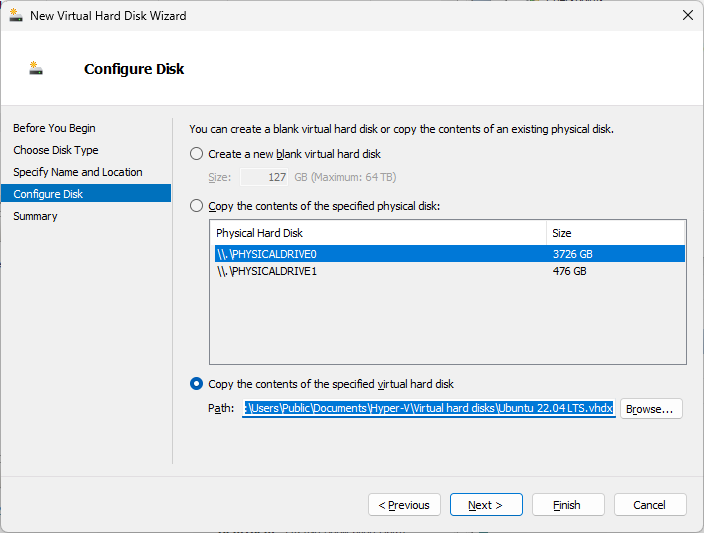
In the Configure Disk section, select the option to “Copy the contents of the specified virtual hard disk” and select the virtual machine’s current .vhdx file.
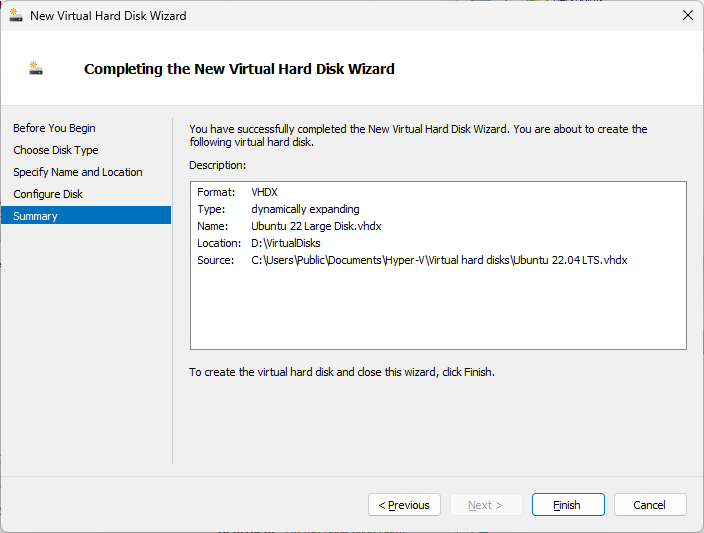
Verify that all parameters are correctly set then click on Finish.
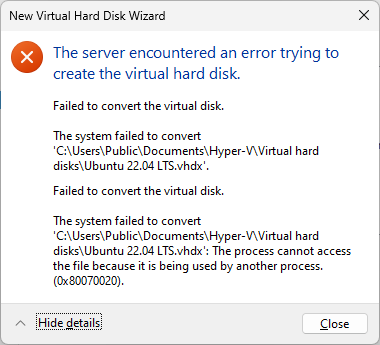
If the VM was still running, this error dialog will most likely be displayed.
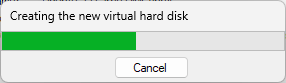
The new hard disk will be created with the content of the currently
After starting the VM again, I still didn’t have enough space to decompress my .gz file.
As suggested on one of the Ubuntu forums, the key here is to install the VirtualBox guest additions. Having done so on my system, I ran these commands:
cd /media/VBOXADDITIONS_3.2.6_63112/
sudo ./VBoxLinuxAdditions-x86.run
Rebooting my virtual machine and maximizing the VirtualBox window left me running Ubuntu at my native screen resolution of 1680×1050 :).
Update: On VirtualBox 4.1.2, use the virtual machine’s Devices -> Install Guest Additions … menu item. The ISO Disc should be automatically mounted, and allowing autorun to continue should complete the installation. The Virtualbox website has more information on guest additions.