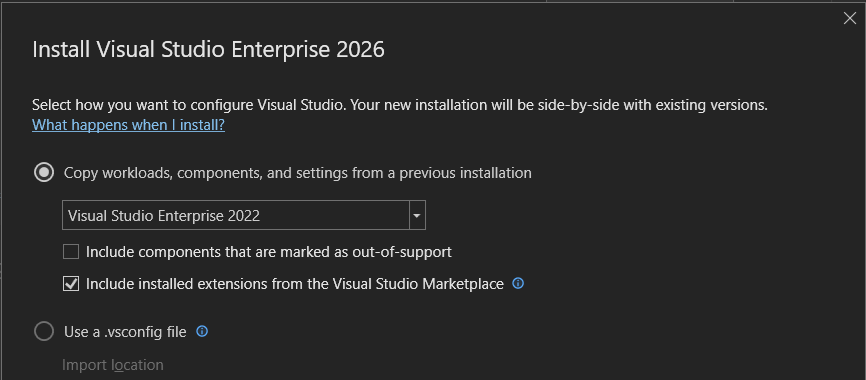
I want to write a VS extension so I figured this is the best time to finally install Visual Studio 2026. I was pleasantly surprised to find that I had the option to “Copy workloads, components, and settings from a previous installation”! This meant that the key reason I had been putting off upgrading was invalid – I didn’t want to mess around with build errors from missing components that just work in my Visual Studio 2022 setup.
Alias name: dummy
Entry type: PrivateKeyEntry
Valid from: Mon May 16 04:06:38 MDT 2016 until: Sat May 16 04:06:38 MDT 2026
Signature algorithm name: SHA256withRSA
Subject Public Key Algorithm: 2048-bit RSA key
Alias name: dummydsa
Entry type: PrivateKeyEntry
Valid from: Thu Mar 29 17:06:34 MDT 2018 until: Tue Mar 28 17:06:34 MDT 2028
Signature algorithm name: SHA256withDSA
Subject Public Key Algorithm: 1024-bit DSA key (weak)
Alias name: dummyecdsa
Entry type: PrivateKeyEntry
Valid from: Mon May 16 04:09:01 MDT 2016 until: Sat May 16 04:09:01 MDT 2026
Signature algorithm name: SHA256withECDSA
Subject Public Key Algorithm: 256-bit EC (secp256k1) key (disabled)
Alias name: dummyecrsa
Entry type: PrivateKeyEntry
Valid from: Fri Apr 13 02:20:55 MDT 2018 until: Wed Apr 12 02:20:55 MDT 2028
Signature algorithm name: SHA256withRSA
Subject Public Key Algorithm: 256-bit EC (secp256r1) key
Valid from: Mon May 16 04:06:38 MDT 2016 until: Sat May 16 04:06:38 MDT 2026
Signature algorithm name: SHA256withRSA
Subject Public Key Algorithm: 2048-bit RSA key
Alias name: ecdsasecp256r1
Entry type: PrivateKeyEntry
Valid from: Tue Mar 27 16:41:31 MDT 2018 until: Sun Mar 26 16:41:31 MDT 2028
Signature algorithm name: SHA256withECDSA
Subject Public Key Algorithm: 256-bit EC (secp256r1) key

Warning:
<dummydsa> uses a 1024-bit DSA key which is considered a security risk. This key size will be disabled in a future update.
<dummyecdsa> uses a 256-bit EC (secp256k1) key which is considered a security risk and is disabled.
The JKS keystore uses a proprietary format. It is recommended to migrate to PKCS12 which is an industry standard format using "keytool -importkeystore -srckeystore C:/java/.../test/jdk/javax/net/ssl/etc/keystore -destkeystore C:/java/.../test/jdk/javax/net/ssl/etc/keystore -deststoretype pkcs12".
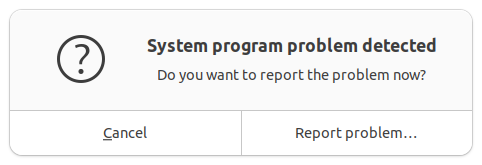
I recently turned on an Ubuntu VM I had not used in a while and was greeted by this error dialog about a system program problem. I looked up this message and got a reference to Apport – Ubuntu project documentation explaining that the crash reports are in /var/crash.
There were 3 files in that folder. Although I couldn’t initially read them since I wasn’t root, it was interesting seeing the callout warning me not to start VS Code as a super user.
saint@ubuntuvm3:~$ ls -l /var/crash
total 7428
-rw------- 1 root whoopsie  158635 Jul  1 15:35 python3.10.0.crash
-rw-r----- 1 root whoopsie 2995487 Jul  9 12:50 _usr_lib_cnf-update-db.0.crash
-rw-r----- 1 root whoopsie 4444576 Jul  1 15:35 _usr_lib_python3.10_py_compile.py.0.crash
saint@ubuntuvm3:~$ head -10 /var/crash/_usr_lib_cnf-update-db.0.crash
head: cannot open '/var/crash/_usr_lib_cnf-update-db.0.crash' for reading: Permission denied
saint@ubuntuvm3:~$ sudo code /var/crash/_usr_lib_cnf-update-db.0.crash
mkdir: cannot create directory ‘’: No such file or directory
You are trying to start Visual Studio Code as a super user which isn't recommended. If this was intended, please add the argument `--no-sandbox` and specify an alternate user data directory using the `--user-data-dir` argument.
I copied one of the files to my home folder and tried to open it without fixing the permissions. Several warnings appeared in VS Code, which was interesting to me because I never take this path in VS Code (taking me back to my full-time QA days).
2026-07-09 18:06:17.921 [error] [Window] Error: Unable to read file '/home/saint/cnf.txt' (NoPermissions (FileSystemError): An unknown error occurred. Please consult the log for more details.)
    at Kkt.G (vscode-file://vscode-app/snap/code/215/usr/share/code/resources/app/out/vs/workbench/workbench.desktop.main.js:3828:65903)
...
2026-07-09 18:06:18.102 [error] [Window] [File Watcher (node.js)] Failed to watch /home/saint/cnf.txt for changes using fs.watch() (Error: EACCES: permission denied, watch '/home/saint/cnf.txt')
...
I knew that I needed to update everything on this VM. Firefox was on version 146.0.1. The strange thing was that the Software Updater app didn’t even start! Nothing happened when clicking on its icon. I ran apt update anyway.
saint@ubuntuvm3:~$ sudo apt update
Hit:1 https://download.docker.com/linux/ubuntu jammy InRelease
Hit:2 http://security.ubuntu.com/ubuntu jammy-security InRelease
Hit:3 http://us.archive.ubuntu.com/ubuntu jammy InRelease
Get:4 http://us.archive.ubuntu.com/ubuntu jammy-updates InRelease [128 kB]
Hit:5 http://us.archive.ubuntu.com/ubuntu jammy-backports InRelease
Get:6 http://us.archive.ubuntu.com/ubuntu jammy-updates/main amd64 Packages [3,624 kB]
Get:7 http://us.archive.ubuntu.com/ubuntu jammy-updates/main i386 Packages [1,039 kB]
Get:8 http://us.archive.ubuntu.com/ubuntu jammy-updates/universe i386 Packages [814 kB]
Get:9 http://us.archive.ubuntu.com/ubuntu jammy-updates/universe amd64 Packages [1,277 kB]
Get:10 http://us.archive.ubuntu.com/ubuntu jammy-updates/universe Translation-en [321 kB]
Fetched 7,203 kB in 2s (4,014 kB/s)
Reading package lists... Done
Building dependency tree... Done
Reading state information... Done
7 packages can be upgraded. Run 'apt list --upgradable' to see them.
saint@ubuntuvm3:~$ apt list --upgradable
Listing... Done
docker-compose-plugin/jammy 5.3.1-1~ubuntu.22.04~jammy amd64 [upgradable from: 5.2.0-1~ubuntu.22.04~jammy]
fwupd/jammy-updates 2.0.20-1ubuntu2~22.04.2 amd64 [upgradable from: 2.0.20-1ubuntu2~22.04.1]
iproute2/jammy-updates 5.15.0-1ubuntu2.2 amd64 [upgradable from: 5.15.0-1ubuntu2]
libfwupd3/jammy-updates 2.0.20-1ubuntu2~22.04.2 amd64 [upgradable from: 2.0.20-1ubuntu2~22.04.1]
python3-distupgrade/jammy-updates,jammy-updates 1:22.04.21 all [upgradable from: 1:22.04.20]
ubuntu-release-upgrader-core/jammy-updates,jammy-updates 1:22.04.21 all [upgradable from: 1:22.04.20]
ubuntu-release-upgrader-gtk/jammy-updates,jammy-updates 1:22.04.21 all [upgradable from: 1:22.04.20]
saint@ubuntuvm3:~$ uname -a
Linux ubuntuvm3 6.8.0-90-generic #91~22.04.1-Ubuntu SMP PREEMPT_DYNAMIC Thu Nov 20 15:20:45 UTC 2 x86_64 x86_64 x86_64 GNU/Linux
saint@ubuntuvm3:~$ sudo apt upgrade
Reading package lists... Done
Building dependency tree... Done
Reading state information... Done
Calculating upgrade... Done
The following packages were automatically installed and are no longer required:
  libfwupd2 libfwupdplugin5 libgcab-1.0-0 libslirp0 libsmbios-c2 libwpe-1.0-1 libwpebackend-fdo-1.0-1 slirp4netns
Use 'sudo apt autoremove' to remove them.
The following packages have been kept back:
  fwupd libfwupd3 python3-distupgrade ubuntu-release-upgrader-core ubuntu-release-upgrader-gtk
The following packages will be upgraded:
  docker-compose-plugin iproute2
2 upgraded, 0 newly installed, 0 to remove and 5 not upgraded.
Need to get 9,172 kB of archives.
After this operation, 72.7 kB of additional disk space will be used.
Do you want to continue? [Y/n] y
Get:1 https://download.docker.com/linux/ubuntu jammy/stable amd64 docker-compose-plugin amd64 5.3.1-1~ubuntu.22.04~jammy [8,100 kB]
Get:2 http://us.archive.ubuntu.com/ubuntu jammy-updates/main amd64 iproute2 amd64 5.15.0-1ubuntu2.2 [1,072 kB]
Fetched 9,172 kB in 2s (5,743 kB/s)
Preconfiguring packages ...
(Reading database ... 181925 files and directories currently installed.)
Preparing to unpack .../iproute2_5.15.0-1ubuntu2.2_amd64.deb ...
Unpacking iproute2 (5.15.0-1ubuntu2.2) over (5.15.0-1ubuntu2) ...
Preparing to unpack .../docker-compose-plugin_5.3.1-1~ubuntu.22.04~jammy_amd64.deb ...
Unpacking docker-compose-plugin (5.3.1-1~ubuntu.22.04~jammy) over (5.2.0-1~ubuntu.22.04~jammy) ...
Setting up iproute2 (5.15.0-1ubuntu2.2) ...
Setting up docker-compose-plugin (5.3.1-1~ubuntu.22.04~jammy) ...
Processing triggers for man-db (2.10.2-1) ...
These were not as many packages as I expected to have updates! The next question was therefore how to determine whether I was on the latest security release. 22.04.5 appears to be the latest build, which is what cat /etc/lsb-release showed to my relief. Unfortunately, I didn’t check this value before I ran apt upgrade so I don’t know if this was already the version I was running when I started.
saint@ubuntuvm3:~$ uname -r
6.8.0-90-generic
saint@ubuntuvm3:~$ uname -a
Linux ubuntuvm3 6.8.0-90-generic #91~22.04.1-Ubuntu SMP PREEMPT_DYNAMIC Thu Nov 20 15:20:45 UTC 2 x86_64 x86_64 x86_64 GNU/Linux
saint@ubuntuvm3:~$ cat /etc/lsb-release
DISTRIB_ID=Ubuntu
DISTRIB_RELEASE=22.04
DISTRIB_CODENAME=jammy
DISTRIB_DESCRIPTION="Ubuntu 22.04.5 LTS"
At this point, I decided to abandon the VM and create a new one with the latest release. I downloaded the 26.04 ISO from Ubuntu 24.04.4 (Noble Numbat) and verified its entry in the SHASUMS file. I ran into some errors setting up the VM in Hyper V so I ended my experiment with VMs there.
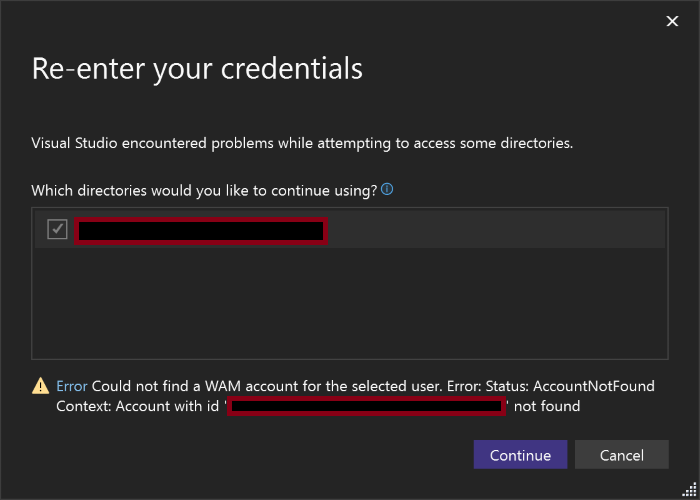
I was trying to use Visual Studio recently but it wouldn’t let me because my “license has gone stale and must be updated. Please make sure that you’re connected to the internet, then check for an updated license to continue using the product.” Clicking on the “Check for an updated license” command did not work. Under the “All Accounts” section of the dialog, there was a message under my account saying that “We need to refresh the credentials for this account.” Notice the Re-enter your credentials command.
Re-entering credentials failed with the AcccountNotFound error:
Aborting due to java.lang.OutOfMemoryError: Metaspace
#
# A fatal error has been detected by the Java Runtime Environment:
#
#  Internal Error (debug.cpp:289), pid=1234, tid=5678
#  fatal error: OutOfMemory encountered: Metaspace
#
# JRE version: OpenJDK Runtime Environment Microsoft-13945457 (25.0.3+9) (build 25.0.3+9-LTS)
# Java VM: OpenJDK 64-Bit Server VM Microsoft-13945457 (25.0.3+9-LTS, mixed mode, sharing, tiered, compressed oops, compressed class ptrs, g1 gc, windows-aarch64)
# Core dump will be written. Default location: D:\
The test failure output was:
getCoreFileLocation found stringWithLocation = D:\...\hs_err_pid1234.mdmp
Found core file D:\...\hs_err_pid1234.mdmp, size = 0mb
STDERR:
java.lang.RuntimeException: Test ERROR java.lang.RuntimeException: Unexpected core size: expected 0 > 0
	at ClhsdbFindPC.testFindPC(ClhsdbFindPC.java:317)
	at ClhsdbFindPC.main(ClhsdbFindPC.java:339)
	at java.base/jdk.internal.reflect.DirectMethodHandleAccessor.invoke(DirectMethodHandleAccessor.java:104)
	at java.base/java.lang.reflect.Method.invoke(Method.java:565)
	at com.sun.javatest.regtest.agent.MainWrapper$MainTask.run(MainWrapper.java:138)
	at java.base/java.lang.Thread.run(Thread.java:1474)
Caused by: java.lang.RuntimeException: Unexpected core size: expected 0 > 0
	at jdk.test.lib.Asserts.fail(Asserts.java:715)
	at jdk.test.lib.Asserts.assertGreaterThan(Asserts.java:403)
	at jdk.test.lib.Asserts.assertGT(Asserts.java:374)
	at jdk.test.lib.util.CoreUtils.getCoreFileLocation(CoreUtils.java:113)
	at ClhsdbFindPC.testFindPC(ClhsdbFindPC.java:113)
	... 5 more
The issue here clearly appears to be that the JVM ran out of memory before it could complete the test. However, I wanted to save the expected output from the test for quick reference in future:
# A fatal error has been detected by the Java Runtime Environment:
#
#  EXCEPTION_ACCESS_VIOLATION (0xc0000005) at pc=0x00007ffaf8cd112c, pid=1234, tid=5678
#
# JRE version: OpenJDK Runtime Environment Microsoft-13945457 (25.0.3+9) (build 25.0.3+9-LTS)
# Java VM: OpenJDK 64-Bit Server VM Microsoft-13945457 (25.0.3+9-LTS, compiled mode, sharing, tiered, compressed oops, compressed class ptrs, g1 gc, windows-aarch64)
# Problematic frame:
# C  [LingeredApp.dll+0x112c]
#
# Core dump will be written. Default location: C:\...
If the test is working correctly, the crash should come from LingeredApp.dll. This binary is in the test image, specifically in hotspot/jtreg/native. LingeredApp.java has a native method called crash(). It’s implementation in libLingeredApp.c dereferences a non-null invalid pointer with set bits in every word. This guarantees that an EXCEPTION_ACCESS_VIOLATION should be seen if the test ran correctly.
I wanted to sign up for an event recently and the web page asked me to sign a waiver. This looked like a document I should save so I tried to print it as a PDF. I was surprised that the PDF was a completely blank page. This reminded me of my encounter with Printer Unfriendly HTML and CSS. I inspected the computed styles of the elements on the page. Interestingly, they were all reasonably sized (e.g. the main div elements appeared to be thousands of pixels tall and wide). Even the body was tall enough to make it strange that nothing would show up in the print preview. My first AI prompt:
the html body has the full width and height of the content. why is the print preview a completely blank page (seen both in edge and firefox)
how to detect if there is a print stylesheet for the webpage
One of the answers to the 2nd query was to use DevTools to force print media mode! This approach is documented at Emulate CSS media features | Chrome DevTools | Chrome for Developers: Open the rendering tab and under Emulate CSS media type select print. This rendered a blank page, which confirmed that the web page was designed to behave this way (this wasn’t just accidentally bad HTML/CSS design, there was some intentionality).
Verifying Signed JAR Files states that the basic command to use for verifying a signed JAR file is jarsigner -verify jar-file. The jarsigner Command adds that when the -strict option is specified, it constructs the exit code depending on which checks failed. We can check the exit code using echo $? in bash. For example, I get exit code 16 for my unsigned JAR file with --strict but exit code 0 without it.
cd /c/repos/factorize/java/project
time mvn package

export JAVA_HOME=/d/java/binaries/jdk/x64/2026-04/windows-jdk25u/jdk-25.0.3+9

$JAVA_HOME/bin/jarsigner -verify -strict target/factorize-1.0.0-jar-with-dependencies.jar

echo $?
Warning:  Different store and key passwords not supported for PKCS12 KeyStores. Ignoring user-specified -keypass value.
keytool error: java.lang.Exception: The -keyalg option must be specified.
Generating 2048-bit DSA key pair and self-signed certificate (SHA256withDSA) with a validity of 180 days
        for: CN=Saint Wesonga, OU=Java, O=Microsoft, C=US
$JAVA_HOME/bin/jarsigner \
 -keystore mykeys/mykeystore \
 -signedjar target/factorize-1.0.0-signed-jar-with-dependencies.jar \
 target/factorize-1.0.0-jar-with-dependencies.jar business
Its output is:
Enter Passphrase for keystore:

jar signed.

Warning:
The signer's certificate is self-signed.
POSIX file permission and/or symlink attributes detected. These attributes are ignored when signing and are not protected by the signature.
Earlier this year I dug into intermittent test hangs in the ProducerConsumerLoops test when using the Windows AArch64 JDK 25 build. I decided to test it on JDK 17 and JDK 21 to see how far back the hang went:
export JAVA_HOME17=/c/java/binaries/jdk/aarch64/2025-10/windows-jdk17u/jdk-17.0.17+10
export JAVA_HOME21=/c/java/binaries/jdk/aarch64/2025-10/windows-jdk21u/jdk-21.0.9+10

date; time $JAVA_HOME17/bin/java -Xcomp -XX:-TieredCompilation ProducerConsumerLoops
date; time $JAVA_HOME21/bin/java -Xcomp -XX:-TieredCompilation ProducerConsumerLoops
The test passed on jdk17u but hang on jdk21u. The hang did not happen with -Xint or -Xcomp -XX:TieredStopAtLevel=1 and the jstack command did not report any deadlock. I couldn’t find a Windows AArch64 jdk19u build to test, so I had to build the sources myself. I suspected that I would need a jdk18u build for the jdk19u boot JDK, so I started by building jdk18u. See Building OpenJDK 18 for Windows AArch64 for details on the errors I ran into and how I worked around them – I needed a jdk18u build for the boot JDK when building jdk18u.
configure: Found potential Boot JDK using configure arguments
configure: Potential Boot JDK found at /cygdrive/d/java/binaries/jdk/x64/2025-10/windows-jdk17u/jdk-17.0.17+10 is incorrect JDK version (openjdk version "17.); ignoring-Bit Server VM Microsoft-12574423 (build 17.0.17+10-LTS, mixed mode, sharing)
configure: (Your Boot JDK version must be one of: 18 19)
configure: error: The path given by --with-boot-jdk does not contain a valid Boot JDK
configure exiting with result code 1
ERROR: Build failed for target 'images' in configuration 'windows-aarch64-server-release' (exit code 2)
Stopping javac server

=== Output from failing command(s) repeated here ===
* For target support_native_jdk.jdwp.agent_libjdwp_debugInit.obj:
debugInit.c
d:\java\forks\openjdk\jdk\src\jdk.jdwp.agent\share\native\libjdwp\debugInit.c(248): error C2220: the following warning is treated as an error
d:\java\forks\openjdk\jdk\src\jdk.jdwp.agent\share\native\libjdwp\debugInit.c(248): warning C5287: operands are different enum types '<unnamed-enum-JVMTI_VERSION_1>' and '<unnamed-enum-JVMTI_VERSION_MASK_INTERFACE_TYPE>'; use an explicit cast to silence this warning
d:\java\forks\openjdk\jdk\src\jdk.jdwp.agent\share\native\libjdwp\debugInit.c(248): note: to simplify migration, consider the temporary use of /Wv:18 flag with the version of the compiler with which you used to build without warnings
d:\java\forks\openjdk\jdk\src\jdk.jdwp.agent\share\native\libjdwp\debugInit.c(250): warning C5287: operands are different enum types '<unnamed-enum-JVMTI_VERSION_1>' and '<unnamed-enum-JVMTI_VERSION_MASK_INTERFACE_TYPE>'; use an explicit cast to silence this warning
d:\java\forks\openjdk\jdk\src\jdk.jdwp.agent\share\native\libjdwp\debugInit.c(250): note: to simplify migration, consider the temporary use of /Wv:18 flag with the version of the compiler with which you used to build without warnings
d:\java\forks\openjdk\jdk\src\jdk.jdwp.agent\share\native\libjdwp\debugInit.c(252): warning C5287: operands are different enum types '<unnamed-enum-JVMTI_VERSION_1>' and '<unnamed-enum-JVMTI_VERSION_MASK_INTERFACE_TYPE>'; use an explicit cast to silence this warning
d:\java\forks\openjdk\jdk\src\jdk.jdwp.agent\share\native\libjdwp\debugInit.c(252): note: to simplify migration, consider the temporary use of /Wv:18 flag with the version of the compiler with which you used to build without warnings
   ... (rest of output omitted)

* All command lines available in /cygdrive/d/java/forks/openjdk/jdk/build/windows-aarch64-server-release/make-support/failure-logs.
=== End of repeated output ===
I deleted the build directory and reran configure with the --disable-warnings-as-errors flag to work around this and found that the test passed on the jdk20u (release configuration) build.
checking for gtest... /cygdrive/d/repos/googletest
configure: error: gtest version is too old, at least version 1.13.0 is required
configure exiting with result code 1
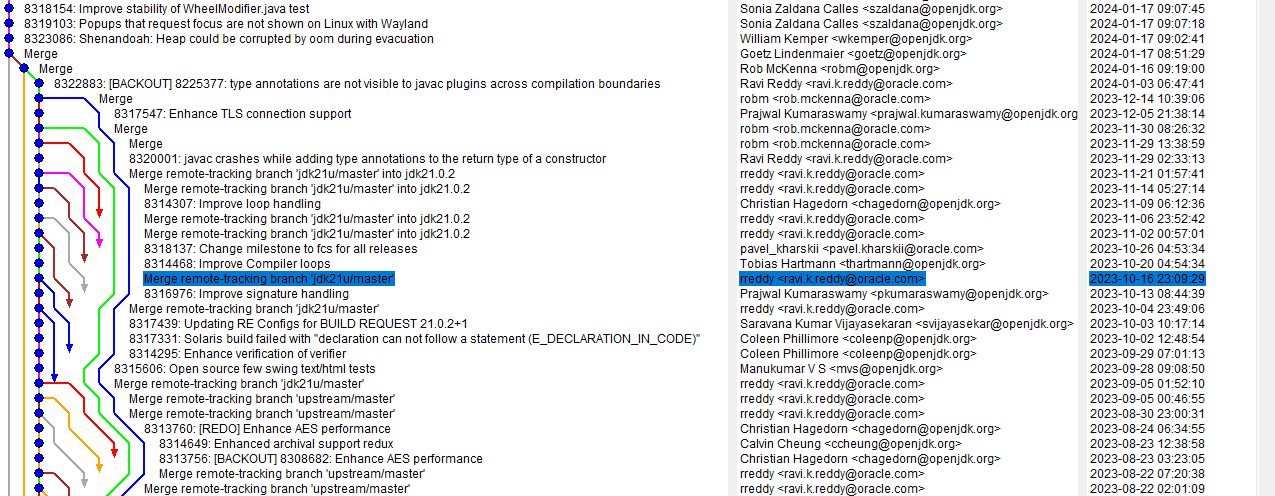
I fixed the gtest tag and the test passed on that Windows AArch64 build. It looked like the test was passing on every build was so I decided to build the end tag of the search: jdk-21+26. The test passed there too! I downloaded the 21.0.9+10 build from Adoptium and it failed so I needed to continue bisecting in the jdk21u repo. I had a fork of openjdk/jdk21u-dev locally so I started by searching (by JBS ID) for the last commit that passed the test on tip:
$ git log --grep='8306841'
commit bb377b26730f3d9da7c76e0d171517e811cef3ce (tag: jdk-22+0, tag: jdk-21+26)
Author: Stefan Karlsson <stefank@openjdk.org>
Date:   Thu Jun 8 14:06:27 2023 +0000

    8306841: Generational ZGC: NMT reports Java heap size larger than max heap size

    Reviewed-by: eosterlund, stuefe
# show log up to a specific commit
git log bb377b2..HEAD

# show just summary line of a commit
git show -s --oneline bb377b2..HEAD

# command to count number of lines (outputs 1727)
git show -s --oneline bb377b2..HEAD | wc -l

# show the commit halfway between the two ends
git show -s --oneline bb377b2..HEAD | head -n 863

# outputs 8ac431347fd 8324723: GHA: Upgrade some actions to avoid deprecated Node 16

git checkout 8ac431347fd
# command to count number of lines (outputs 865)
git show -s --oneline bb377b2..8ac4313 | wc -l

# show the commit halfway between the two ends
git show -s --oneline bb377b2..8ac4313 | head -n 432

# outputs a4e78f30fce Merge remote-tracking branch 'jdk21u/master'
$ git checkout 9ca8761
error: short object ID 9ca8761 is ambiguous
hint: The candidates are:
hint:   9ca87615550 commit 2024-01-17 - 8323086: Shenandoah: Heap could be corrupted by oom during evacuation
hint:   9ca8761a221 tree
error: pathspec '9ca8761' did not match any file(s) known to git

$ git checkout 9ca87615550eba5493dde94e6204e58ca8cc1119
saint@MacBookPro build_llvm_Aarch64 % pwd
/Users/saint/repos/llvm/llvm-project/build_llvm_Aarch64
saint@MacBookPro build_llvm_Aarch64 % cmake ~/repos/llvm/llvm-project
CMake Warning:
  Ignoring extra path from command line:

   "/Users/saint/repos/llvm/llvm-project"


CMake Error: The source directory "/Users/saint/repos/llvm/llvm-project" does not appear to contain CMakeLists.txt.
Specify --help for usage, or press the help button on the CMake GUI.
saint@MacBookPro build_llvm_Aarch64 % cmake ~/repos/llvm/llvm-project/llvm
-- The C compiler identification is AppleClang 17.0.0.17000404
-- The CXX compiler identification is AppleClang 17.0.0.17000404
-- The ASM compiler identification is Clang with GNU-like command-line
-- Found assembler: /Applications/Xcode.app/Contents/Developer/Toolchains/XcodeDefault.xctoolchain/usr/bin/cc
-- Detecting C compiler ABI info
-- Detecting C compiler ABI info - done
-- Check for working C compiler: /Applications/Xcode.app/Contents/Developer/Toolchains/XcodeDefault.xctoolchain/usr/bin/cc - skipped
-- Detecting C compile features
-- Detecting C compile features - done
-- Detecting CXX compiler ABI info
-- Detecting CXX compiler ABI info - done
-- Check for working CXX compiler: /Applications/Xcode.app/Contents/Developer/Toolchains/XcodeDefault.xctoolchain/usr/bin/c++ - skipped
-- Detecting CXX compile features
-- Detecting CXX compile features - done
CMake Error at CMakeLists.txt:82 (message):


  No build type selected.  You need to pass -DCMAKE_BUILD_TYPE=<type> in
  order to configure LLVM.

  Available options are:

    * -DCMAKE_BUILD_TYPE=Release - For an optimized build with no assertions or debug info.
    * -DCMAKE_BUILD_TYPE=Debug - For an unoptimized build with assertions and debug info.
    * -DCMAKE_BUILD_TYPE=RelWithDebInfo - For an optimized build with no assertions but with debug info.
    * -DCMAKE_BUILD_TYPE=MinSizeRel - For a build optimized for size instead of speed.

  Learn more about these options in our documentation at
  https://llvm.org/docs/CMake.html#cmake-build-type


-- Configuring incomplete, errors occurred!
See also "/Users/saint/repos/llvm/llvm-project/build_llvm_Aarch64/CMakeFiles/CMakeOutput.log".
See also "/Users/saint/repos/llvm/llvm-project/build_llvm_Aarch64/CMakeFiles/CMakeError.log".
I don’t know why it wouldn’t just default to the release build. Providing that flag was sufficient for the configuration and build to succeed.
My first successful build was via the cmake --build . command, which took over 3 hours on my M1. This was longer than I expected but it was a very simple process overall when compared to Windows AArch64 cross-compilation.
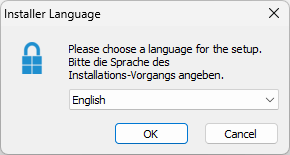
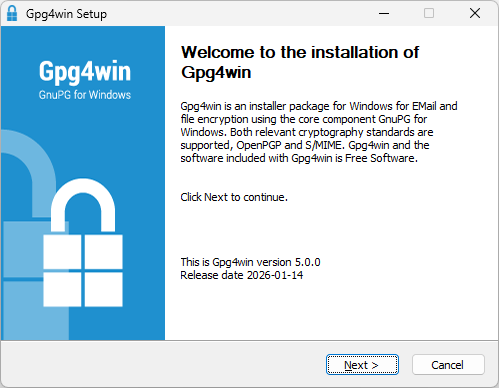
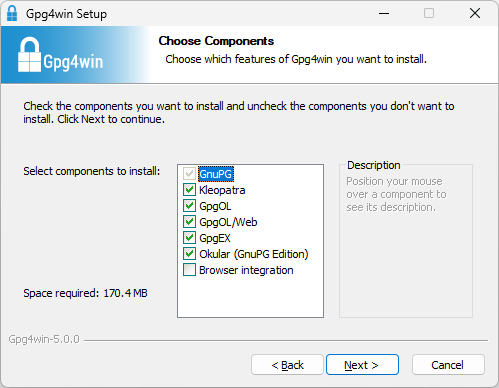
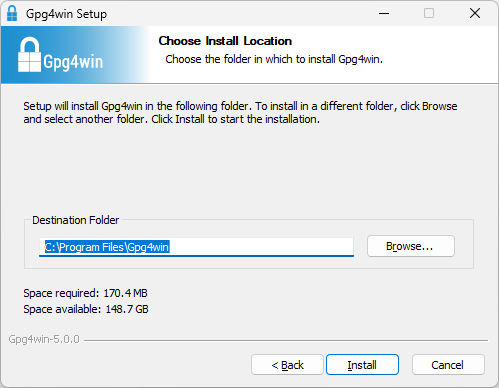
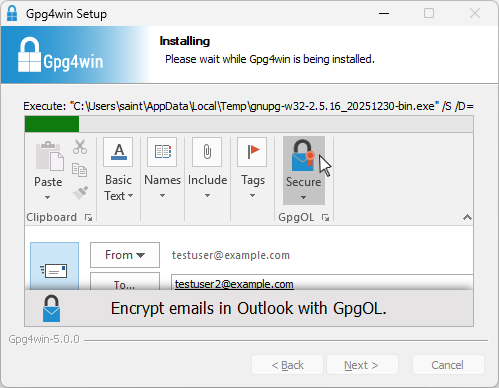
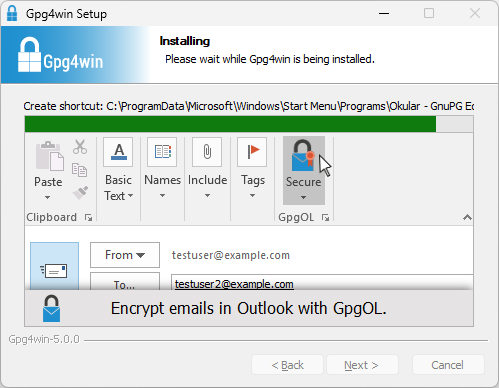
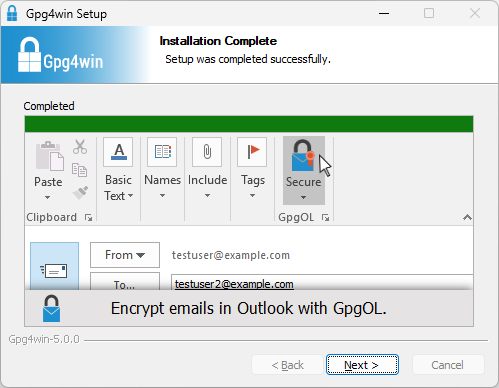
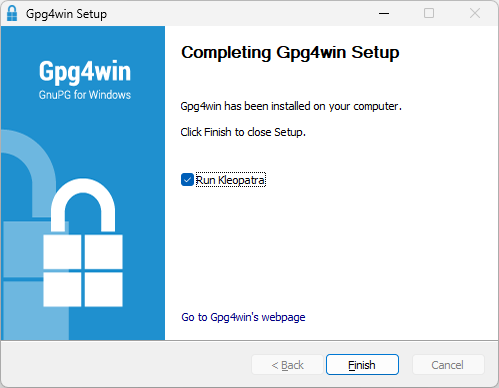
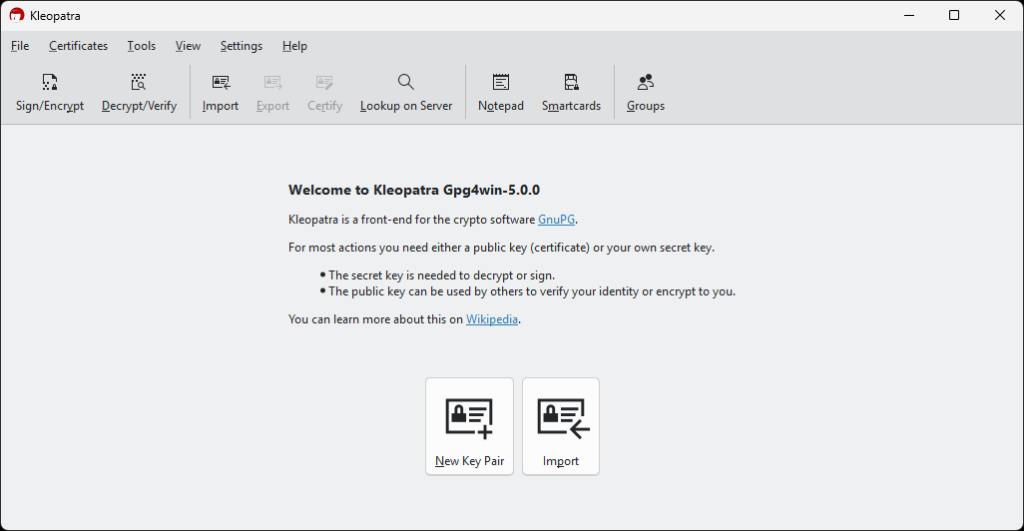
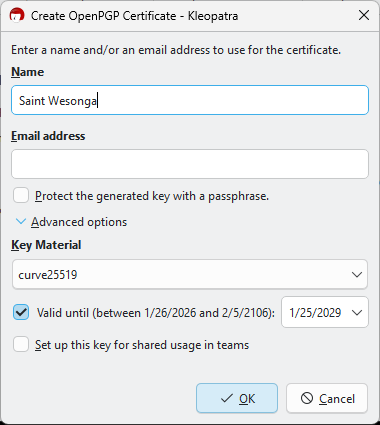
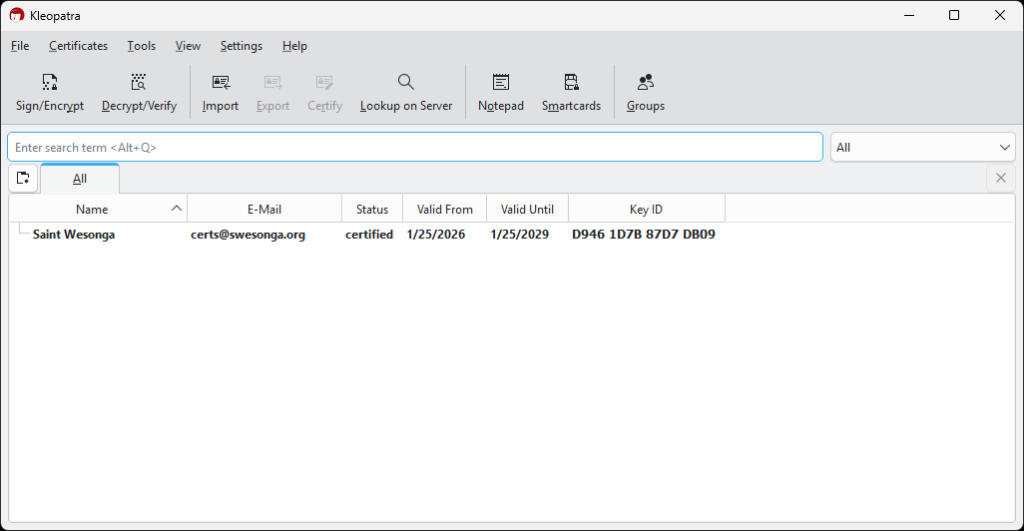
I wanted to transfer files across machines last weekend using OneDrive without making the content available in unencrypted form in the cloud. From the encrypt files with pgp – Search, I went to the PGP Encrypt File | Microsoft Learn page. It linked to the GnuPG – Download page, where I got Gpg4win. This post shows (via screenshots) the process of installing the software on Windows and macOS and encrypting and decrypting a file.
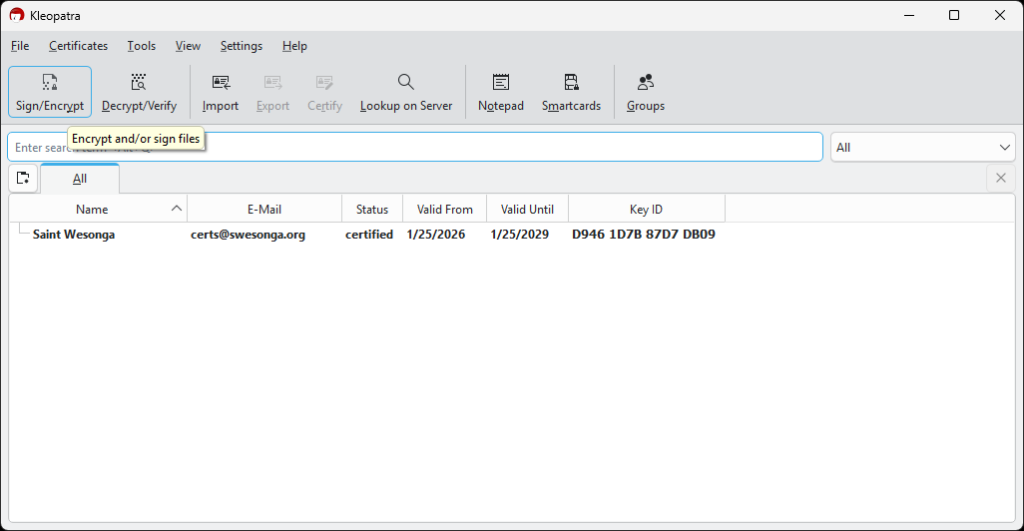
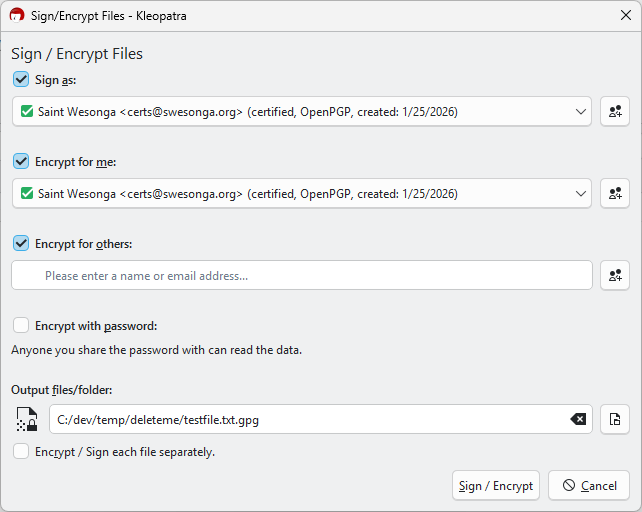
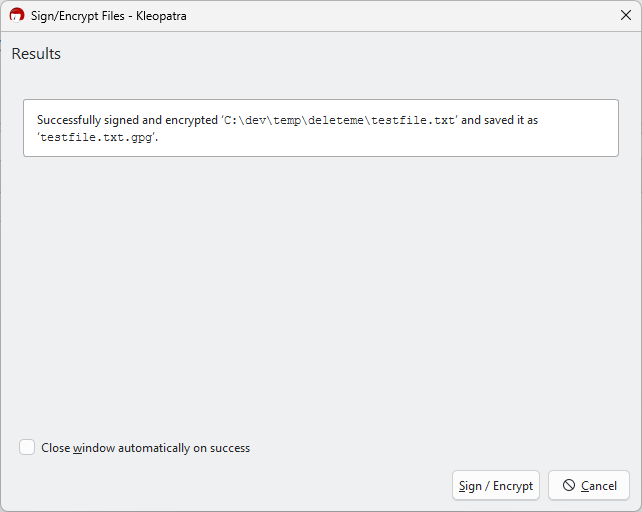
I created a simple text file to test encryption as shown in the next slideshow.
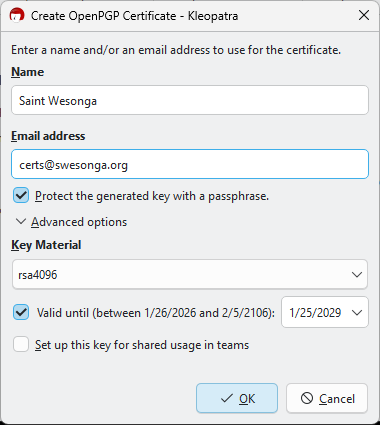
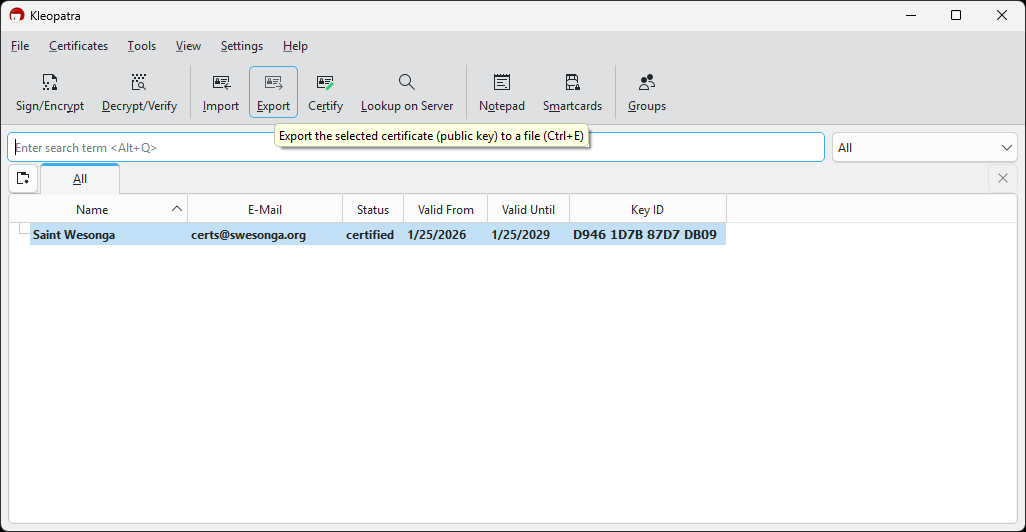
Since my goal was to encrypt files on my MacBook, I exported the certificate for use on other machines. The certificate was saved as a .asc file.
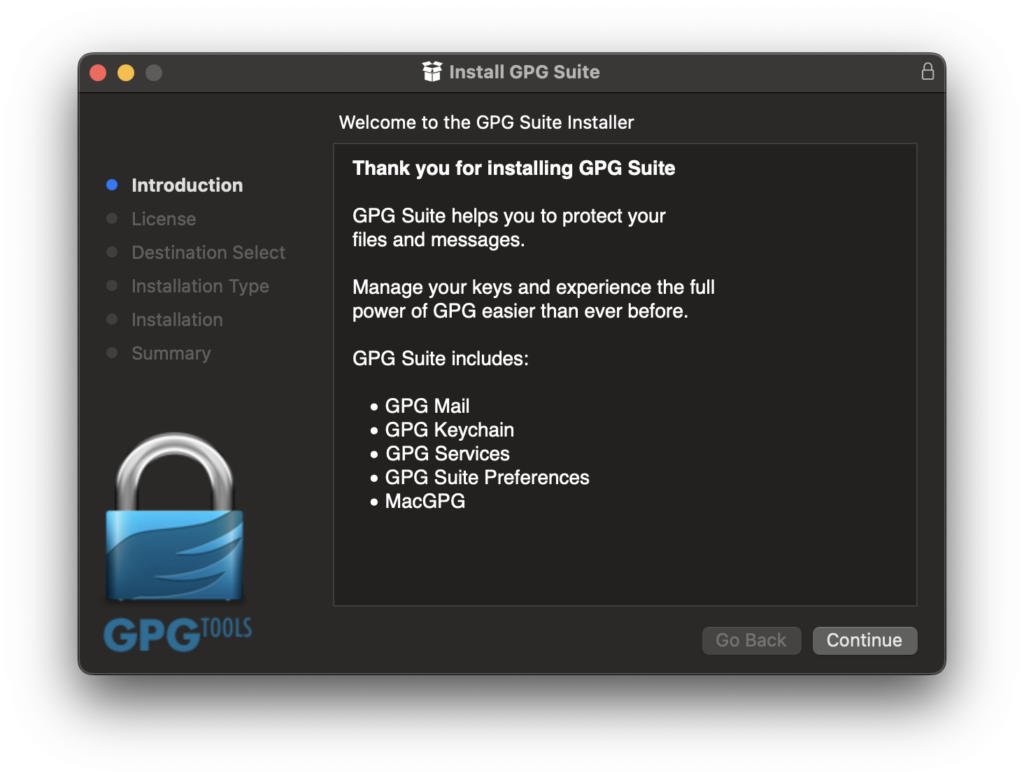
GPG Suite macOS Setup
I decided to use the GPG Suite on macOS.
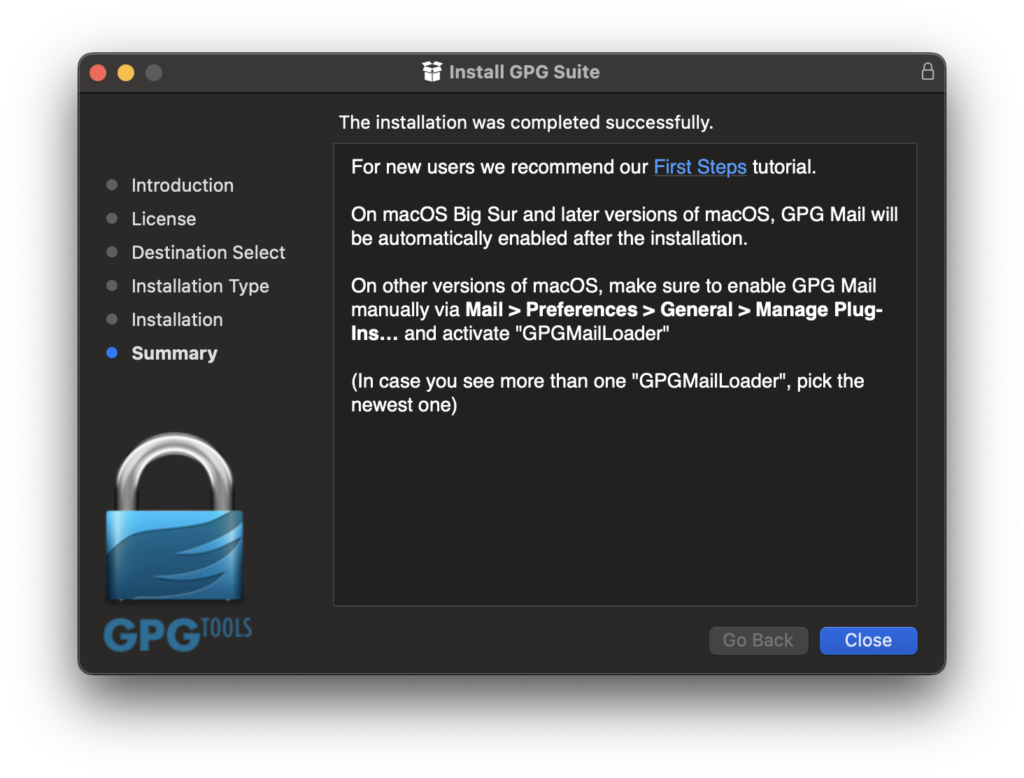
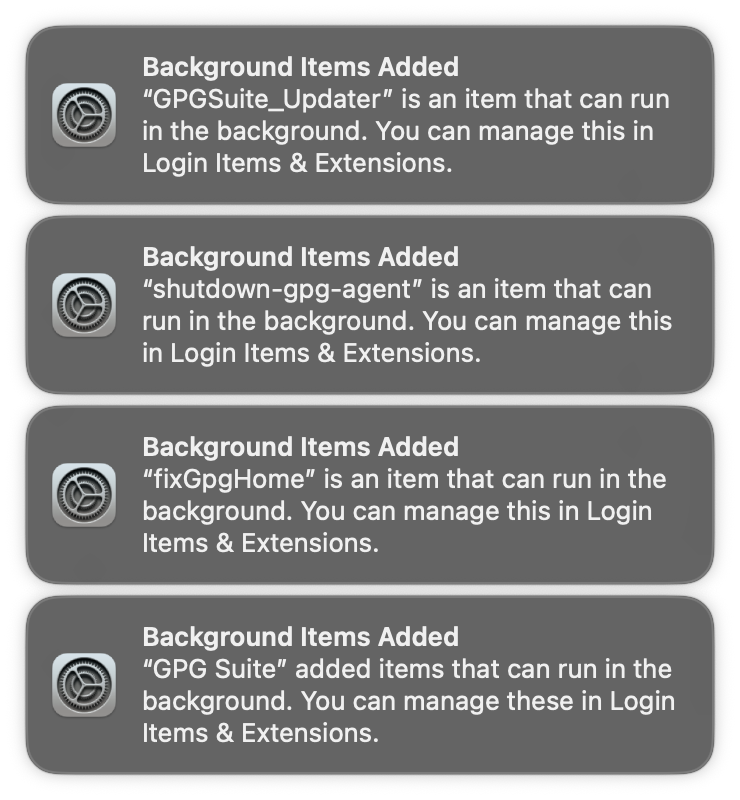
Some services were added to the OS by the installation process. What on earth are these services?
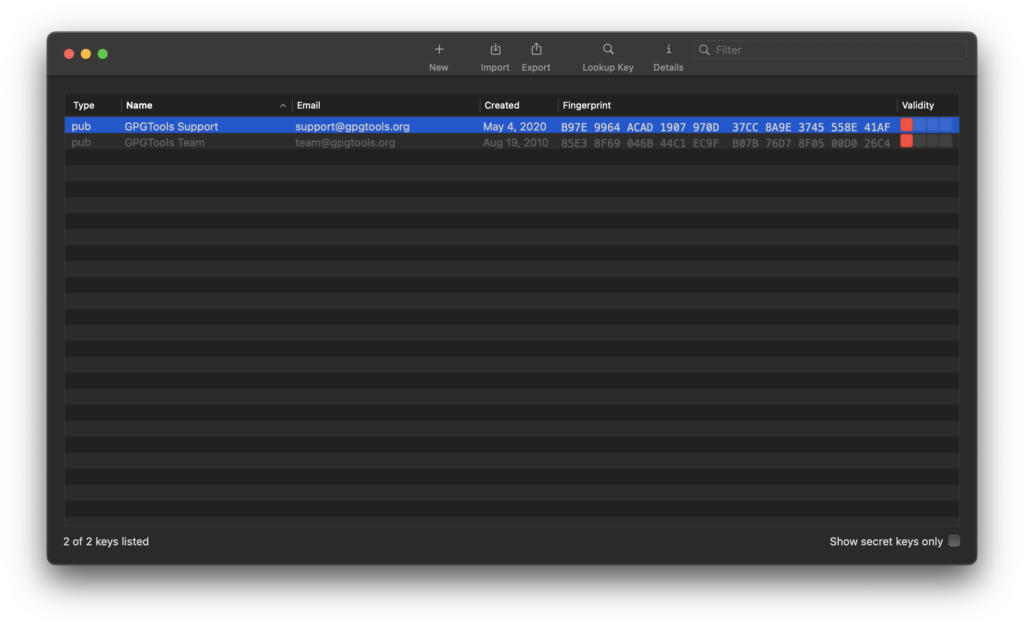
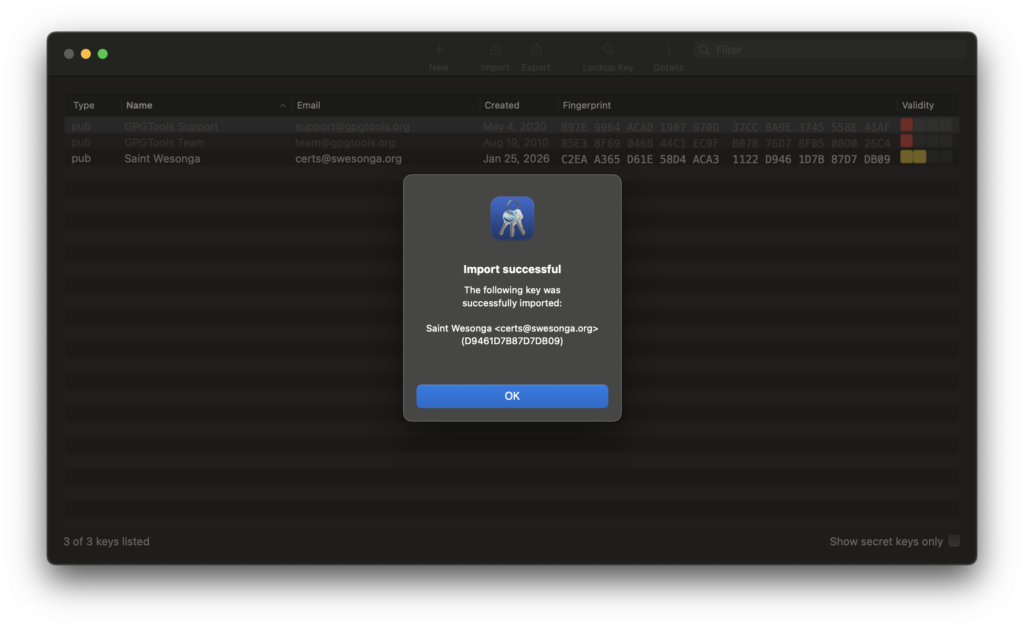
The main window of the GPG Keychain app is shown below. I successfully imported the certificate I created on my Windows machine.
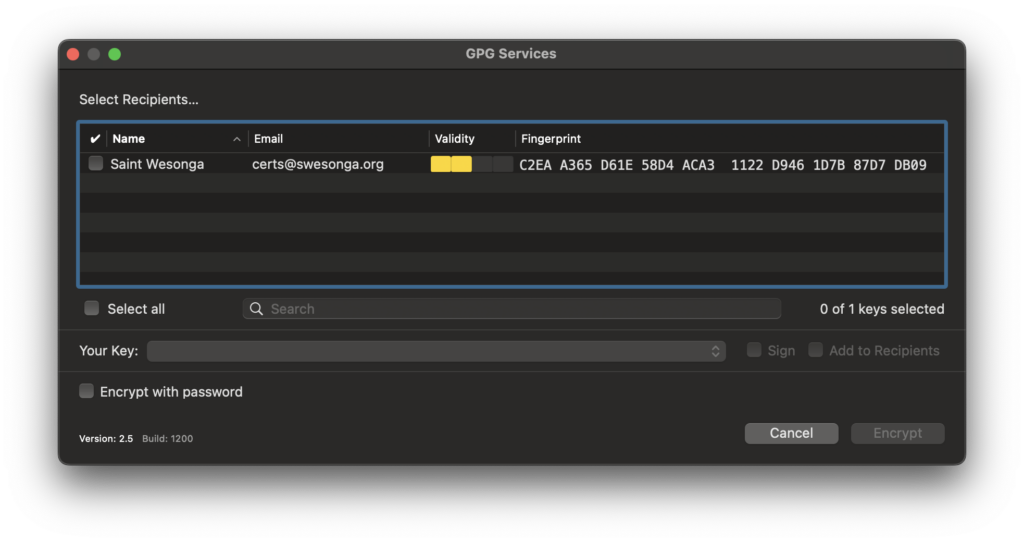
File Encryption Process
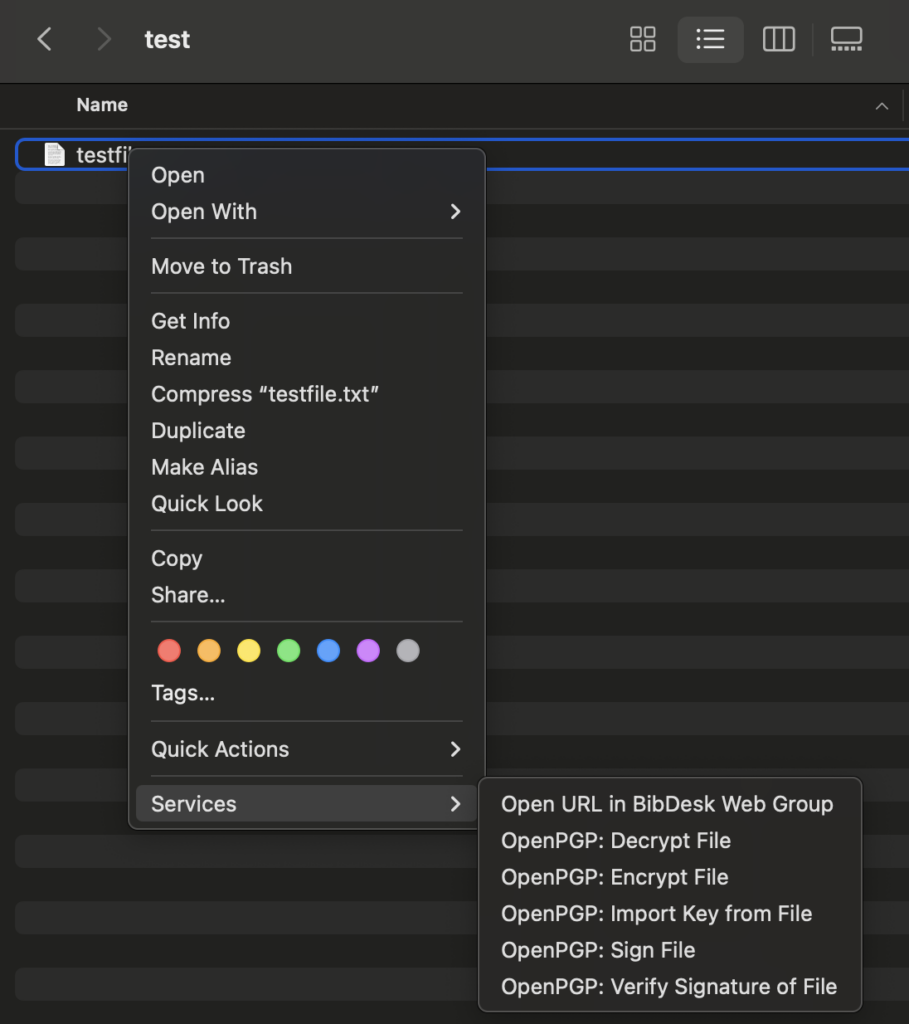
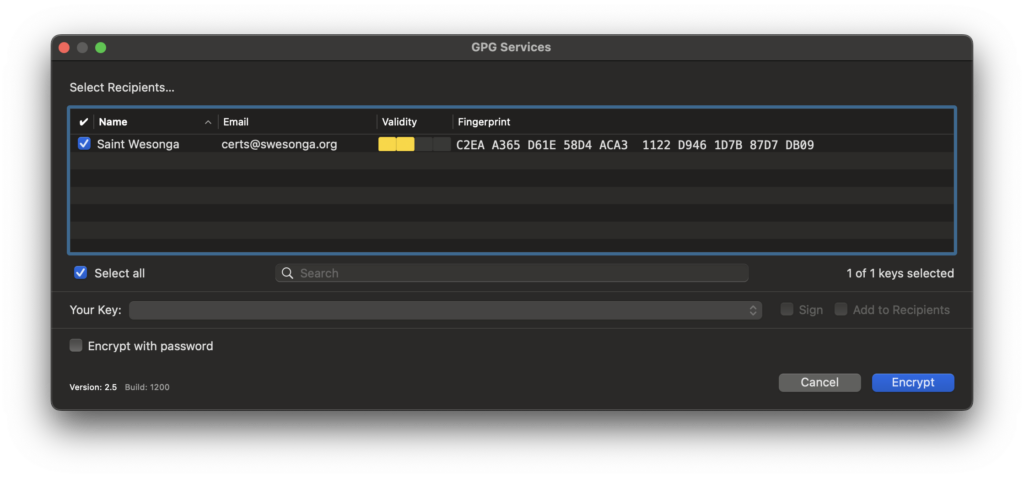
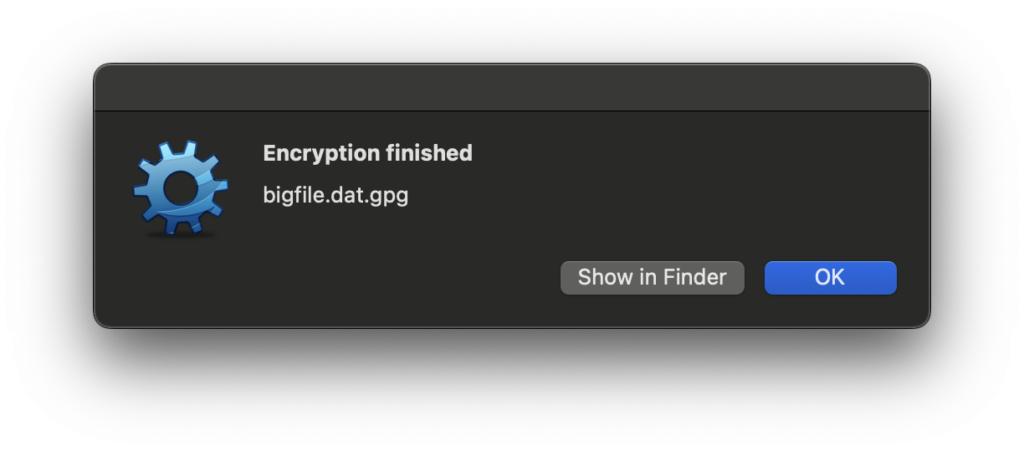
I created a test file and noticed that the OpenPGP options included an Encrypt File option. It was a straightforward process.
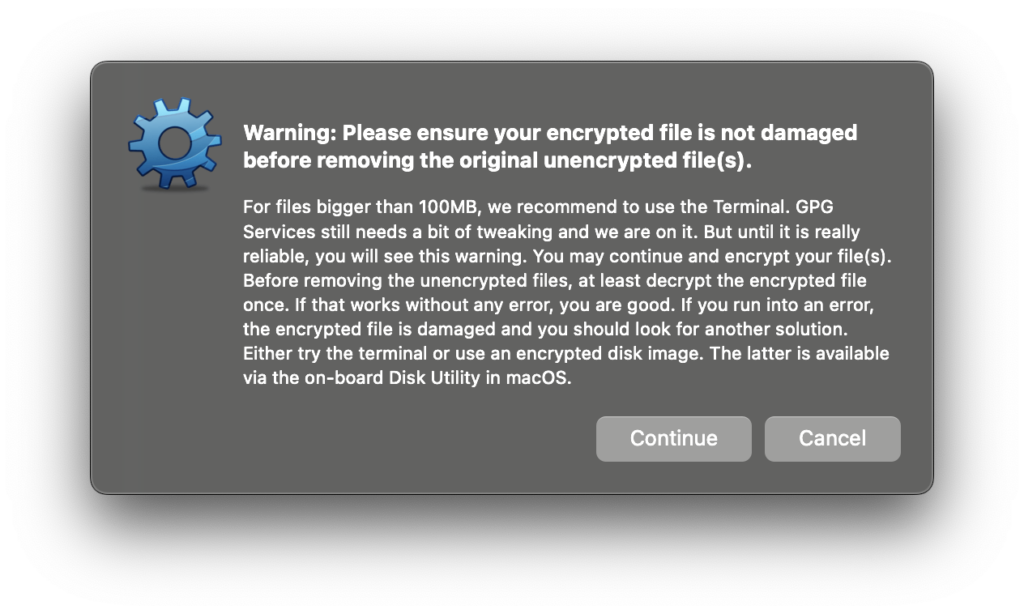
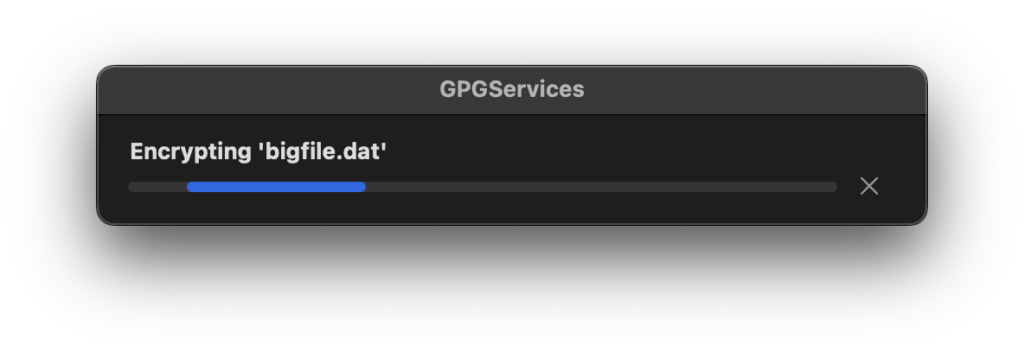
However, I was troubled by the dialog below, which popped up when I tried to encrypt a large (multiple GB) file. My thinking was that any software that handles files should either be correct or not in the business of handling files! However, I let it proceed and verified that the SHA256 and SHA512 hashes of the unencrypted file matched those of the original file.
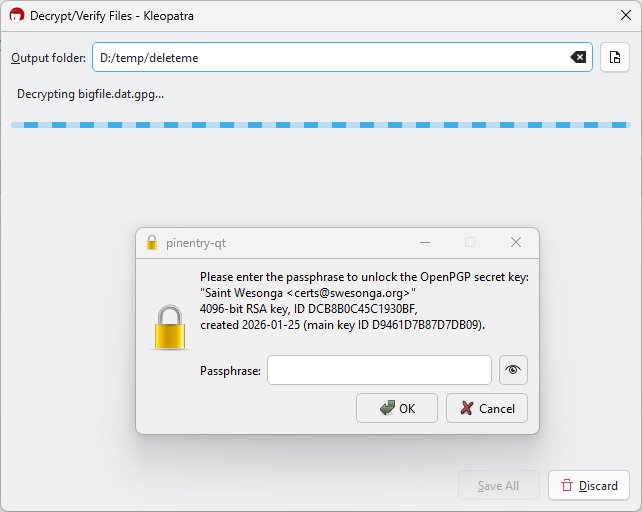
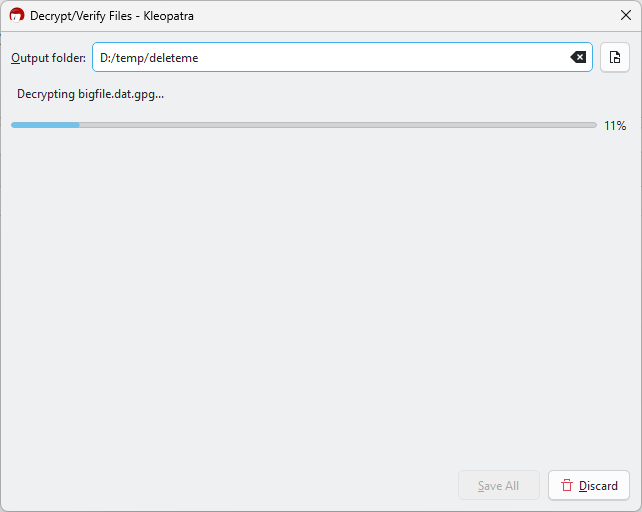
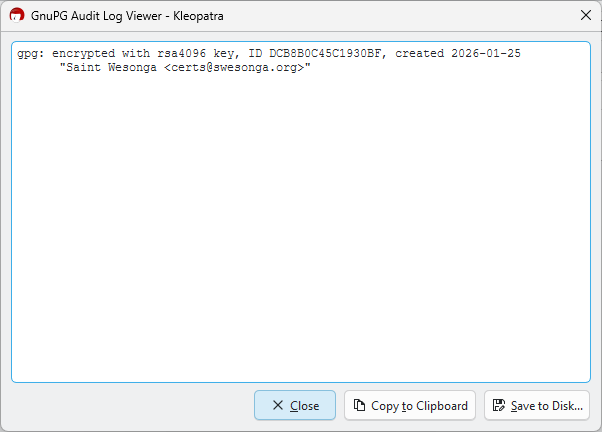
Gpg4win Decryption
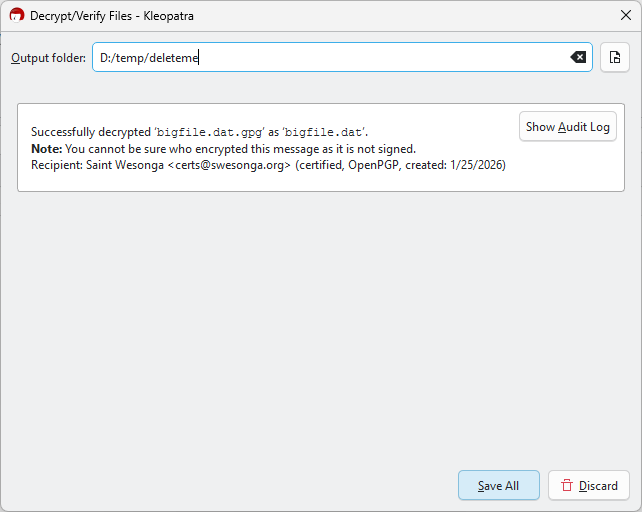
I copied the encrypted file to OneDrive and let it sync to my Windows machine where the decryption would take place. The only catch when decrypting using Kleopatra was that I needed to click on the Save All button when the dialog said it has successfully decrypted the file (otherwise the file wouldn’t be on disk)!
As mentioned earlier, I also verified that the hashes of the unencrypted file were identical to those of the original. At this point, I think the encrypted email features might be worth trying sooner or later. I just don’t have confidence in the services that were added to the OS (esp. since I saw high CPU usage on the machine long past the unencryption time).