Skipping the package repository setup step will result in these errors (seen on x64 5.10.102.1-microsoft-standard-WSL2 but all other steps and output are from a VM):
Reading package lists... Done
Building dependency tree... Done
Reading state information... Done
Package docker-ce is not available, but is referred to by another package.
This may mean that the package is missing, has been obsoleted, or
is only available from another source

E: Package 'docker-ce' has no installation candidate
E: Unable to locate package docker-ce-cli
E: Unable to locate package containerd.io
E: Couldn't find any package by glob 'containerd.io'
E: Couldn't find any package by regex 'containerd.io'
E: Unable to locate package docker-buildx-plugin
E: Unable to locate package docker-compose-plugin
I list the available containers by running docker ps and there are none, but this verifies that docker is working.
saint@ubuntuvm:~$ sudo docker ps
CONTAINER ID   IMAGE     COMMAND   CREATED   STATUS    PORTS     NAMES
saint@ubuntuvm:~$
The hello-world image runs successfully as well.
saint@ubuntuvm:~$ sudo docker run hello-world
Unable to find image 'hello-world:latest' locally
latest: Pulling from library/hello-world
719385e32844: Pull complete
Digest: sha256:88ec0acaa3ec199d3b7eaf73588f4518c25f9d34f58ce9a0df68429c5af48e8d
Status: Downloaded newer image for hello-world:latest

Hello from Docker!
This message shows that your installation appears to be working correctly.

To generate this message, Docker took the following steps:
 1. The Docker client contacted the Docker daemon.
 2. The Docker daemon pulled the "hello-world" image from the Docker Hub.
    (amd64)
 3. The Docker daemon created a new container from that image which runs the
    executable that produces the output you are currently reading.
 4. The Docker daemon streamed that output to the Docker client, which sent it
    to your terminal.

To try something more ambitious, you can run an Ubuntu container with:
 $ docker run -it ubuntu bash

Share images, automate workflows, and more with a free Docker ID:
 https://hub.docker.com/

For more examples and ideas, visit:
 https://docs.docker.com/get-started/

saint@ubuntuvm:~$
Running Docker in WSL
I followed the above steps to install docker in my Windows Subsystem for Linux Ubuntu 22.04.2 LTS environment. Unfortunately, docker ps does not work.
saint@mymachine:~$ sudo docker ps
Cannot connect to the Docker daemon at unix:///var/run/docker.sock. Is the docker daemon running?
saint@mymachine:~$
I recently had a Windows 11 device that was disabled by IT. The process of getting assistance exposed me to the types of Windows tools I never use: administration tools. IT would have me launch Quick Assist and give them control of my computer. This is when I was learning of the existence of tools like dsregcmd /status, which turn out to be well documented, e.g. see Troubleshoot hybrid Azure Active Directory-joined devices – Microsoft Entra | Microsoft Learn.
The last resort was to reset my device. After years of dumping stuff all over my hard drives, I was forced to do some cleanup to ensure I didn’t lose anything valuable. Going forward, everything will now be well organized so that whatever isn’t on OneDrive should be fine to lose. Ironically, the device reset tool could not let me sign in, which I needed to do to reset the device. We tried using the Reset this PC tool but it could not find the recovery partition.
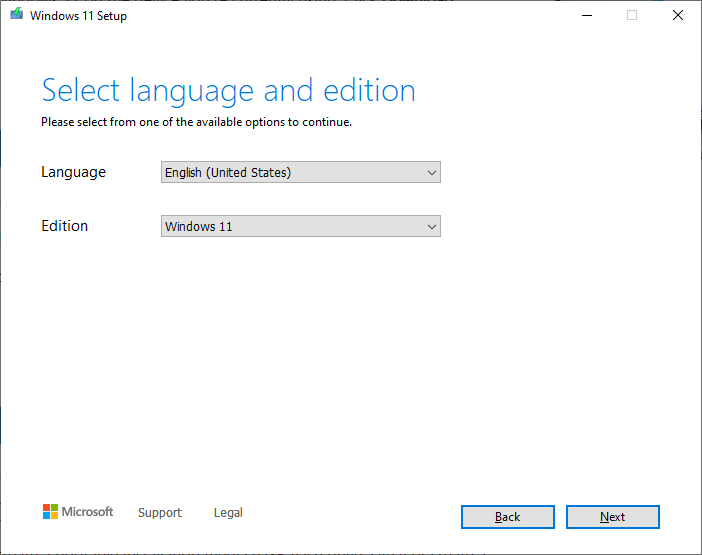
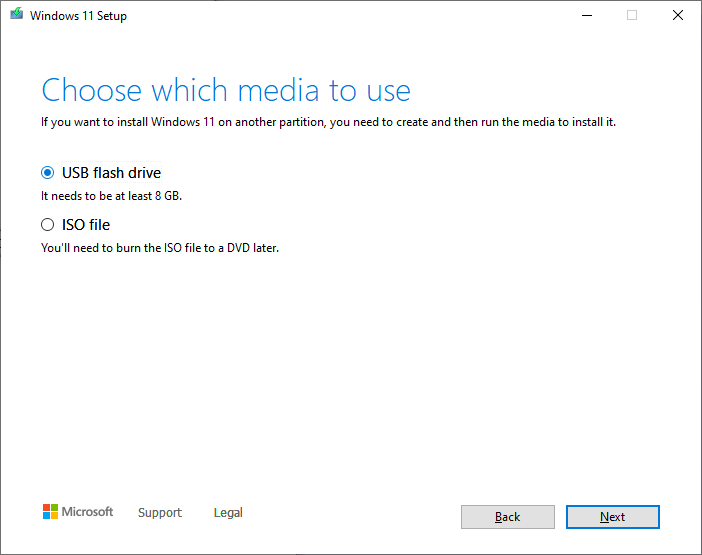
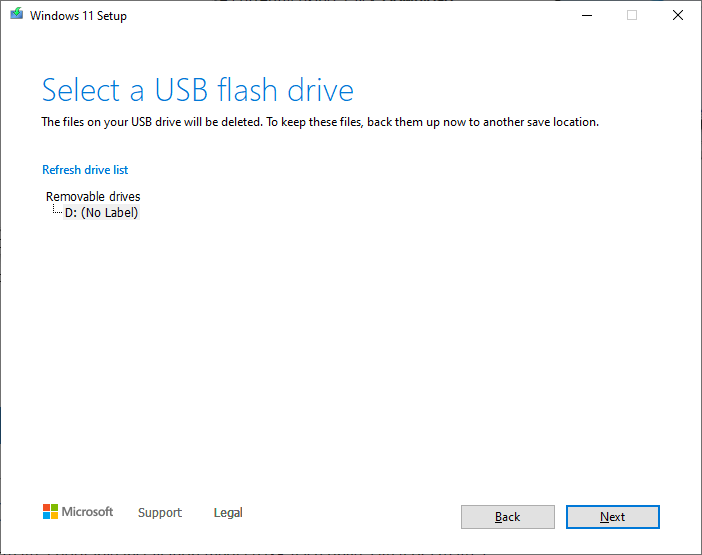
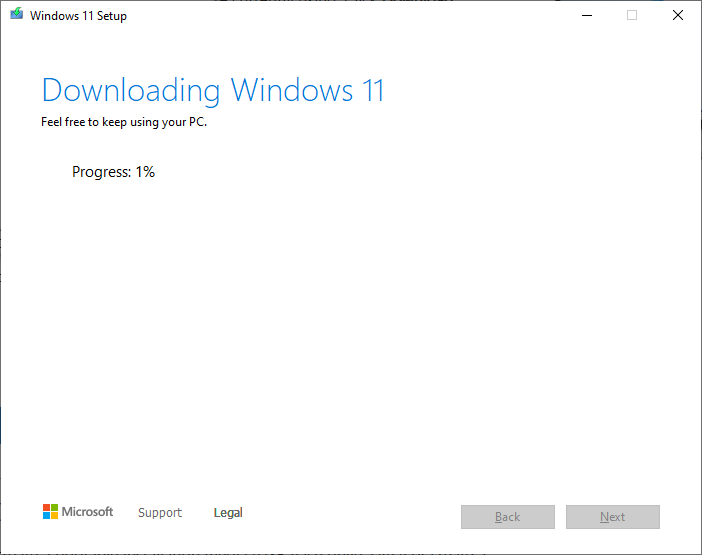
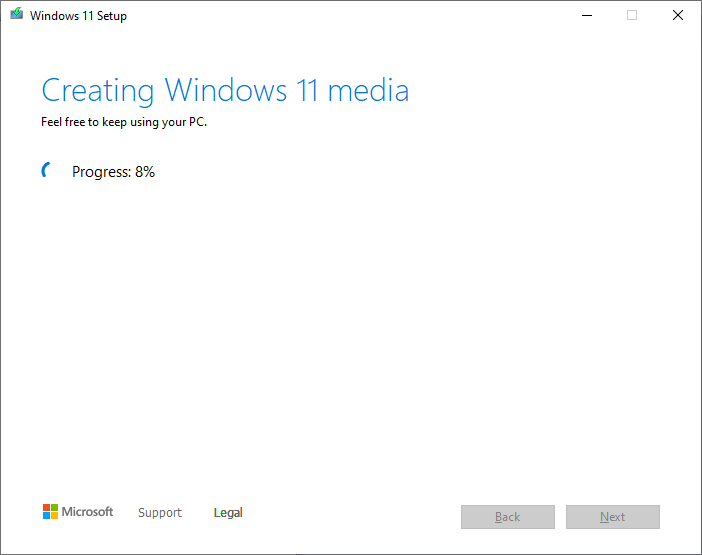
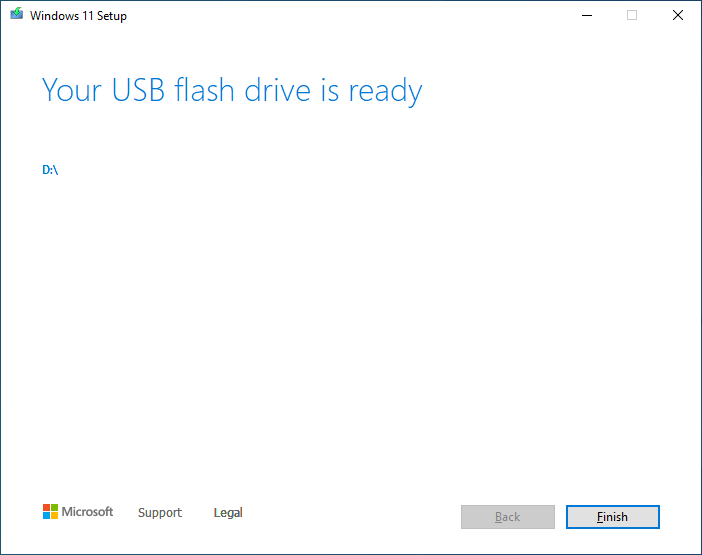
As a last resort, I went to Download Windows 11 (microsoft.com) and downloaded the media creation tool to make a bootable USB drive (the Create Windows 11 Installation Media section). I picked up a 128GB onn stick from Target.
I discovered that setup wouldn’t proceed if the selected disk still had BitLocker enabled. After turning off BitLocker, I formatted my disks and got a fresh installation going. Now that I have so much disk space available, I have no idea why my disk was almost full – I’m not yet missing anything but time will tell if I erased something valuable. The last bit was Windows activation. This is supposed to happen automatically but since it didn’t, we had to use the Slmgr.vbs script.
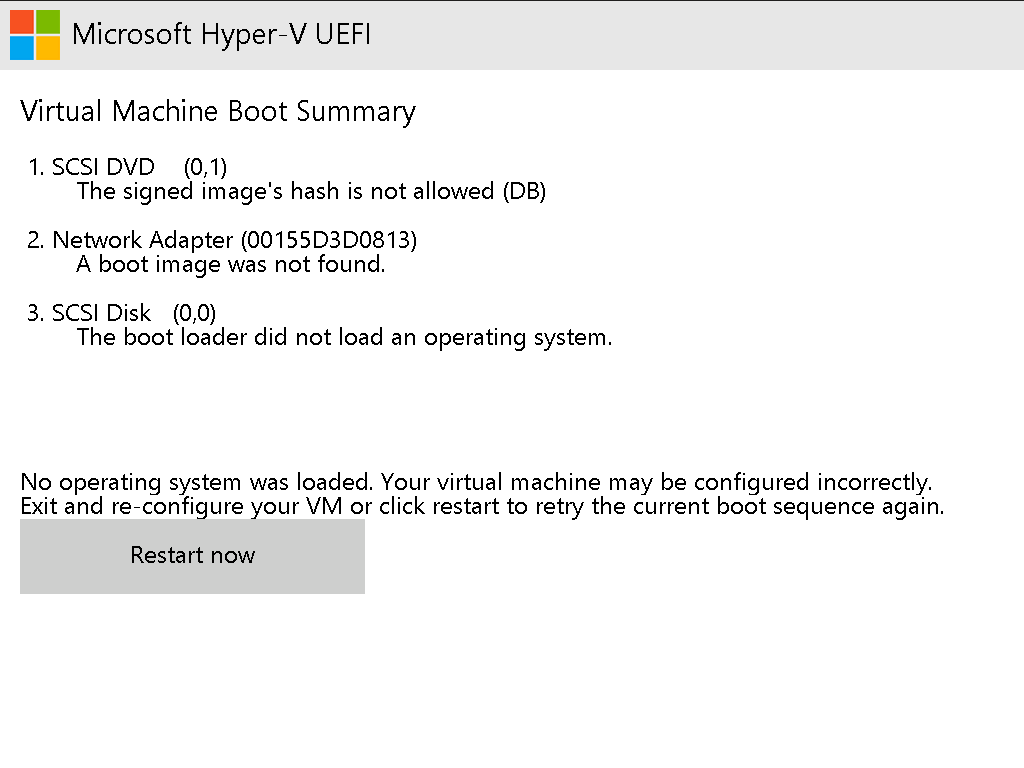
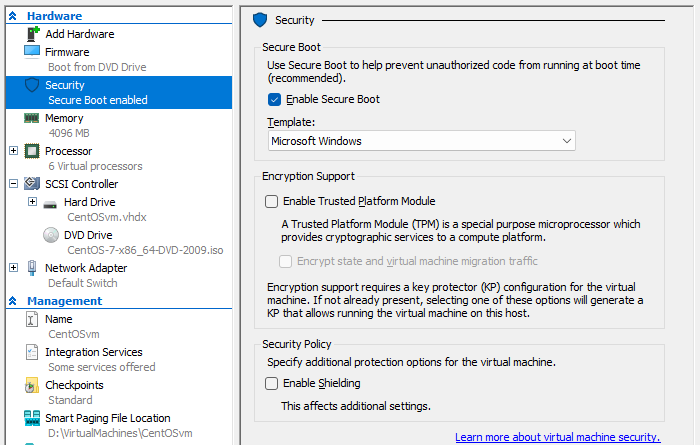
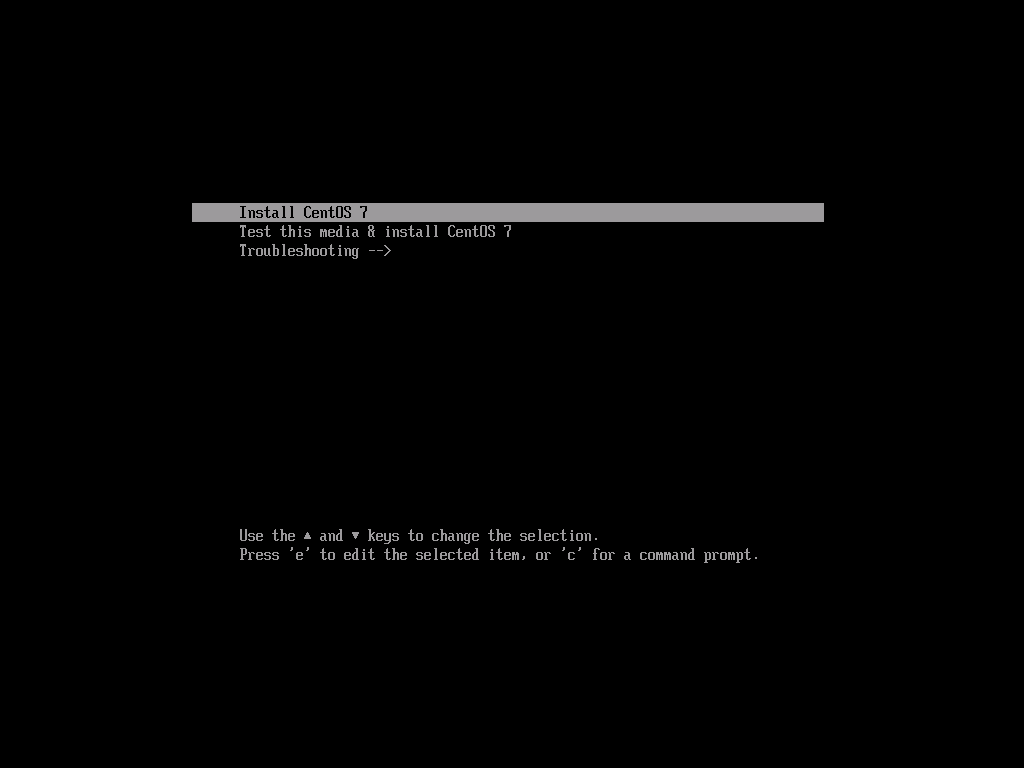
Next, I created a new VM in Hyper-V and set the downloaded ISO as the boot disk. This was not sufficient to start the VM. Hyper-V failed to boot because the signed image’s hash is not allowed.
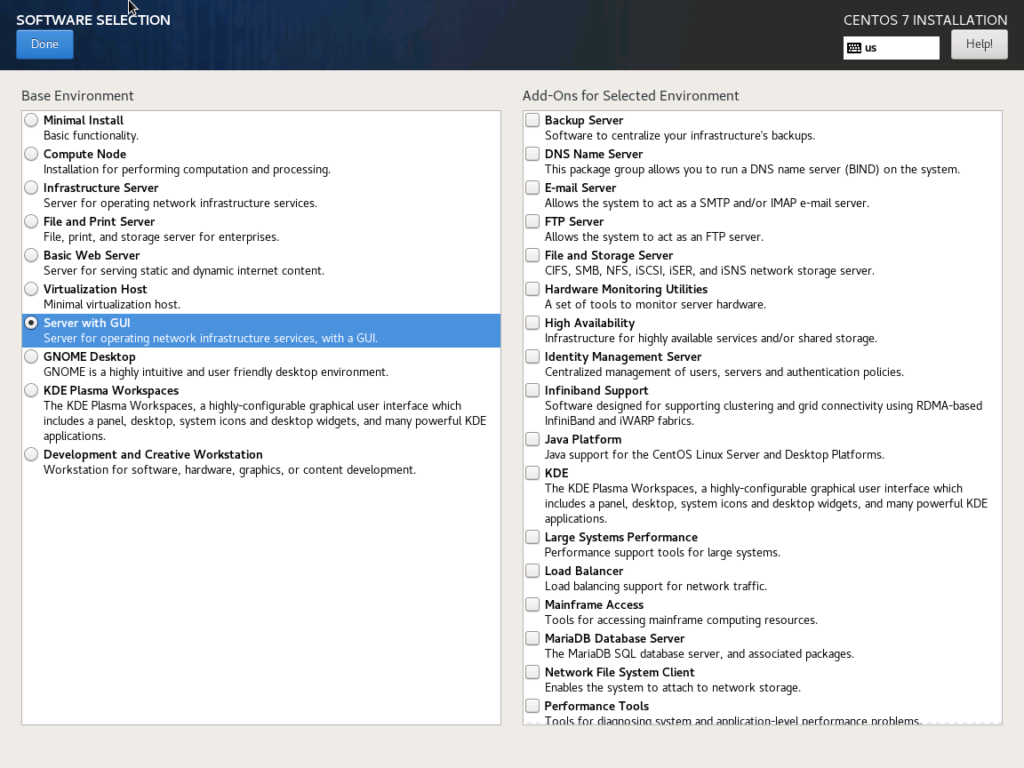
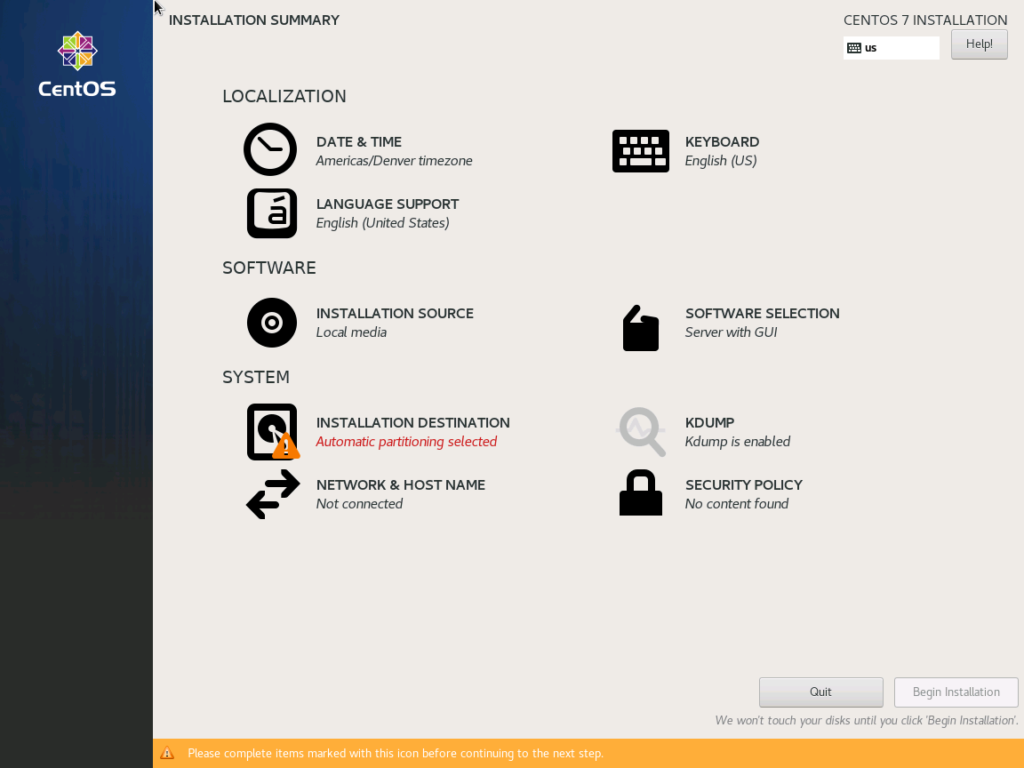
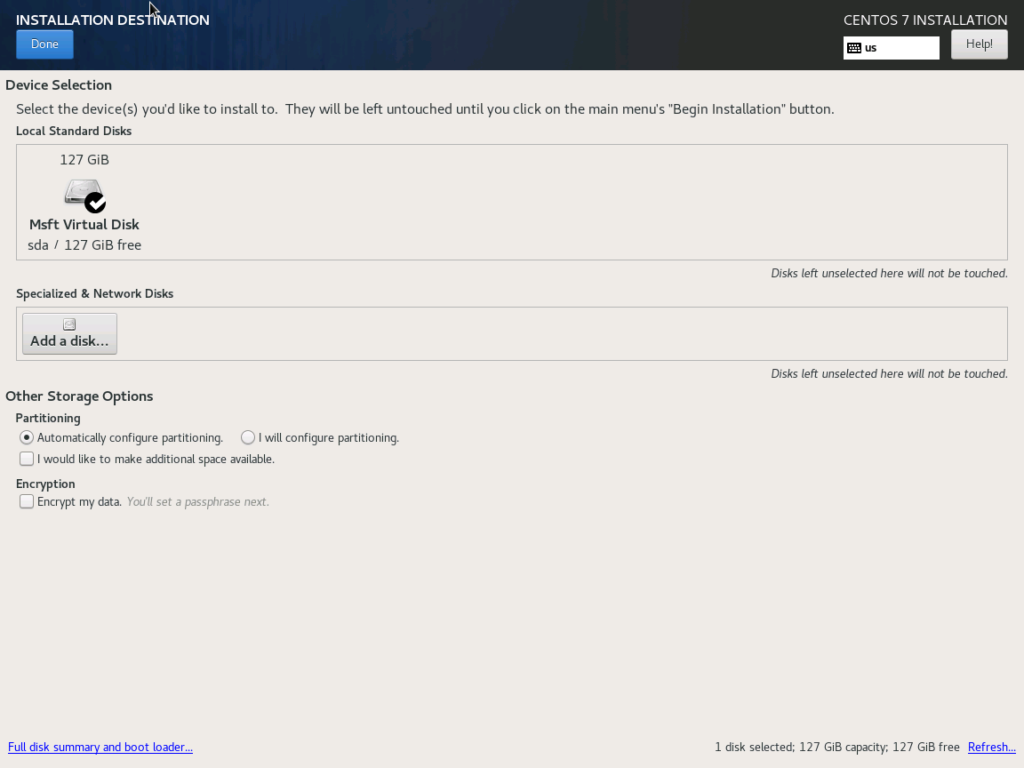
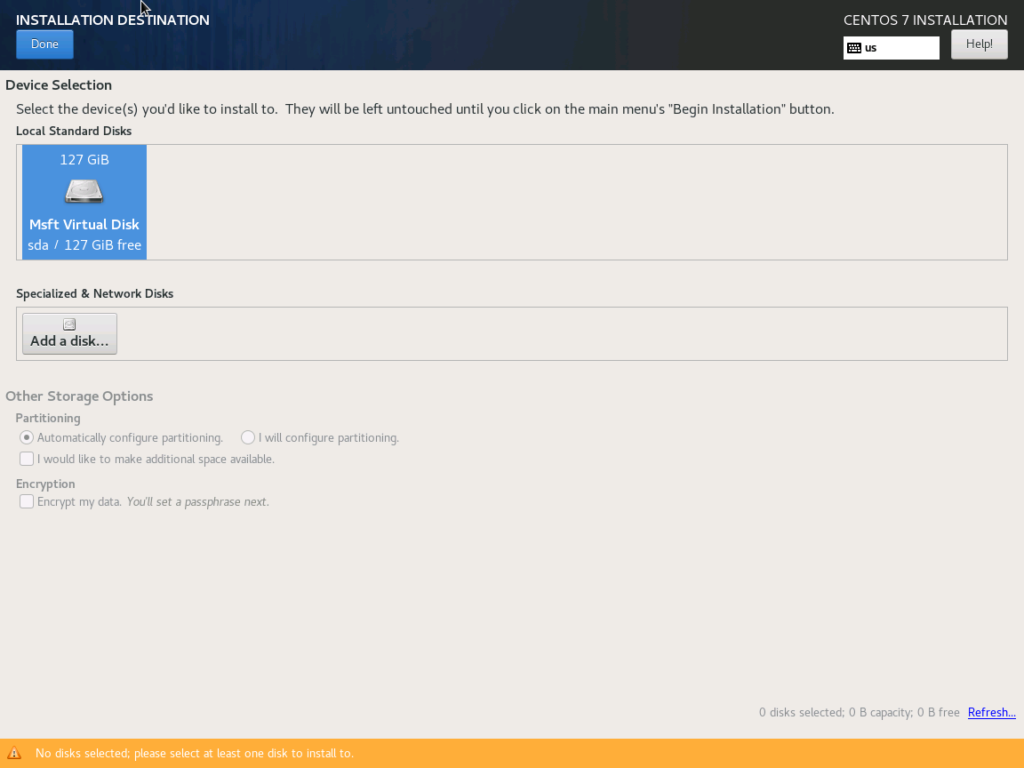
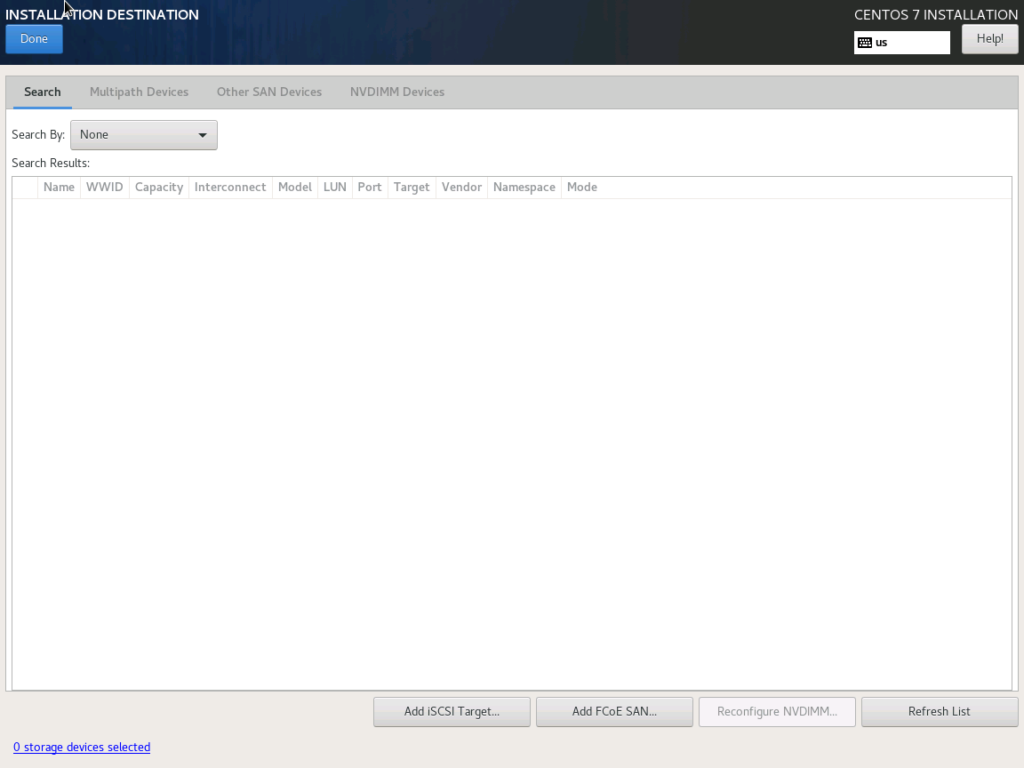
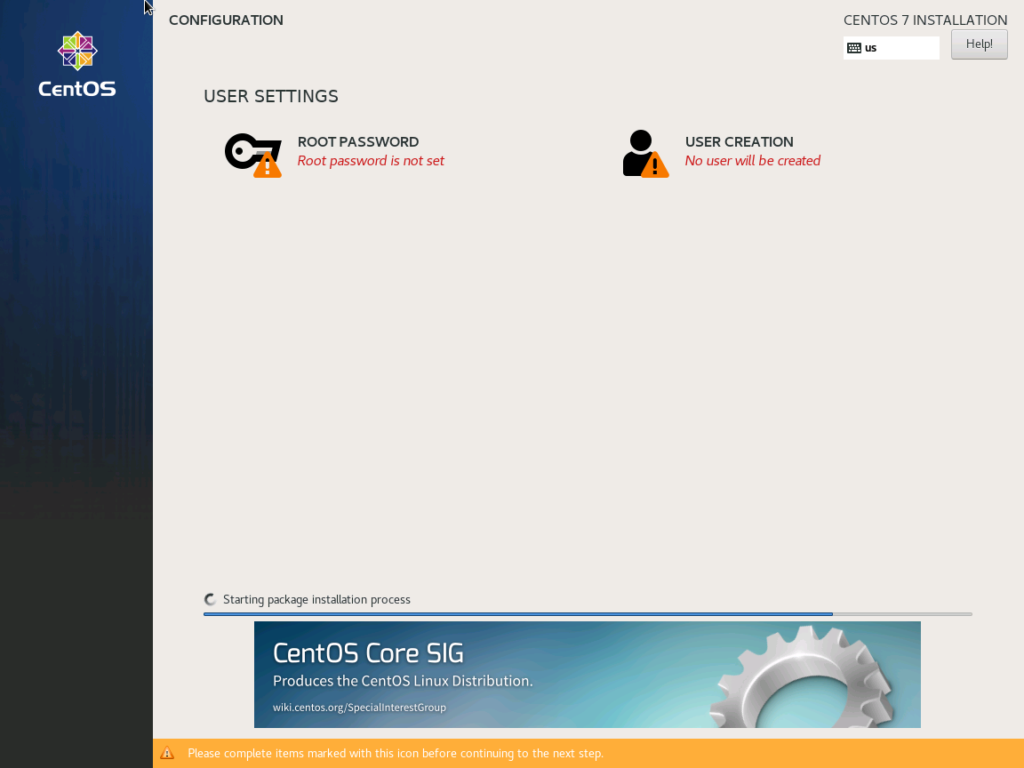
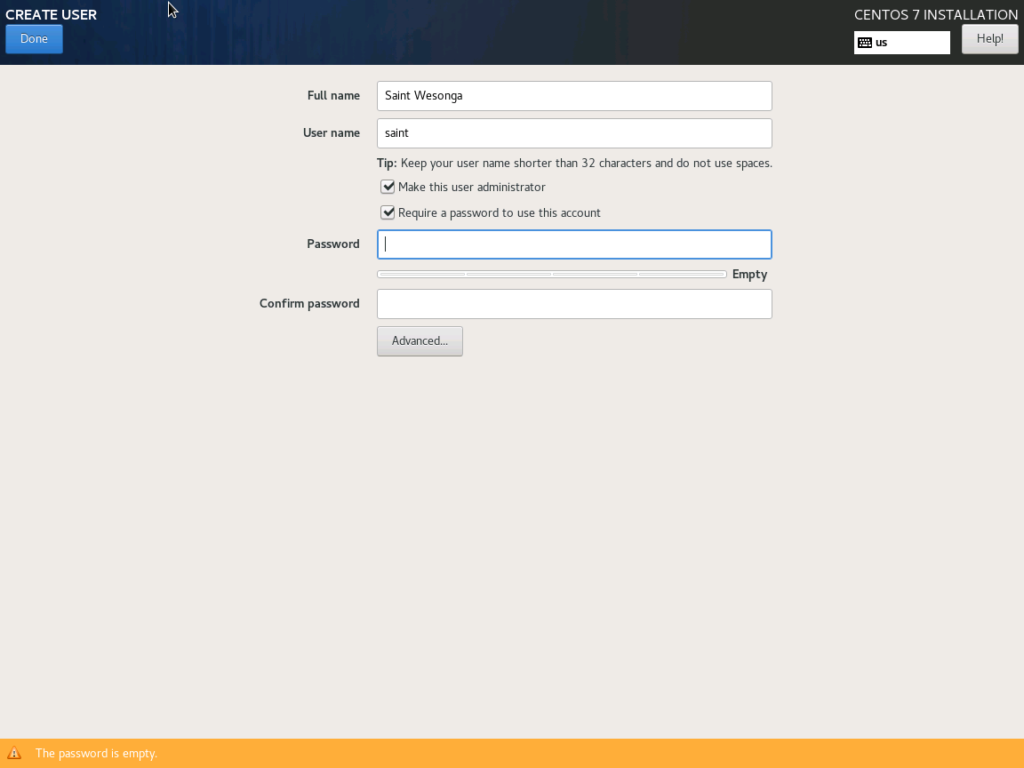
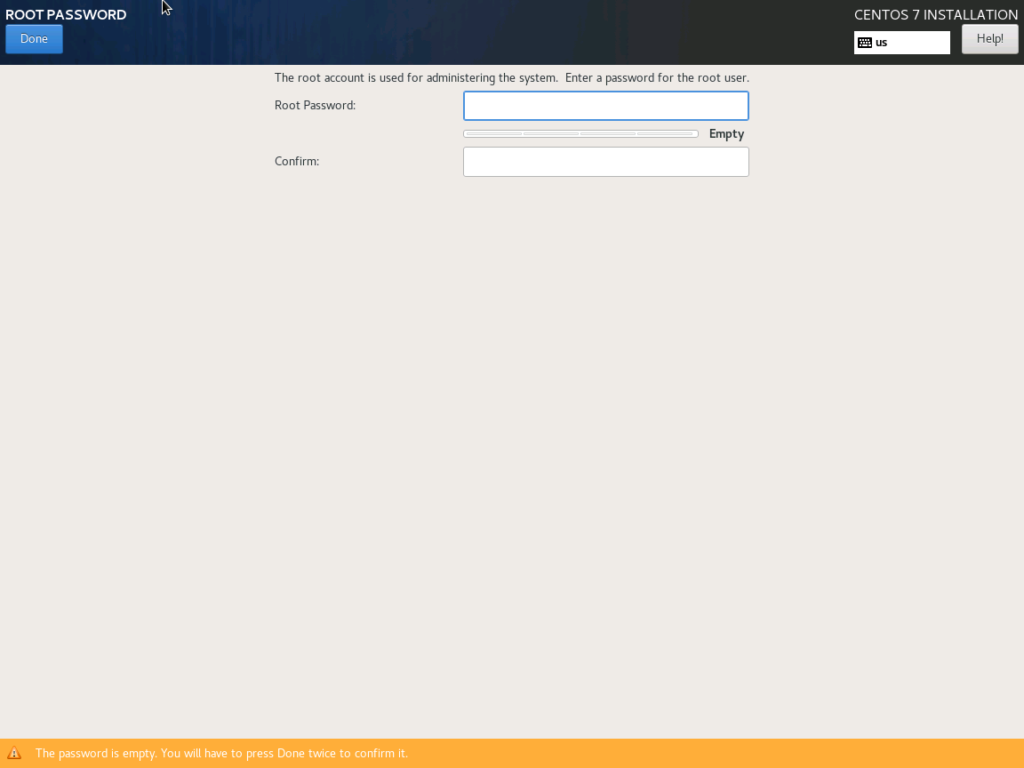
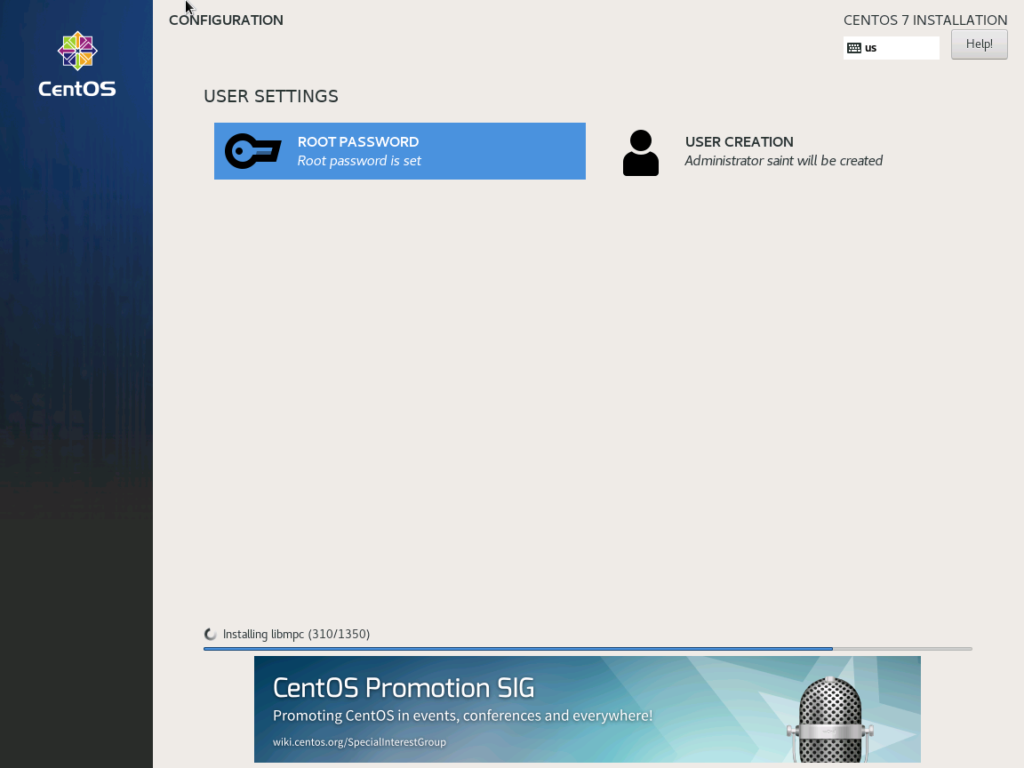
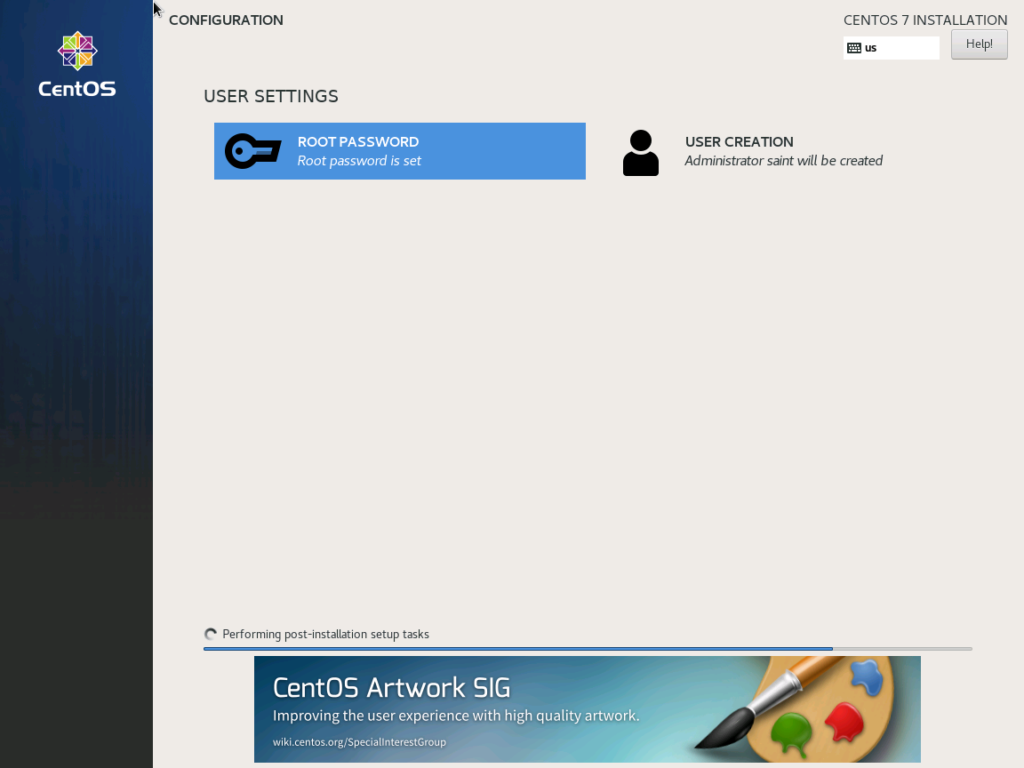
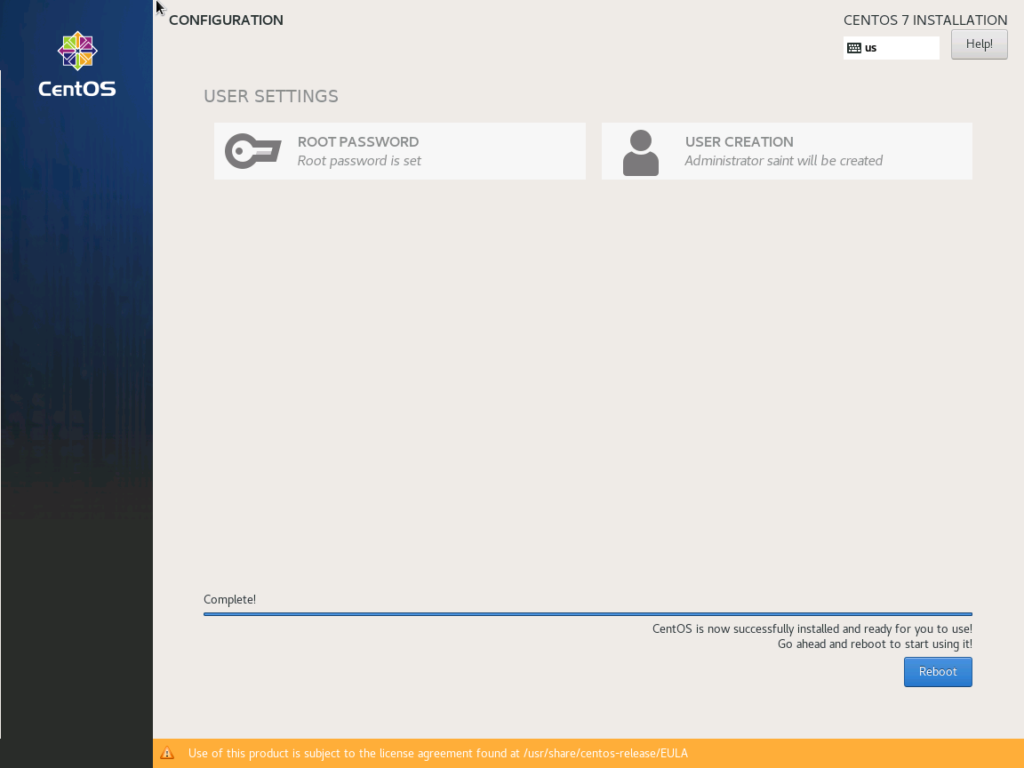
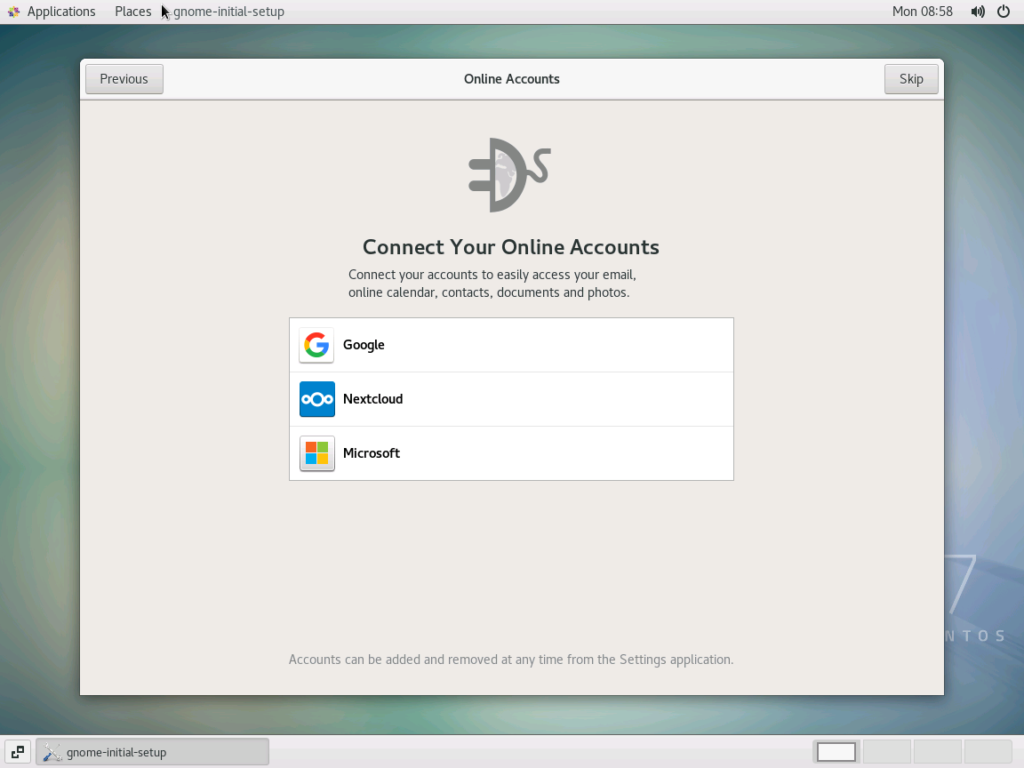
Setup is now straightforward. Here are the screenshots of the setup process. I selected the Server with GUI Base Environment with the Performance Tools and System Administration Tools add-ons.
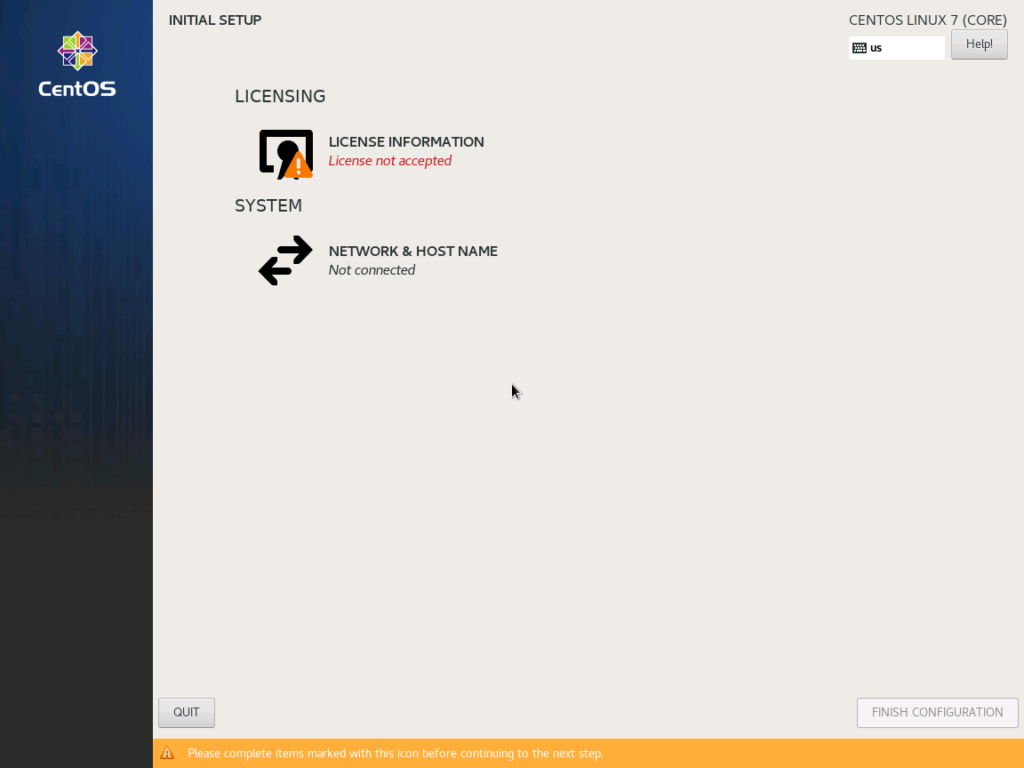
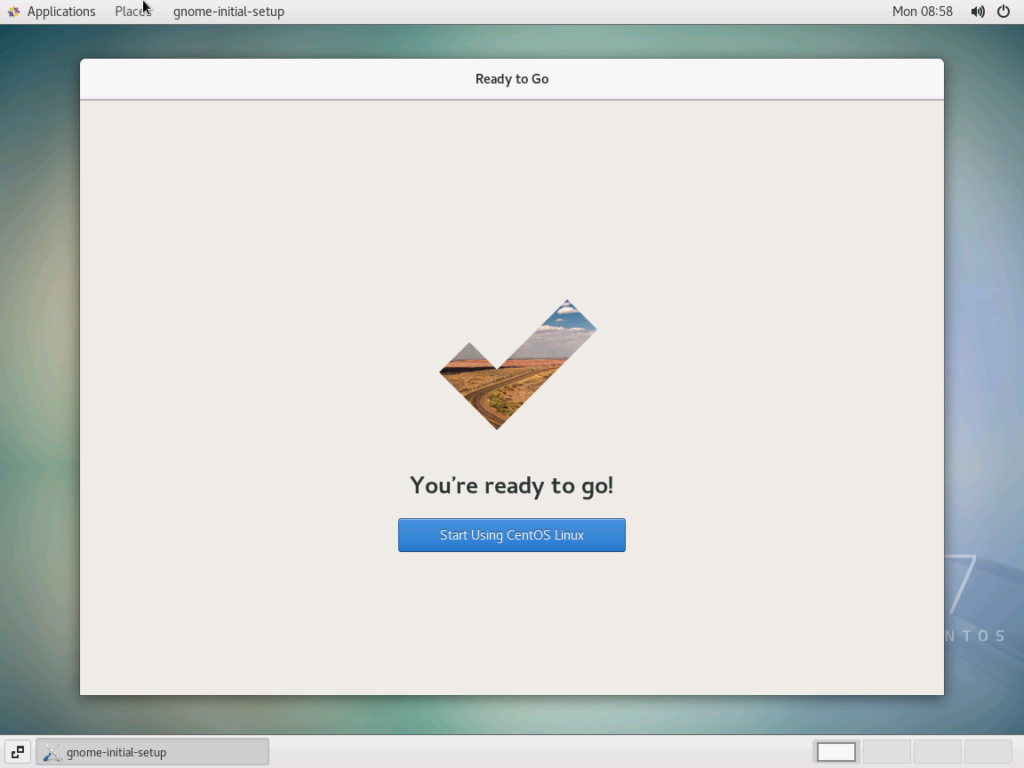
Once setup completed, CentOS booted and prompted me to accept the license as shown in these screenshots.
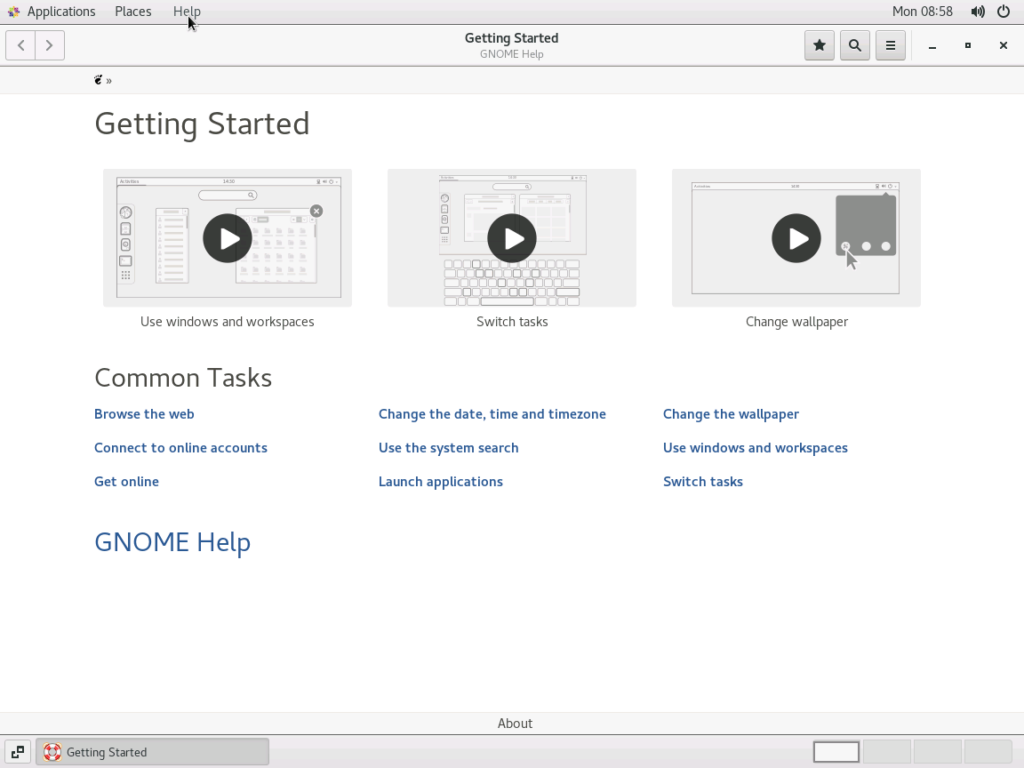
This was my first time using CentOS in more than a decade so I was pleased that there wasn’t anything particularly jarring about the experience.
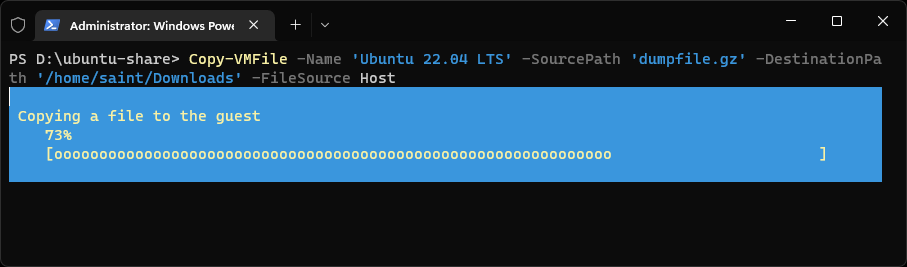
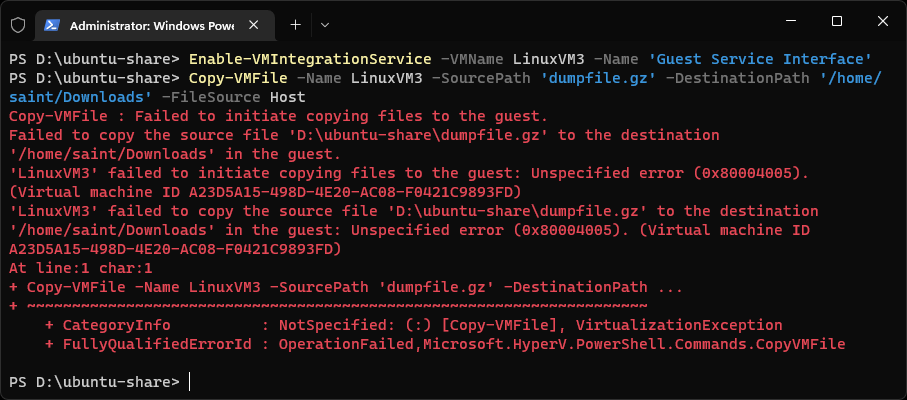
Of the many ways to transfer files to an Ubuntu guest on Hyper-V, running these PowerShell commands (as admin) suffices for a one-off file transfer. See 4 Ways to Transfer Files to a Linux Hyper-V Guest (altaro.com) for more details about this approach.
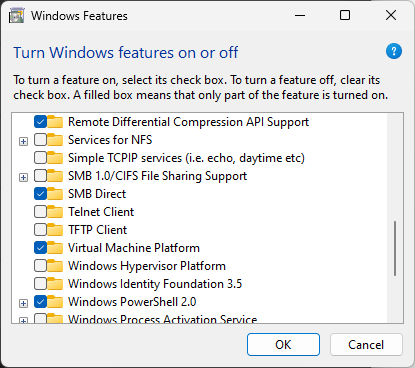
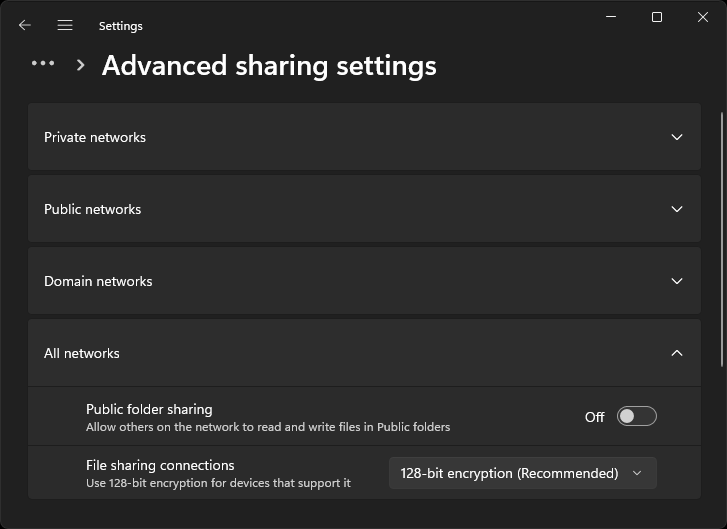
Yesterday I had a core dump from a Linux process that I wanted to specifically inspect in an Ubuntu VM. My host machine is a Windows 11 (10.0.22621.674) machine. The simple question of how to share files with my Ubuntu VM took me all over the map. Searching for hyper-v share files linux guest led me to Shared Folders over Hyper-V Ubuntu Guest (linuxhint.com). This had me enabling SMB 1.0/CIFS File Sharing Support (already had SMB Direct enabled) and Public folder sharing.
SMB Windows Features
Public Folder Sharing Settings
I then created an empty directory and turned on sharing on it as instructed. However, accessing it from Ubuntu turned out to be the problem. These are the suggested commands:
sudo apt install cifs-utils
mkdir ~/SharedFolder
sudo mount.cifs //<NAME OF YOUR PC>/<SHARED FOLDER NAME>
~/SharedFolder -o user=<YOUR WINDOWS USERNAME>
mount.cifs failed though.
saint@linuxvm:~$ sudo mount.cifs //DEVICENAME/virtual-machines
~/shared -o user=USERNAME
Password for USERNAME@//DEVICENAME/virtual-machines: ***
mount error(13): Permission denied
Refer to the mount.cifs(8) manual page (e.g. man mount.cifs) and kernel log messages (dmesg)
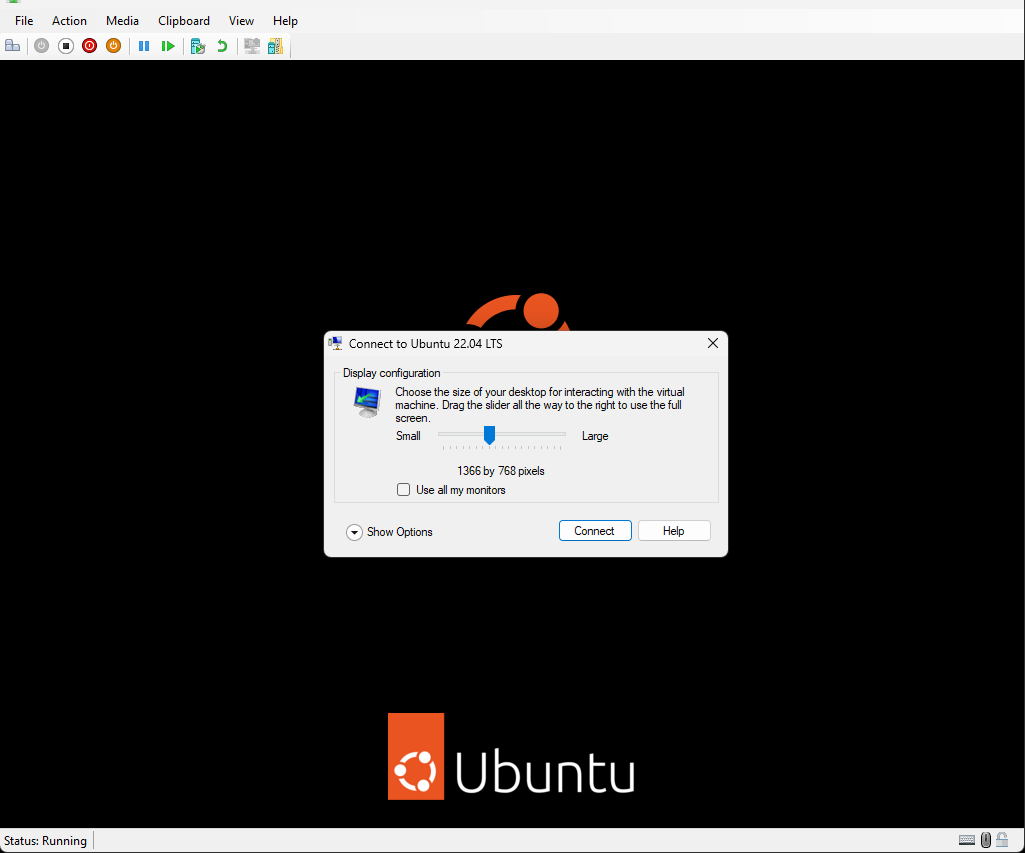
Click on Hyper-V’s Quick Create… command to start creating a VM. Select the latest Ubuntu LTS (22.04). Unfortunately, the only options available are the VM name and the network switch to use. Clicking on Create Virtual machine creates a VM on the primary/OS disk. I was pleasantly surprised to find that the Ubuntu 22.04 VM appeared to support enhanced session mode when Hyper-V asked for the screen resolution when connecting to it:
Connecting to Ubuntu VM
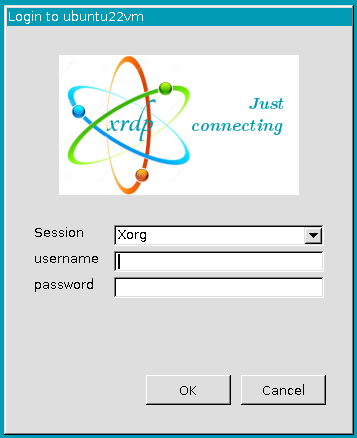
The enhanced session gives this xrdp login window:
xrdp Login Window
The window disappears when I enter my credentials and nothing happens for some time. I used the “Basic Session” toolbar button to switch back to the normal mode I’m used to. These are some of the errors I encounter:
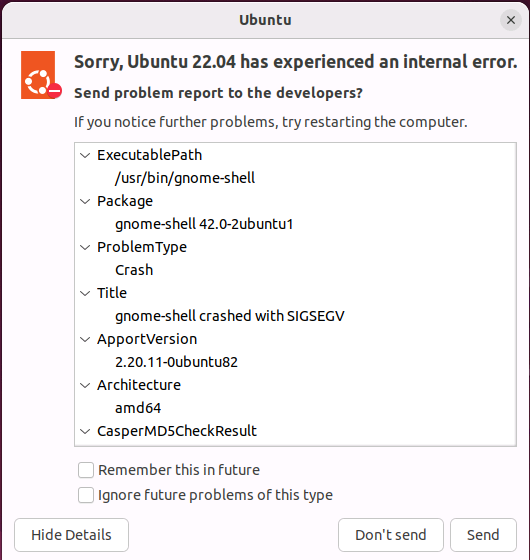
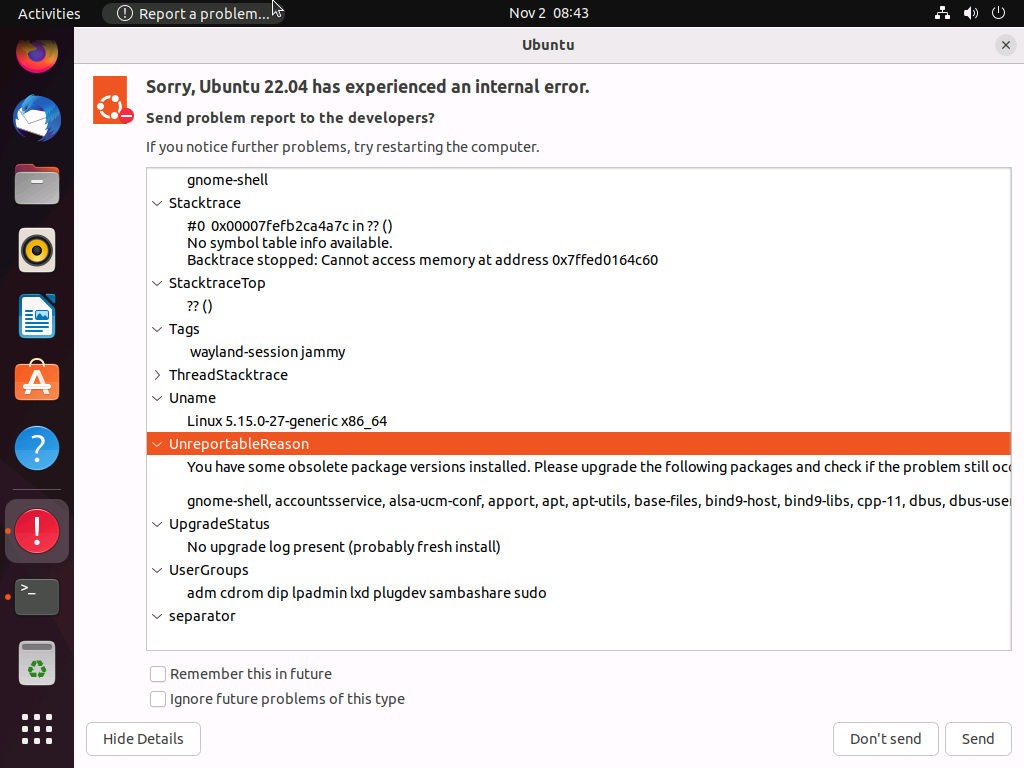
Oh no! Something has gone wrong.
Internal Error Details
The error report points out that I have obsolete packages, among them gnome-shell (which crashed). I run sudo apt upgrade and says yes to the 368 upgrades (826 MB of archives). That is not sufficient to address this rdp bug so I stay in Basic Session mode for the rest of the time.
This leads me back to the PowerShell commands I used above. Lo and behold, they work this time! This is despite the fact that there don’t appear to be any processes displayed by ps -u root | grep hyper as described at 4 Ways to Transfer Files to a Linux Hyper-V Guest (altaro.com).
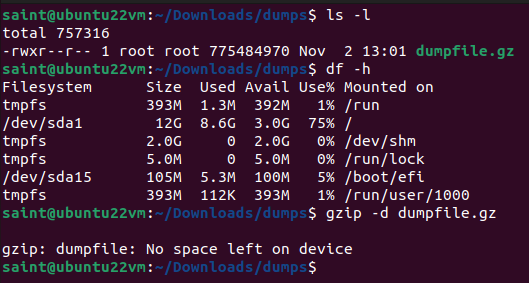
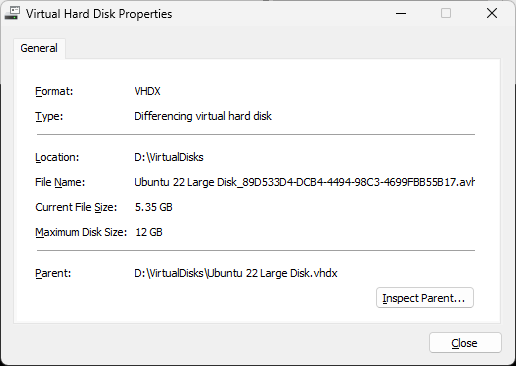
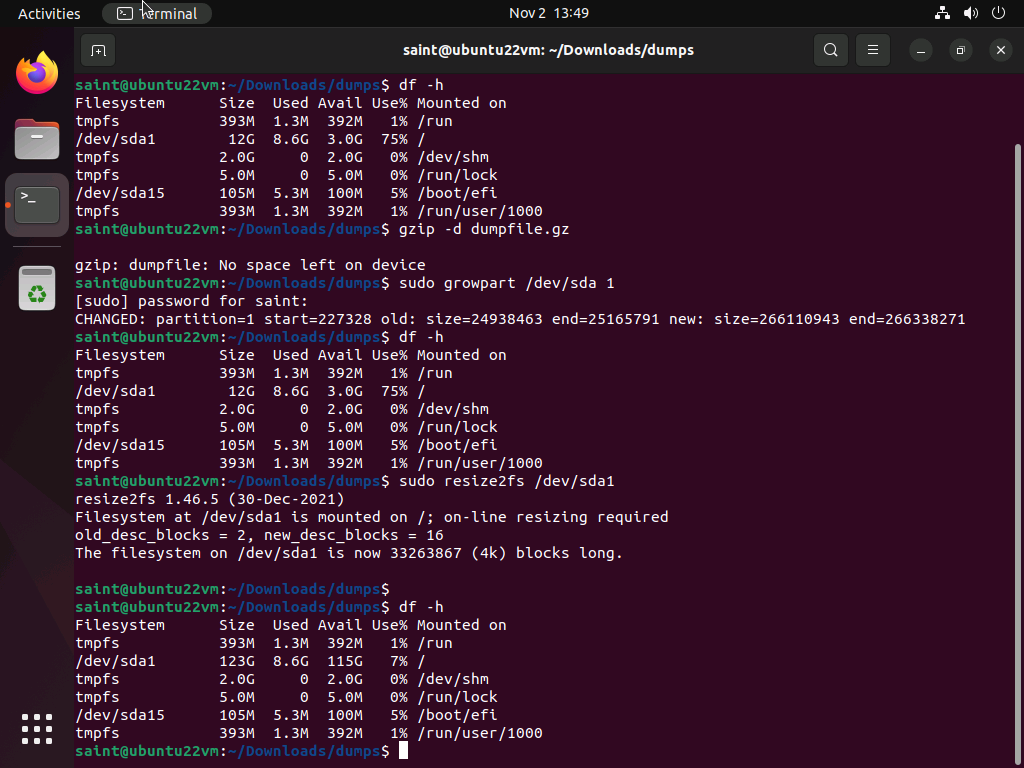
This is when I discover that I do not have enough space on the VM to expand my .gz file.
Inspecting Disk Usage
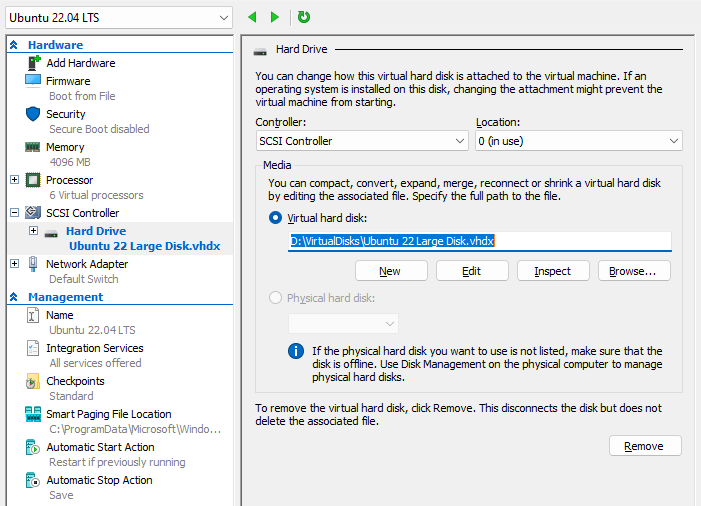
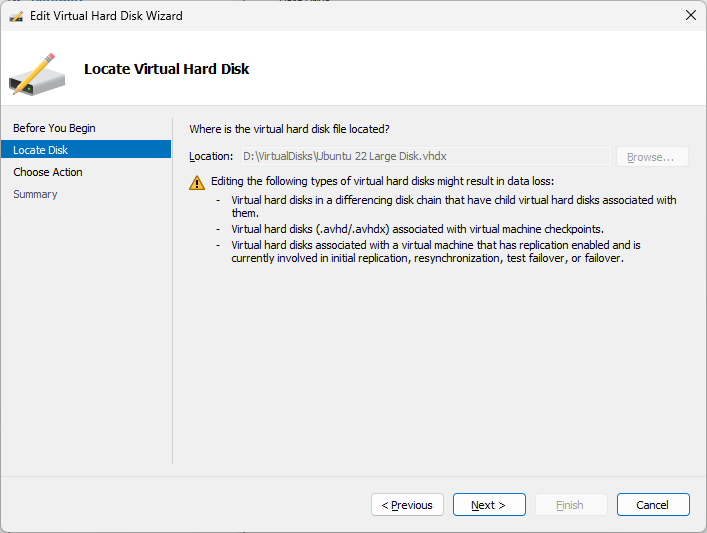
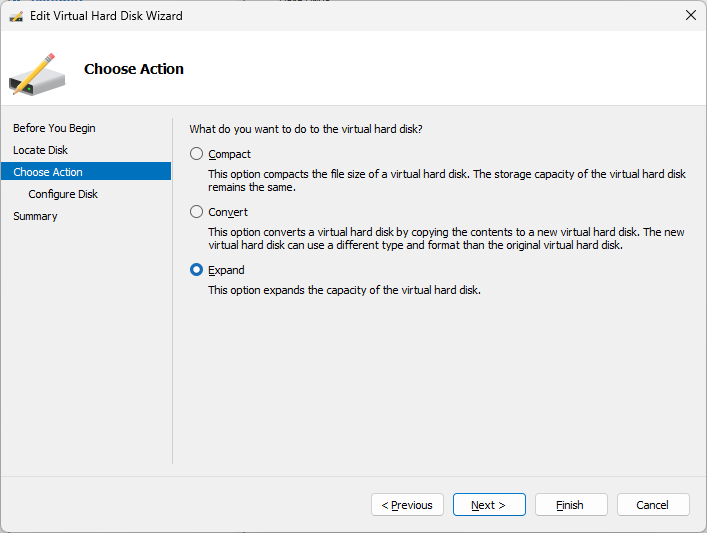
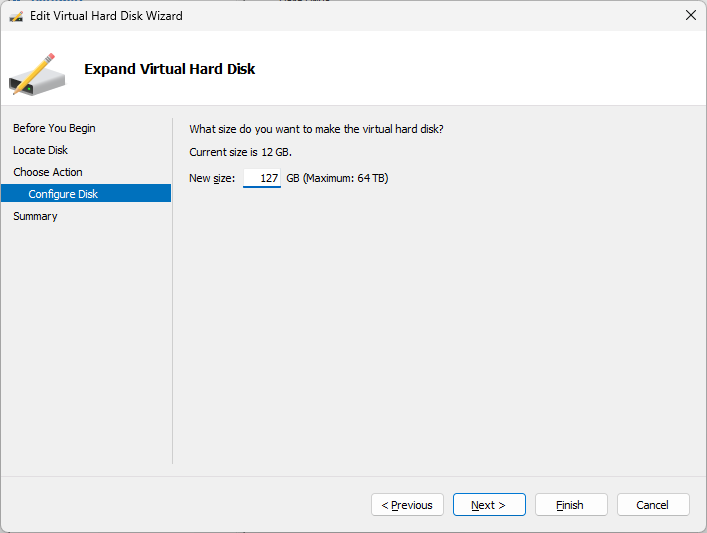
Unfortunately, the disk for the VM is only 12 GB (confirmed by launching Ubuntu and running out of space). Therefore, once the installation completes, expand the disk from 12 GB to a more reasonable size (e.g. 127 GB). If the default drive Quick Create used for the VM’s virtual disk does not have sufficient space, you will need to move the virtual hard disk to another drive then expand the partition in Ubuntu to use the whole virtual disk.
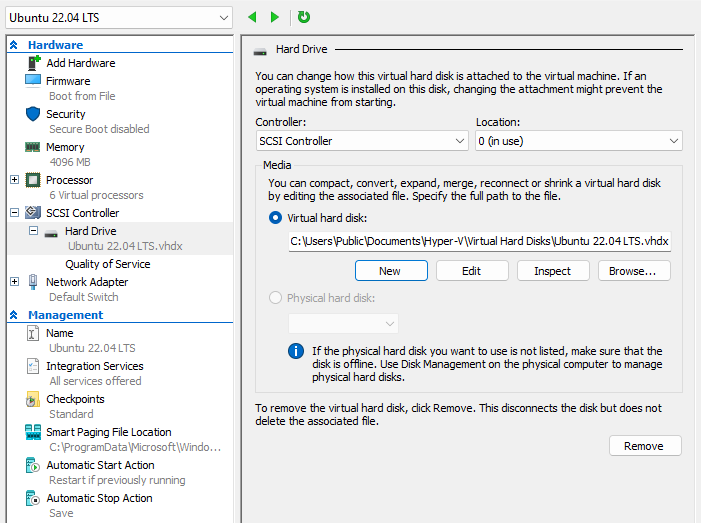
Open the virtual machine’s settings and select the VM’s Hard Drive. Click on the “New” button.
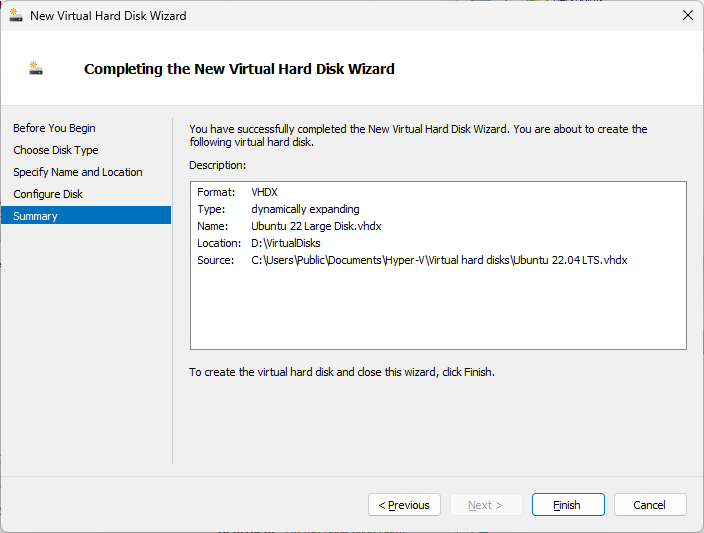
Select the disk type, e.g. “Dynamically Expanding“
Specify the name and location of the virtual hard disk file. This is where I selected a hard drive with lots of space for expansion for the VM.
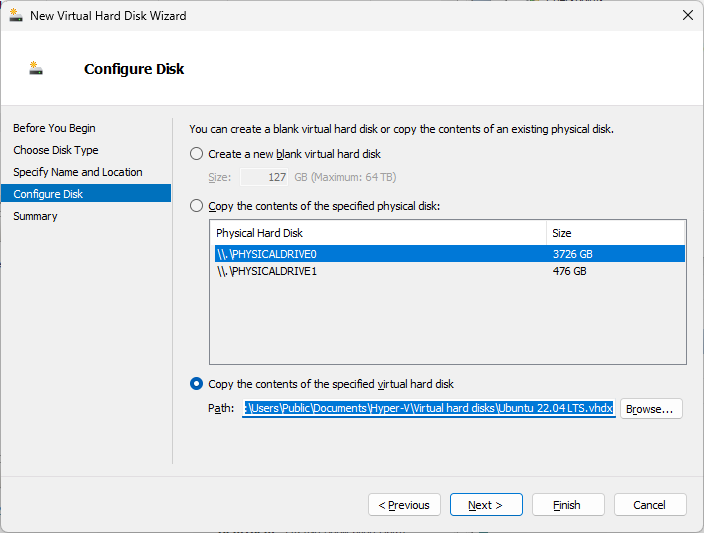
In the Configure Disk section, select the option to “Copy the contents of the specified virtual hard disk” and select the virtual machine’s current .vhdx file.
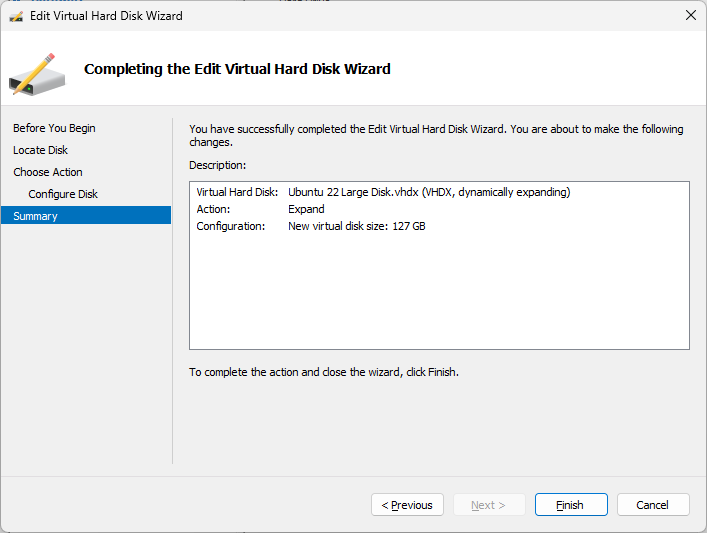
Verify that all parameters are correctly set then click on Finish.
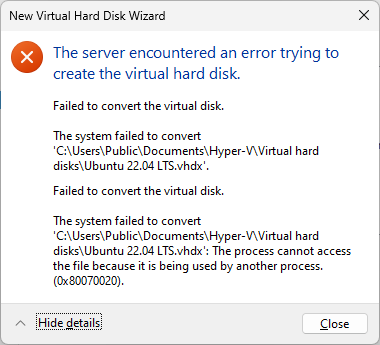
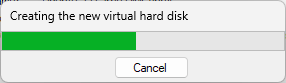
If the VM was still running, this error dialog will most likely be displayed.
The new hard disk will be created with the content of the currently
After starting the VM again, I still didn’t have enough space to decompress my .gz file.
Note: the sun-java6-bin and libphp-cloudfusion packages are not strictly necessary (OpenJDK will be installed instead of the former, and the AWS PHP SDK instructions are given below instead of the latter). unzip could come in handy as well. The python packages are installed to allow for python web development without having to install the appropriate packages after starting the server.
sudo mkdir -p /usr/share/php
cd /usr/share/php
sudo git clone git://github.com/amazonwebservices/aws-sdk-for-php.git awsphpsdk
mkdir -p ~/.aws/sdk
cp /usr/share/php/awsphpsdk/config-sample.inc.php ~/.aws/sdk/config.inc.php
vi ~/.aws/sdk/config.inc.php
Now we can prepare to create the image and then run the ec2 commands to create, upload, and register the image. See the AMI tools reference for information about these commands. Of course the actual access key, secret key, bucket names, etc need to be substituted with the correct values.
Note that the owner of the checked out www folder is set to ubuntu to ensure files can be edited conveniently without sudo. The “nobody” user is then made the owner of the smarty folders and they are assigned to the “nogroup” group. The permissions are then set to 770 for maximum security. I actually ended up using 777 to speed up development on my server – see the apache error log if nothing is displayed from the templates (most likely a case of permission errors).
Here’s are some options to include in the apache configuration file:
        DocumentRoot /home/ubuntu/www/htdocs
        <Directory /home/ubuntu/www/htdocs/>
                Options Indexes FollowSymLinks MultiViews
                AllowOverride None
                Order allow,deny
                allow from all

                DirectoryIndex index.php index.html index.py

                AddHandler mod_python .py
                AddHandler php5-script .php
                PythonHandler mod_python.publisher
                PythonDebug On
        </Directory>
I ended up pushing my server configuration as well to a public git server containing my entire application. Server configuration is then reduced to:
As suggested on one of the Ubuntu forums, the key here is to install the VirtualBox guest additions. Having done so on my system, I ran these commands:
cd /media/VBOXADDITIONS_3.2.6_63112/
sudo ./VBoxLinuxAdditions-x86.run
Rebooting my virtual machine and maximizing the VirtualBox window left me running Ubuntu at my native screen resolution of 1680×1050 :).
Update: On VirtualBox 4.1.2, use the virtual machine’s Devices -> Install Guest Additions … menu item. The ISO Disc should be automatically mounted, and allowing autorun to continue should complete the installation. The Virtualbox website has more information on guest additions.
I was fooling around with the Linux kernel source not too long ago (under the impression that I could build it in a VM on a 1GB Windows XP laptop to which I had access). However, I was dismayed to find that I could barely install Sun VirtualBox. The installer hung (thankfully after getting through all the required files) at the network configuration screen. Interestingly, I had failed at installing Visual C++ 2008 Express Edition as well – the downloads didn’t even begin. I convinced myself that getting the full ISO files was taking the easy out.
It wasn’t until later (ahem, a few weeks later) that I dug into the cause of the problem and looked into the Windows Installer. Turns out I was using v3.0.who-knows-what. The latest version of the installer from Microsoft fixes these “hanging” issues. You can find out which version of the installer you are running by… hold your breath… Start -> Run -> msiexec
While recently monkeying around with registering some DLLs, I ran across this error message:
Looking at WinError.h (in the %ProgramFiles%\Microsoft SDKs\Windows\v6.0A\Include folder on my system) reveals that it’s just a fancy “you-don’t-have-permission-to-do-this” dialog box:
I simply switched to an account with administrative privileges and voila! No failure this time. But couldn’t these codes be run through FormatMessage or something similar for crying out loud! Of course there are always other ways to figure out what is going on though.