Ubuntu VM Setup for OpenJDK Development
I’m using a Windows 10 physical machine for my OpenJDK 17 development. Unfortunately, I ran into some issues getting the environment set up to build the JDK on Windows. To work around this, I created a Linux virtual machine. Although the instructions for building on Linux are on the OpenJDK site, I would like to have all the instructions in one spot, hence this post.
Creating an Ubuntu VM in Hyper-V
- Download an LTS Ubuntu .iso from the Ubuntu Desktop download page. I selected Ubuntu 20.04.3 LTS.
- Go to New > Virtual Machine in Hyper-V manager.
- Enter your VM name, generation, memory amount and type
- Select the connection type (Default Switch) and create a new virtual hard disk
- Select “Install an operating system from a bootable CD/DVD-ROM” then enter the path to the downloaded .iso file then click on Finish.
- Before starting the VM, set the number of virtual processors (it defaults to 1, which is less than ideal)!
- Perform a normal Ubuntu installation including erasing the disk
Let us now review the more interesting steps – those related to configuring the Ubuntu environment.
Increase the Resolution of the Ubuntu Guest OS
The default 1024×768 screen resolution of the Ubuntu guest is rather restrictive. The solution to this comes from https://askubuntu.com/questions/384602/ubuntu-hyper-v-guest-display-resolution. We need to configure the Hyper-V Synthetic Video Frame Buffer Driver by adding ” video=hyperv_fb:1680×1050” to the GRUB_CMDLINE_LINUX_DEFAULT value in the /etc/default/grub file.
sudo apt-get install linux-image-extra-virtual
sudo apt-get install vim
sudo vim /etc/default/grub
sudo update-grub
reboot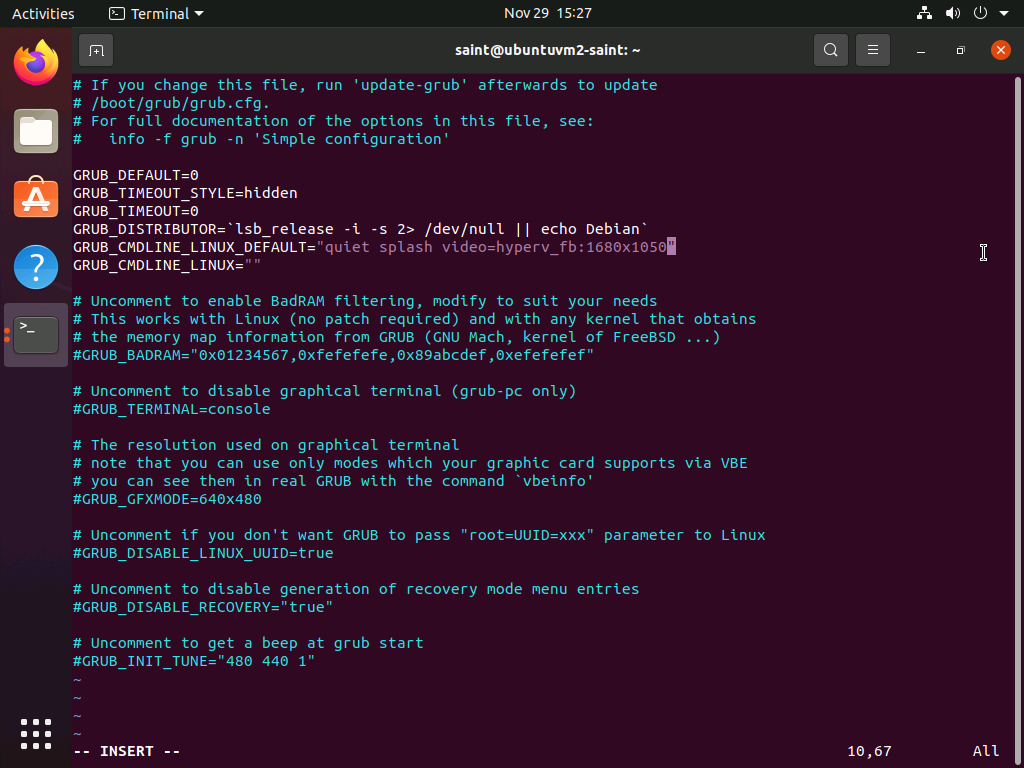
Install the development dependencies
The table below lists the JDK build dependencies and the commands to install them.
| Component | Installation Command |
| autoconf | sudo apt-get install autoconf |
| Git | sudo apt-get install git |
| C Compiler | sudo apt-get install build-essential |
| X11 libraries | sudo apt-get install libx11-dev libxext-dev libxrender-dev libxrandr-dev libxtst-dev libxt-dev |
| cups | sudo apt-get install libcups2-dev |
| fontconfig | sudo apt-get install libfontconfig1-dev |
| alsa | sudo apt-get install libasound2-dev |
This single command suffices to install all these components.
sudo apt-get install autoconf git build-essential libx11-dev libxext-dev libxrender-dev libxrandr-dev libxtst-dev libxt-dev libcups2-dev libfontconfig1-dev libasound2-devInstall a code editor
Download the Visual Studio Code .deb file from https://code.visualstudio.com/Download. We can then install VS Code by running:
sudo apt install ~/Downloads/code_1.62.3-1637137107Install a Boot JDK
I use the Microsoft OpenJDK build as the boot JDK. Here are the Ubuntu instructions for Installing the Microsoft Build of OpenJDK:
# Valid values are only '18.04' and '20.04'
# For other versions of Ubuntu, please use the tar.gz package
ubuntu_release=`lsb_release -rs`
cd ~/Downloads/
wget https://packages.microsoft.com/config/ubuntu/${ubuntu_release}/packages-microsoft-prod.deb -O packages-microsoft-prod.deb
sudo dpkg -i packages-microsoft-prod.deb
sudo apt-get install apt-transport-https
sudo apt-get update
sudo apt-get install msopenjdk-17
Verify that everything is working by running “java -version”
Clone and Build the JDK
Clone the JDK. Note that cloning a fork might be much slower than cloning the upstream Github repo! I was averaging about 60KiB/s on my rork whereas cloning the upstream OpenJDK was averaging 6 MiB/s when receiving objects!
mkdir ~/repos
cd ~/repos
git clone https://github.com/openjdk/jdk
The JDK repo can now be configured and built
cd jdk
bash configure
make images
The configure command should display any missing dependencies that it needs and a suggestion for how to install them.
To try out your new build, switch to the bin folder and check the Java version:
cd ~/repos/jdk/build/linux-x86_64-server-release/jdk/bin
./java -version
To browse through the contents of the build folder in a file manager:
xdg-open ./build
Leave a Reply