Cross-Platform Encrypting & Decrypting of Files
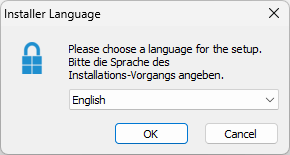
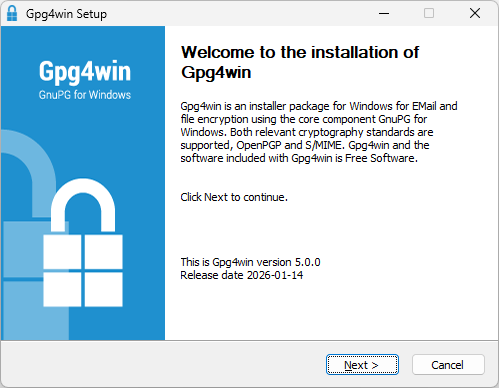
I wanted to transfer files across machines last weekend using OneDrive without making the content available in unencrypted form in the cloud. From the encrypt files with pgp – Search, I went to the PGP Encrypt File | Microsoft Learn page. It linked to the GnuPG – Download page, where I got Gpg4win. This post shows (via screenshots) the process of installing the software on Windows and macOS and encrypting and decrypting a file.
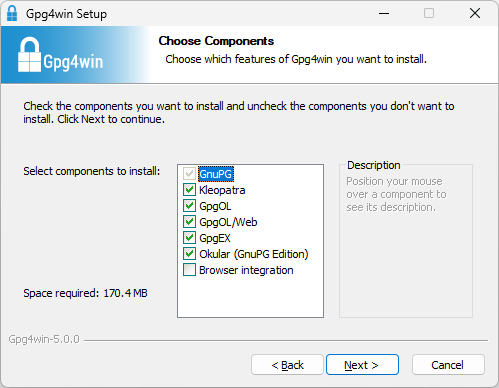
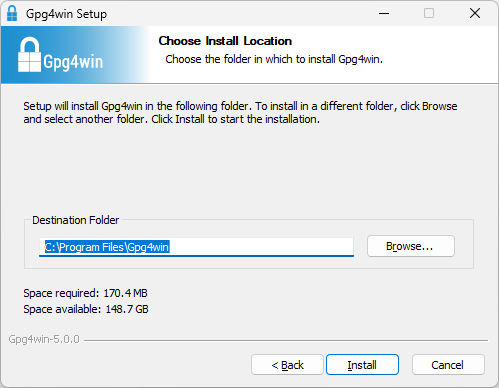
Gpg4win Installation and Usage
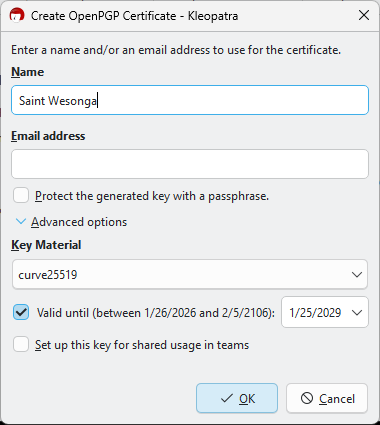
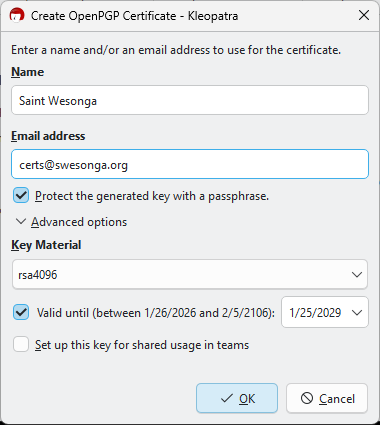
For certificate creation I changed the key material from the default curve25519 option to rsa4096. This was also a good time to read Should We Start Using 4096 Bit RSA Keys? | JSCAPE.
I created a simple text file to test encryption as shown in the next slideshow.

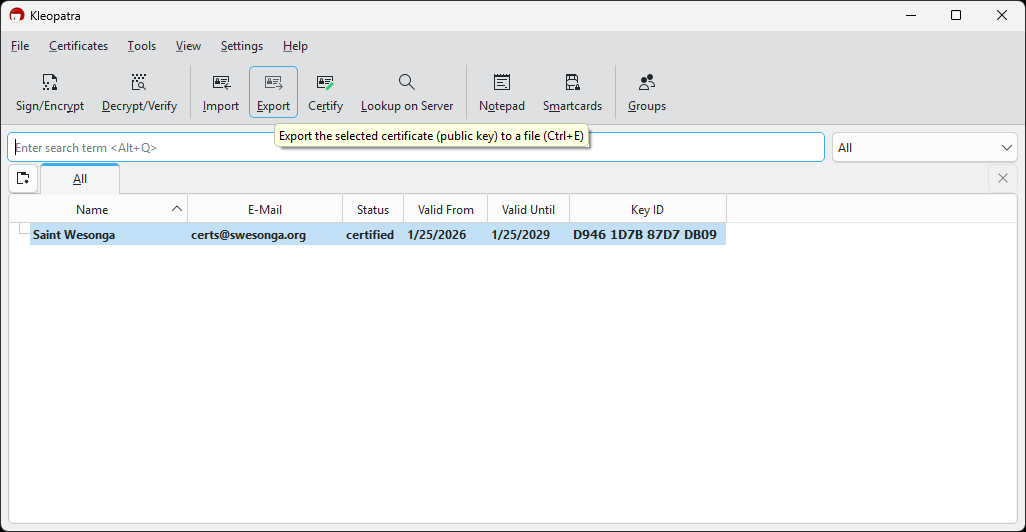
Since my goal was to encrypt files on my MacBook, I exported the certificate for use on other machines. The certificate was saved as a .asc file.
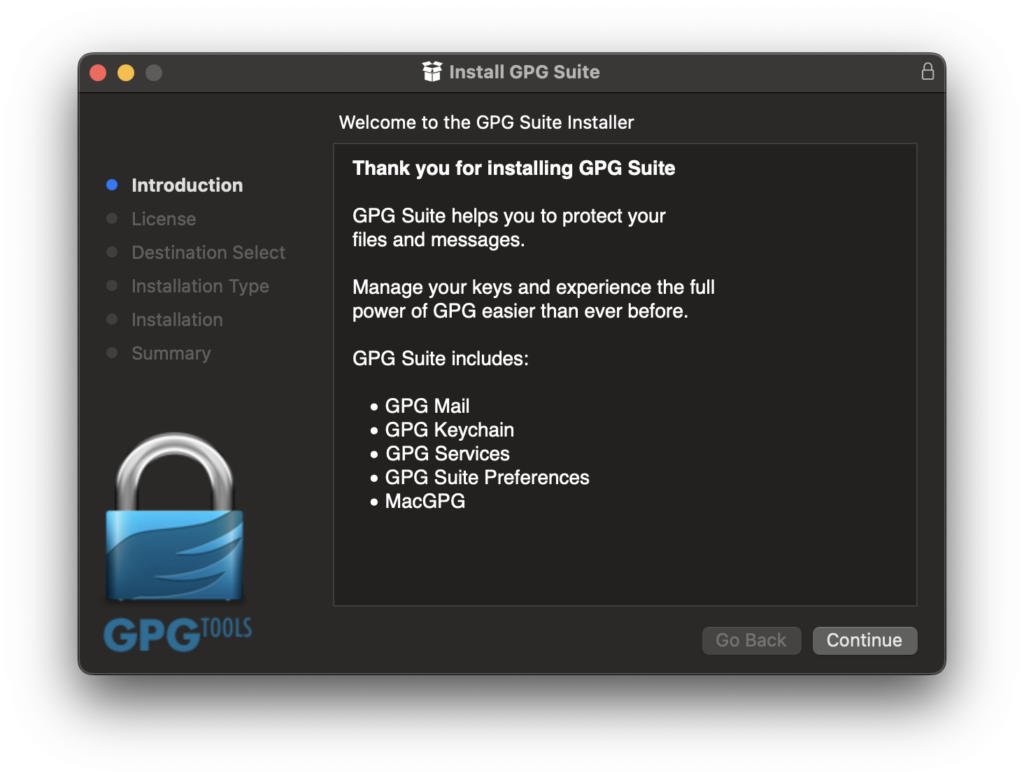
GPG Suite macOS Setup
I decided to use the GPG Suite on macOS.


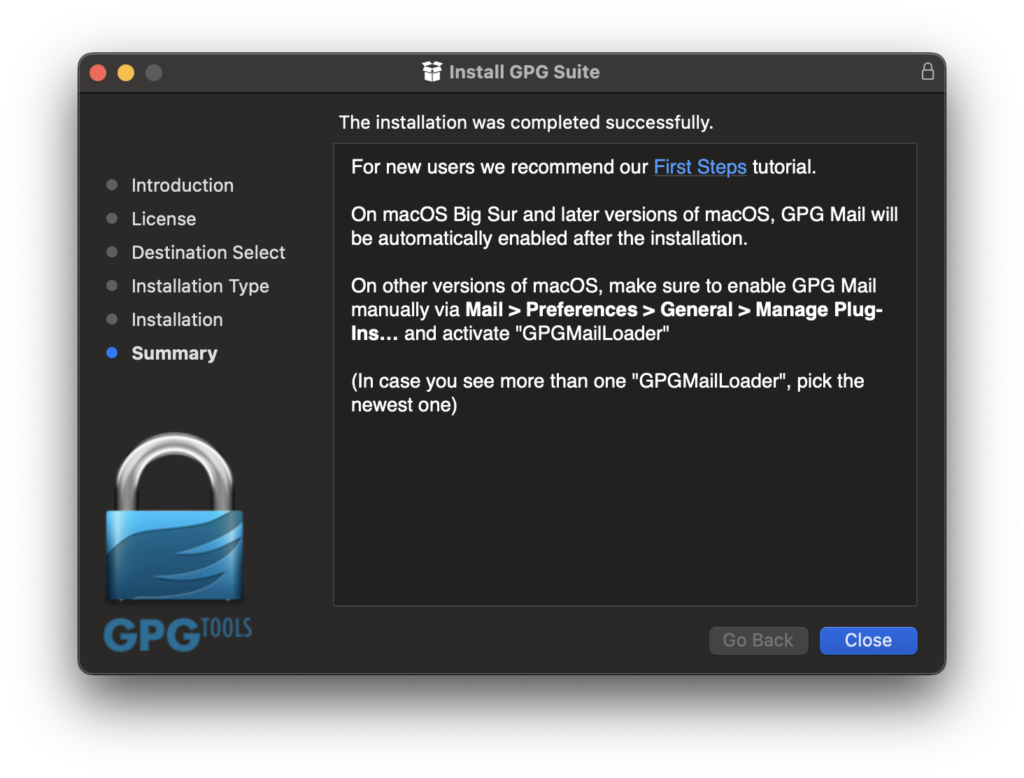
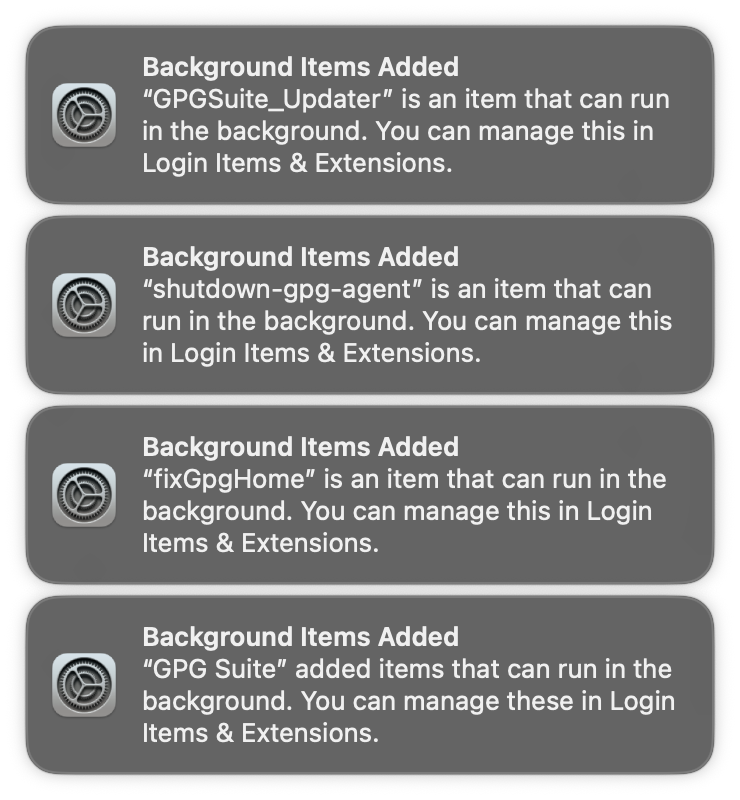
Some services were added to the OS by the installation process. What on earth are these services?
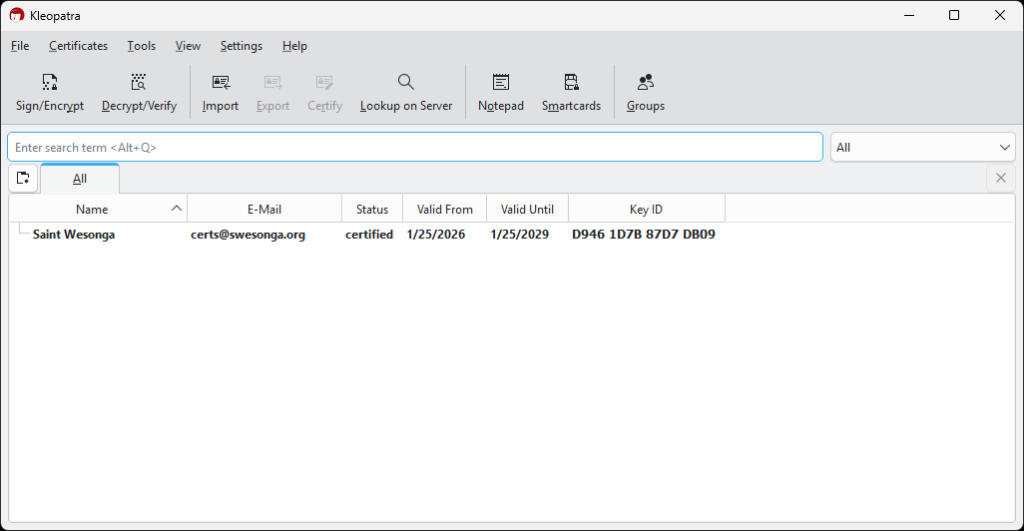
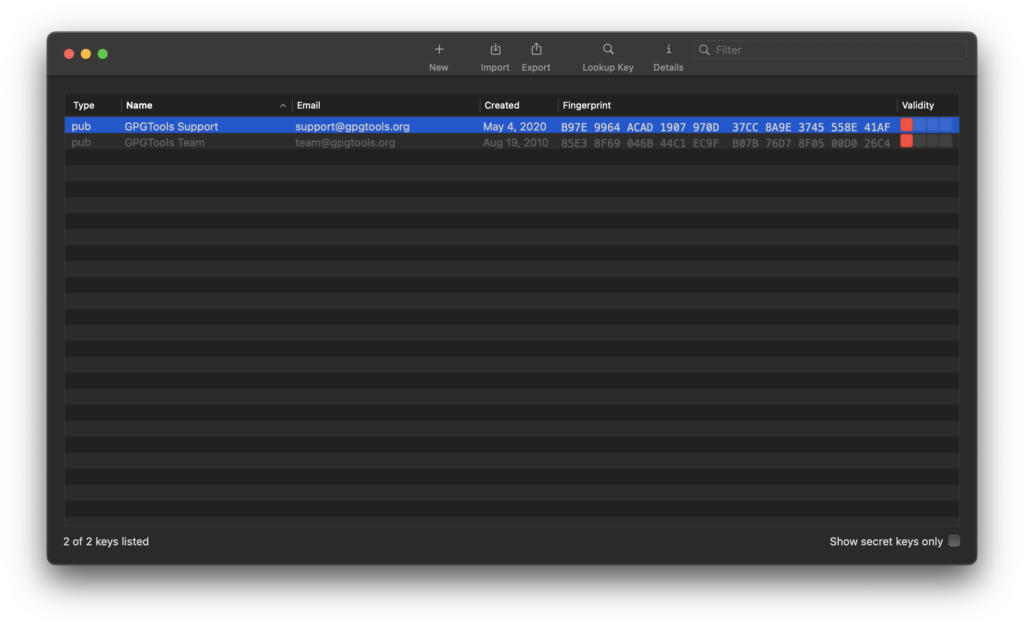
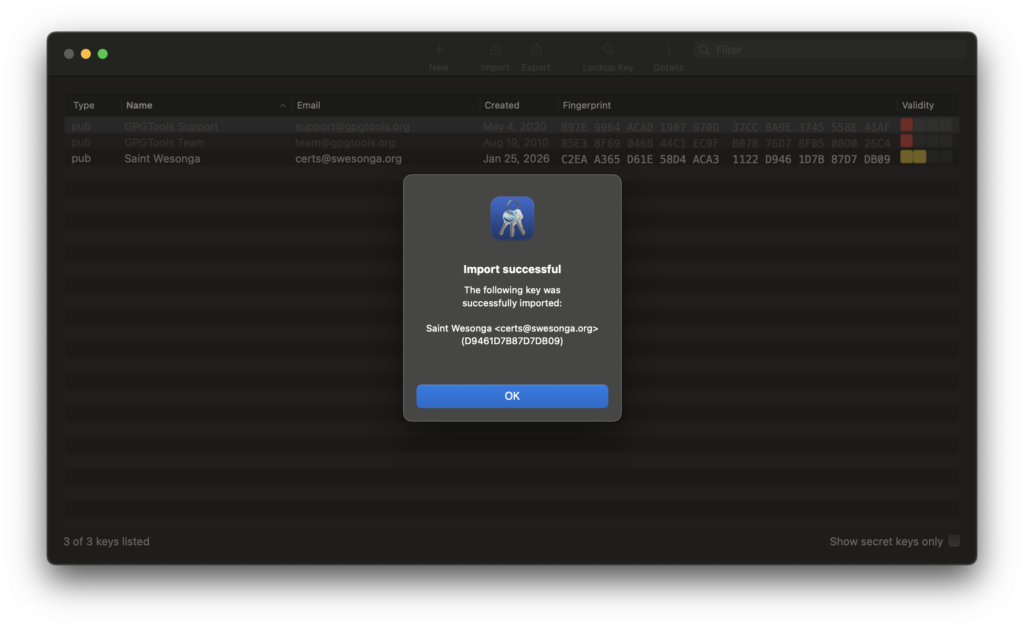
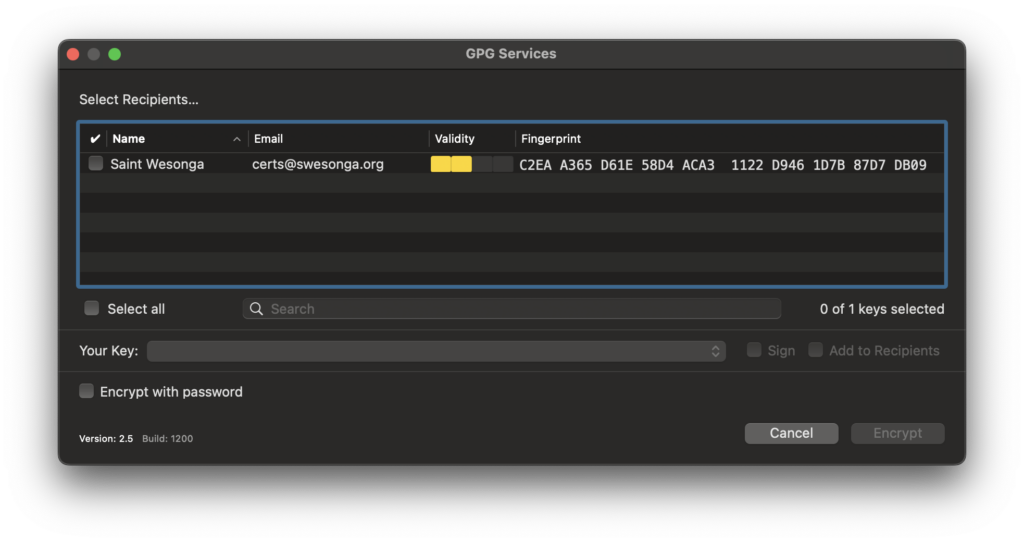
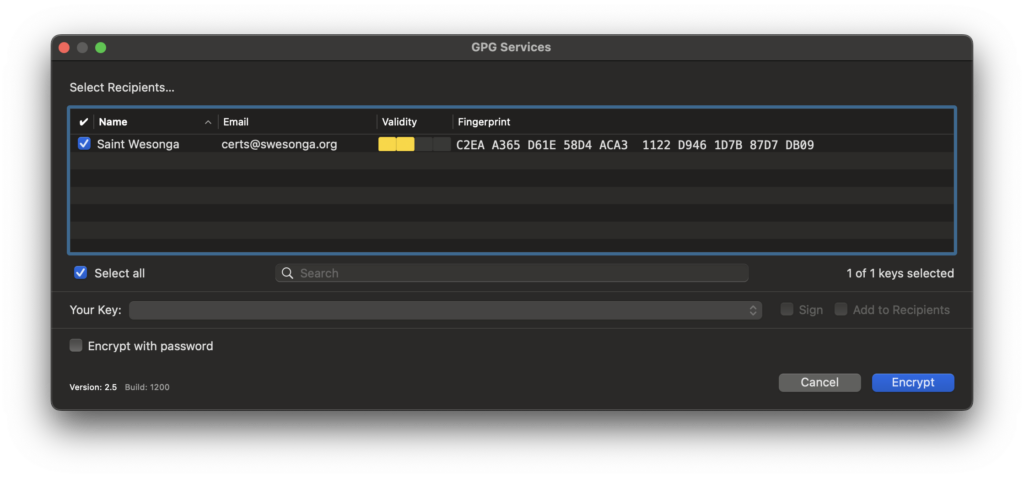
The main window of the GPG Keychain app is shown below. I successfully imported the certificate I created on my Windows machine.
File Encryption Process
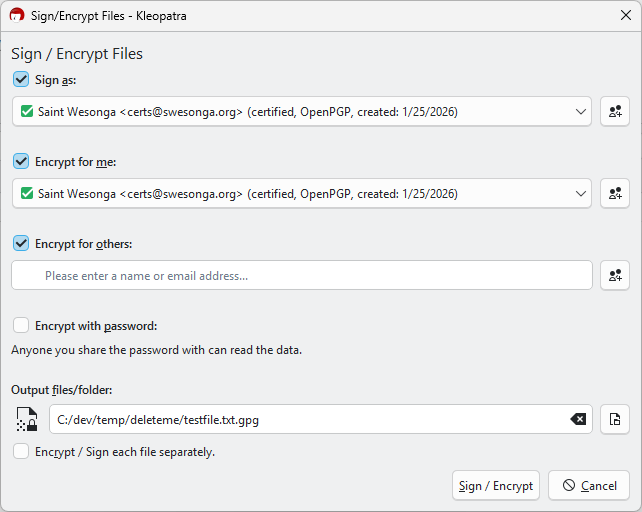
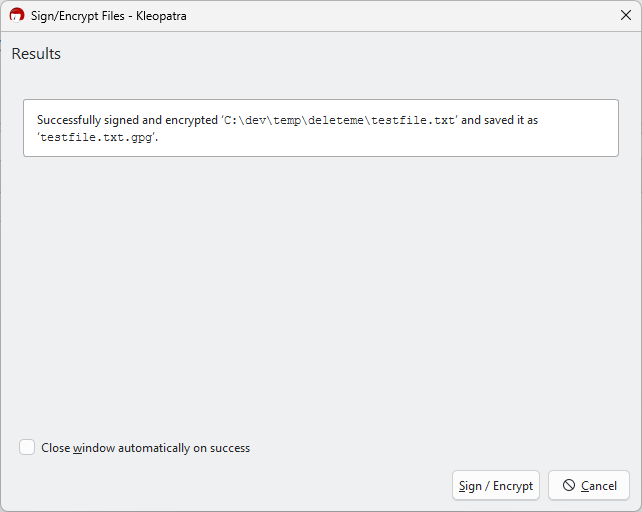
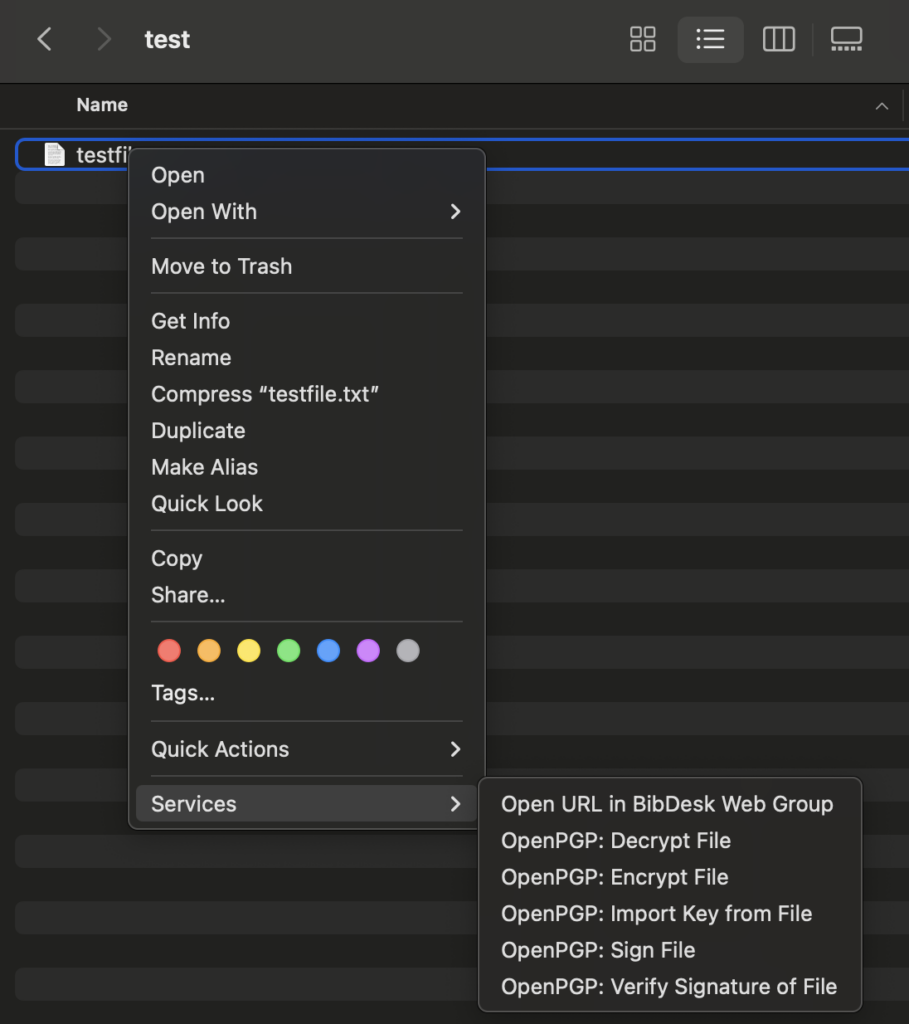
I created a test file and noticed that the OpenPGP options included an Encrypt File option. It was a straightforward process.


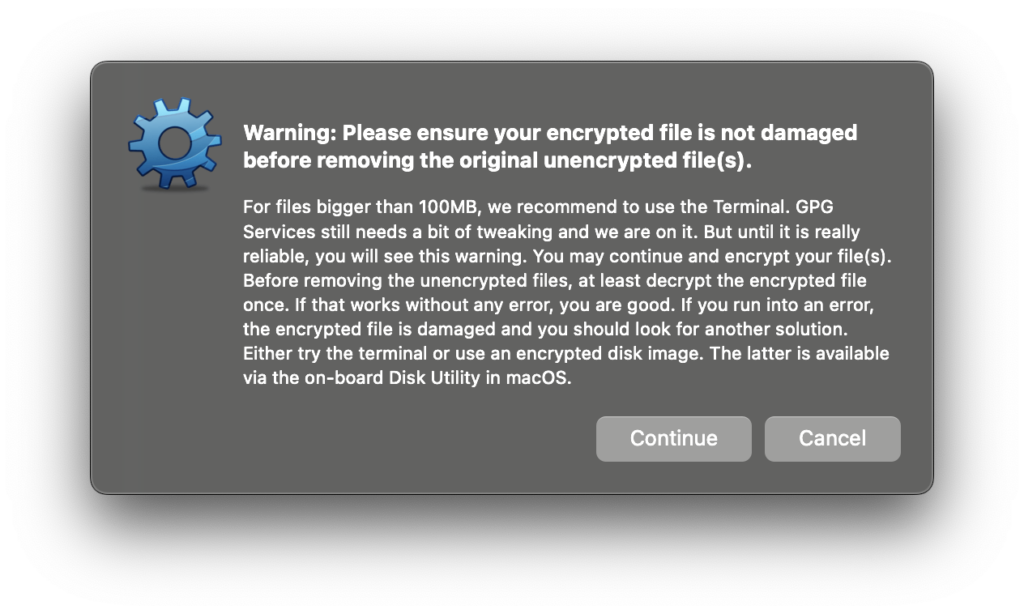
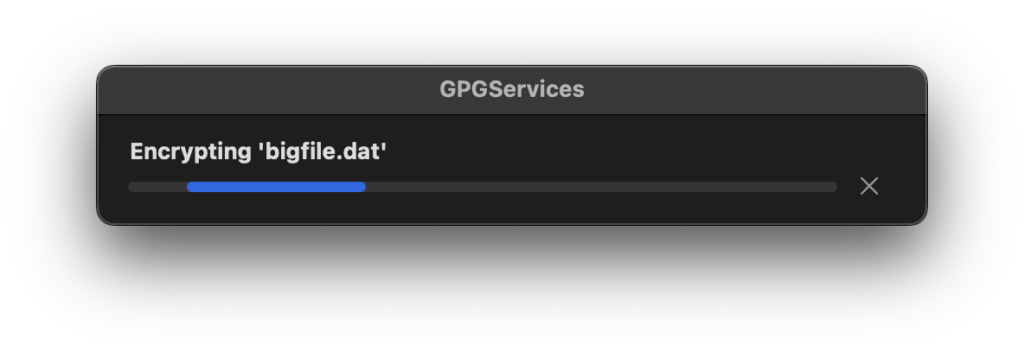
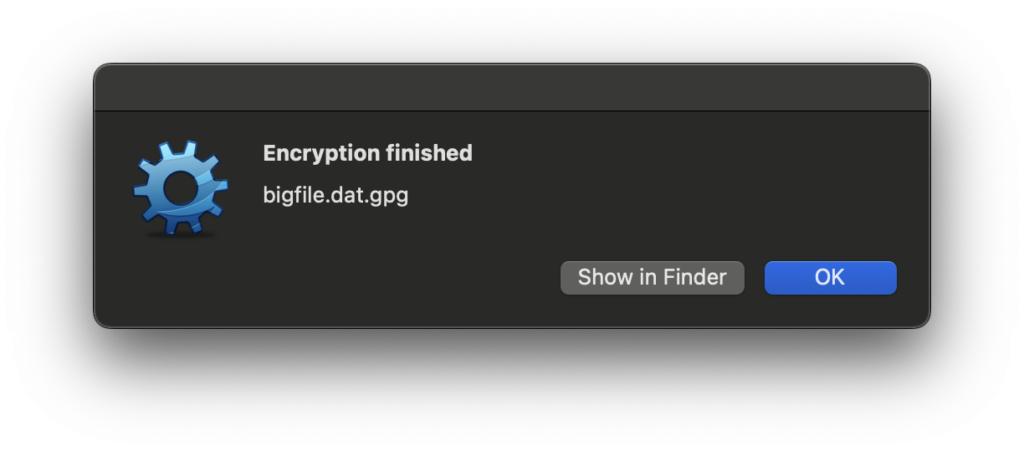
However, I was troubled by the dialog below, which popped up when I tried to encrypt a large (multiple GB) file. My thinking was that any software that handles files should either be correct or not in the business of handling files! However, I let it proceed and verified that the SHA256 and SHA512 hashes of the unencrypted file matched those of the original file.
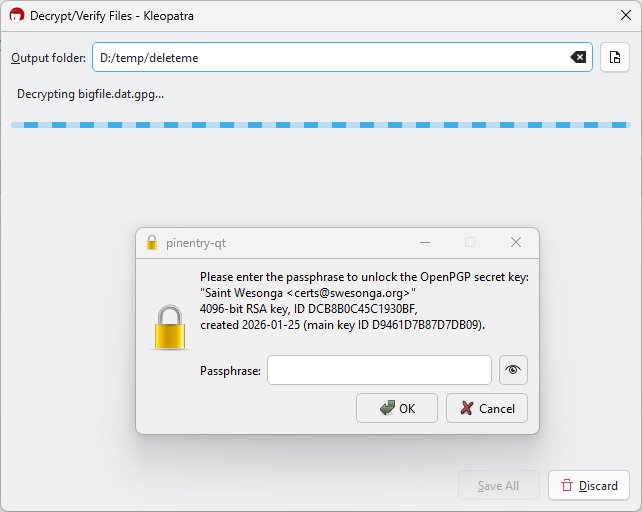
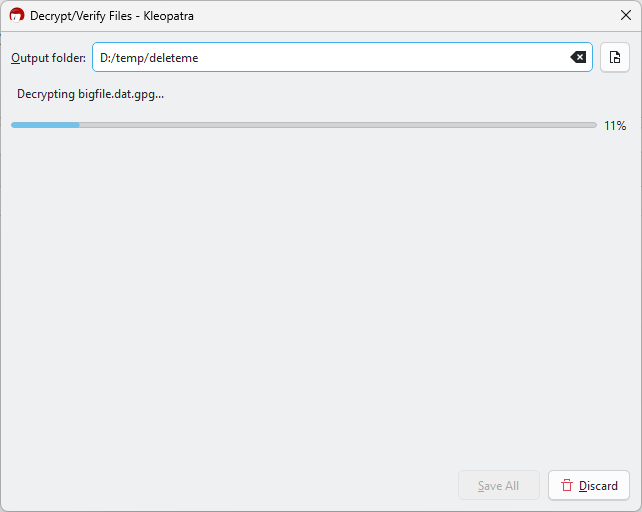
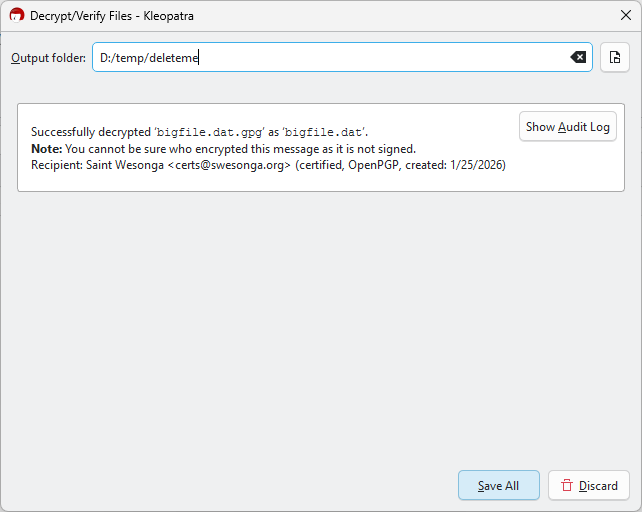
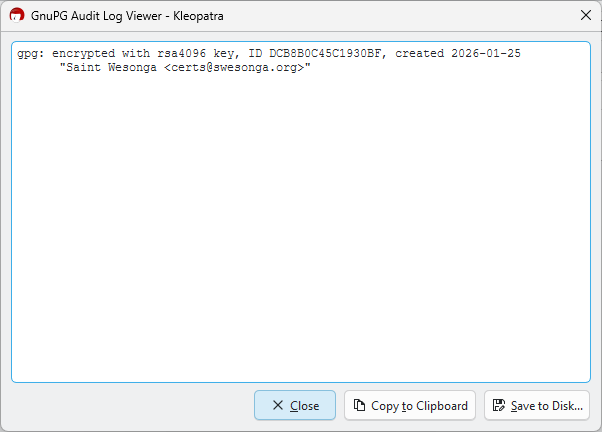
Gpg4win Decryption
I copied the encrypted file to OneDrive and let it sync to my Windows machine where the decryption would take place. The only catch when decrypting using Kleopatra was that I needed to click on the Save All button when the dialog said it has successfully decrypted the file (otherwise the file wouldn’t be on disk)!
As mentioned earlier, I also verified that the hashes of the unencrypted file were identical to those of the original. At this point, I think the encrypted email features might be worth trying sooner or later. I just don’t have confidence in the services that were added to the OS (esp. since I saw high CPU usage on the machine long past the unencryption time).