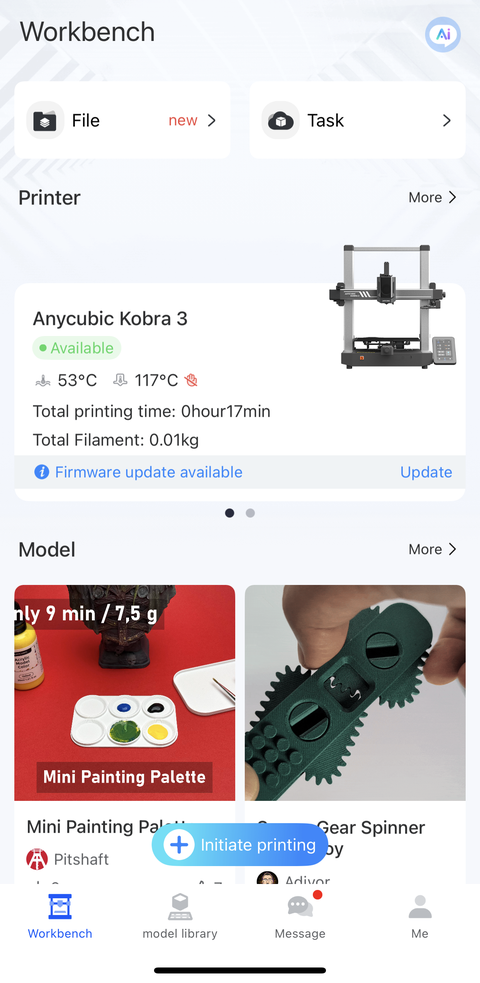
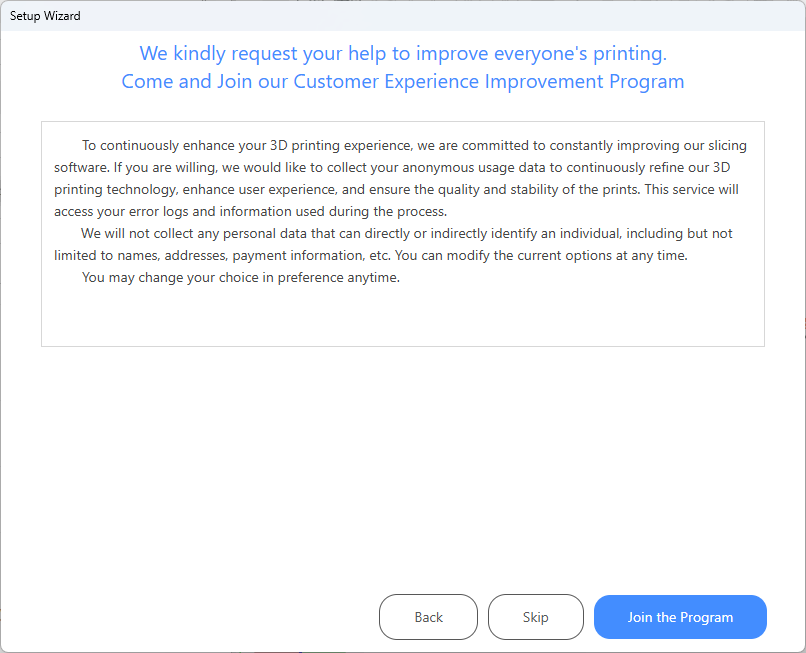
Setting up my First 3D Printer
In Overview of 3D Printing Technologies, I mentioned that I had bought a 3D printer. Life happens so I never got around to setting it up. A colleague at work recommended the Bambu Lab A1 | Desktop 3D Printer and the Anycubic Kobra 3 Combo Without Filament, Multicolor 3D Printer. He spoke highly of the value of the Kobra 3 (capabilities for price), so I decided to buy it instead of using the one I had previously bought. The Kobra 3 doesn’t come with filament, so I went with this one from the “Frequently Bought Together” section: ANYCUBIC PLA 3D Printer Filament, RFID 3D Printing PLA Filament 1.75mm Dimensional Accuracy +/- 0.02mm, 1KG Spool (2.2 lbs), Pearl Black. At this point, I didn’t even know what PLA filament was. I got a high-level overview by reading this Polylactic Acid (PLA) 3D Printing Filament Review and this page on What is PLA? The 3D printing filament Wikipedia page also lists other types of filaments.
Kobra 3 Assembly
The assembly process took me just under a week since I did just a little bit each day. The manual has a QR code for the installation instructions video, Assembly for Anycubic Kobra 3 Combo:
The assembly process was smooth overall, especially because the video clarified some of the instructions. I wasn’t sure how to install the filament tubes into the print head because I did not know how far they should go into the print head. I noticed in the video that their filament tubes had a black ring on the tubes (which mine didn’t) but that was enough to let me know it was safe to push them further into the print head until they were firmly in. I also didn’t pay attention to the orientation of the filament when I loaded it into the ACE (Anycubic Color Engine), but it still worked fine in with my 180-degree rotation around the z-axis.
The print head and print bed did not seem to be shaking so I didn’t adjust the hexagonal isolation columns located underneath the print head/bed respectively. Another instruction in the “Check before use” section was to manually move the print head and print platform then if there is any difficulty or abnormal noise during the movement, adjust the tensioners to ensure smooth sliding of the print head or platform. I had no idea what the right tension was. I hazarded a guess and proceeded to powering on the machine.
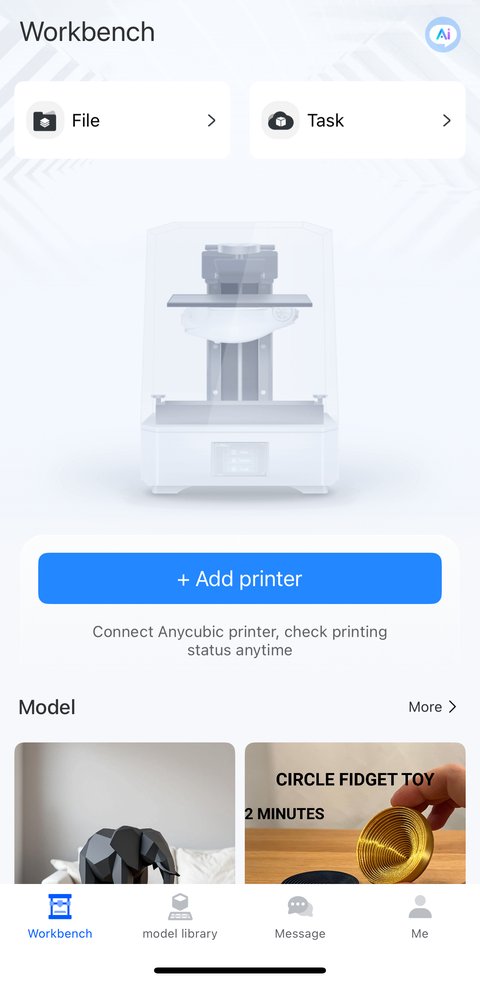
Printing my First Model
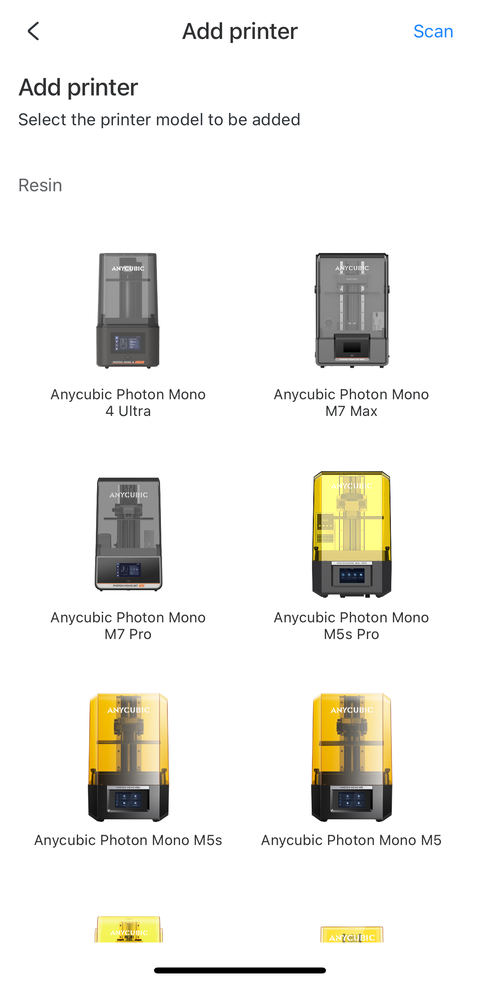
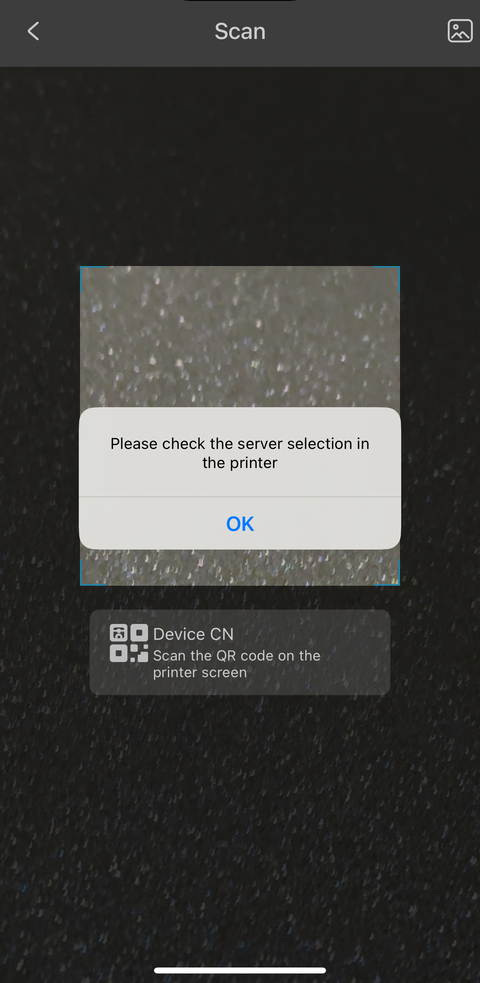
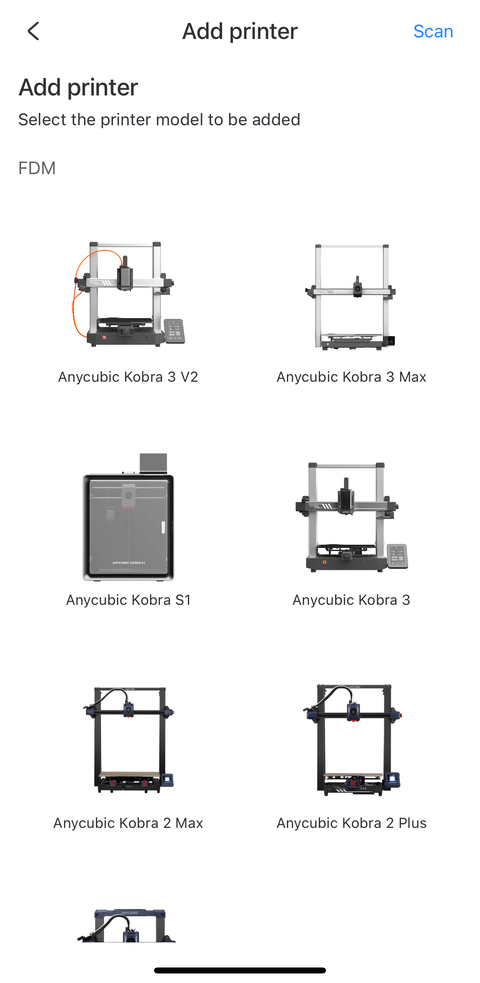
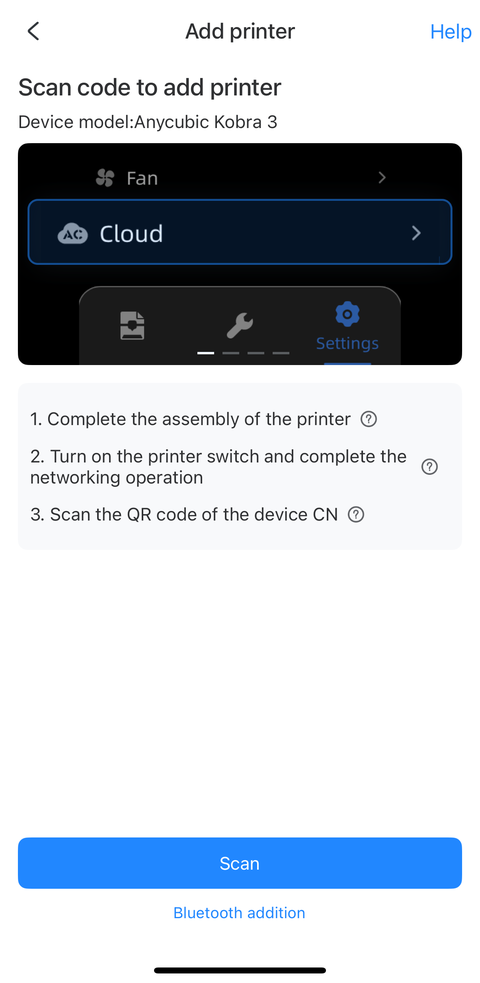
After powering up, the Kobra 3 displayed a QR code on its screen linking to the Anycubic app. The next step was to add the Kobra 3 printer after the app was installed and I registered a new account. I tried scanning the QR code on the printer screen, but it failed with an error about checking the server selection on the printer. I wasn’t sure what that was referring to since I had just connected the printer to my Wi-Fi without any “cloud” setup. I think I ended up selecting the printer by model in the app but still had problems connecting to it. I decided to install the desktop software to see if I could make progress that way. I think it was after I set up the Anycubic Slicer Next software on my desktop that I was able to connect to the printer in the app on my phone.
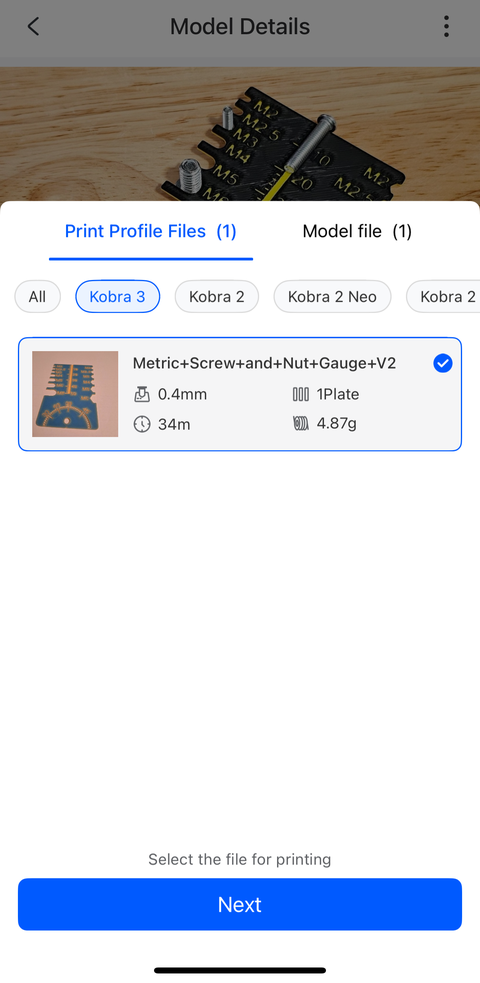
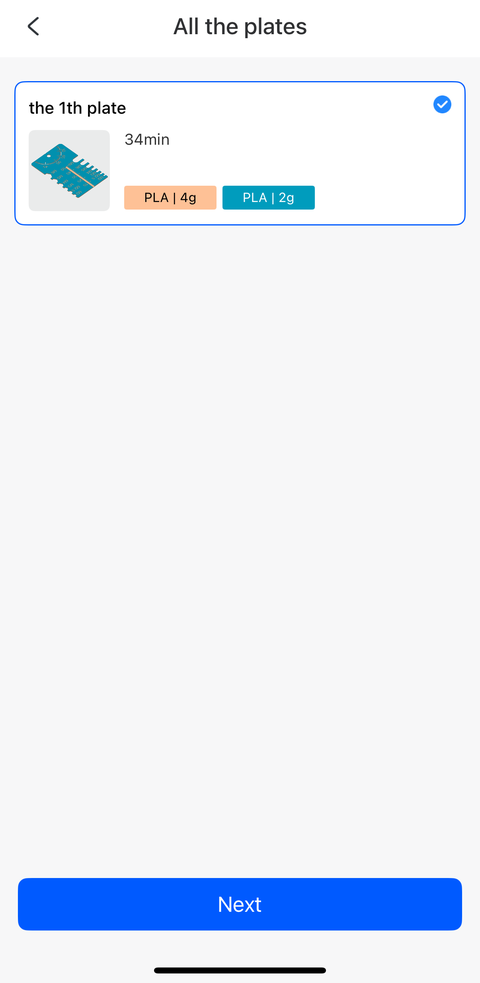
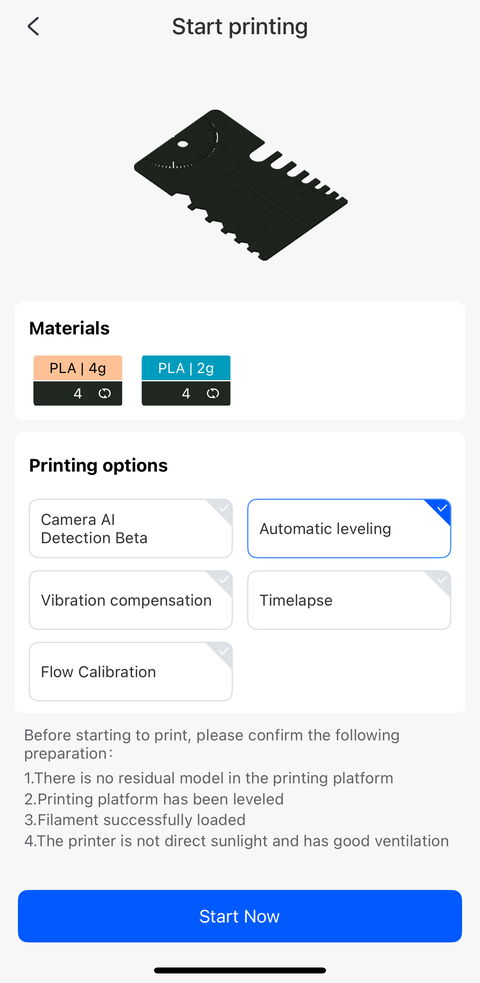
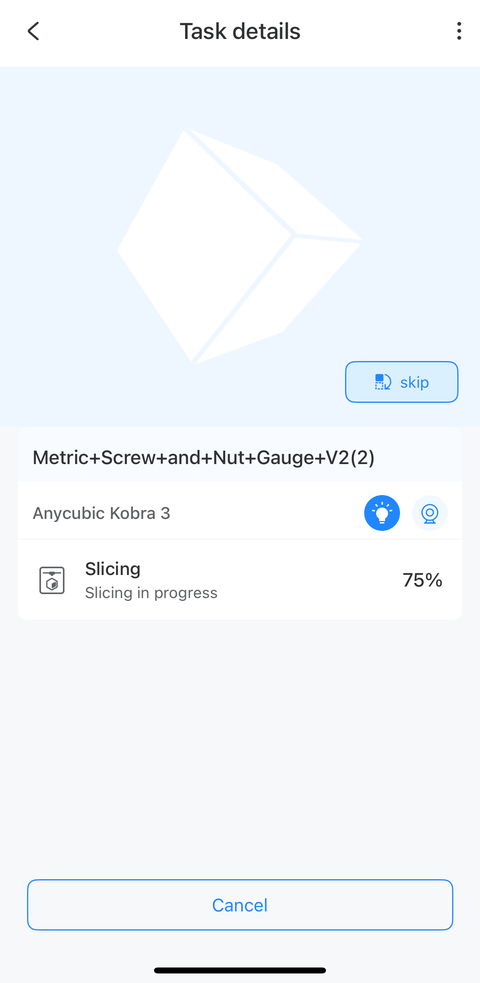
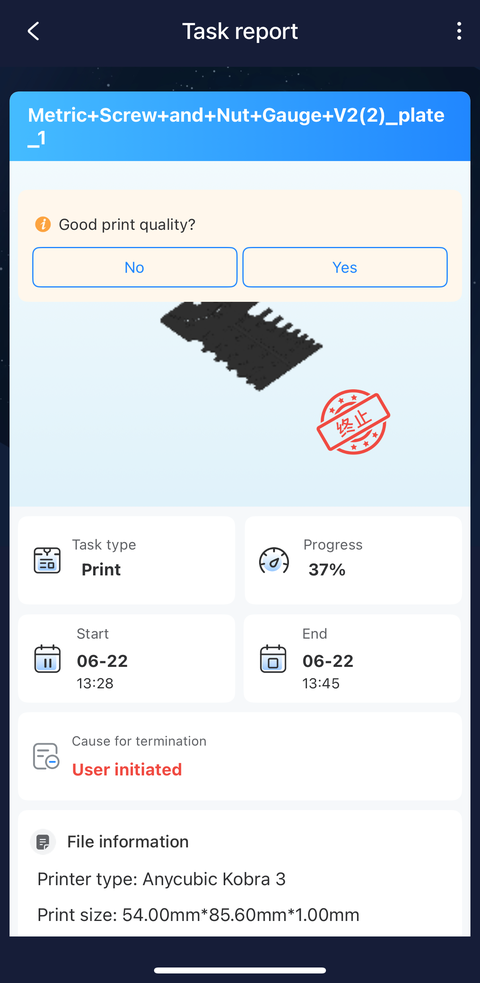
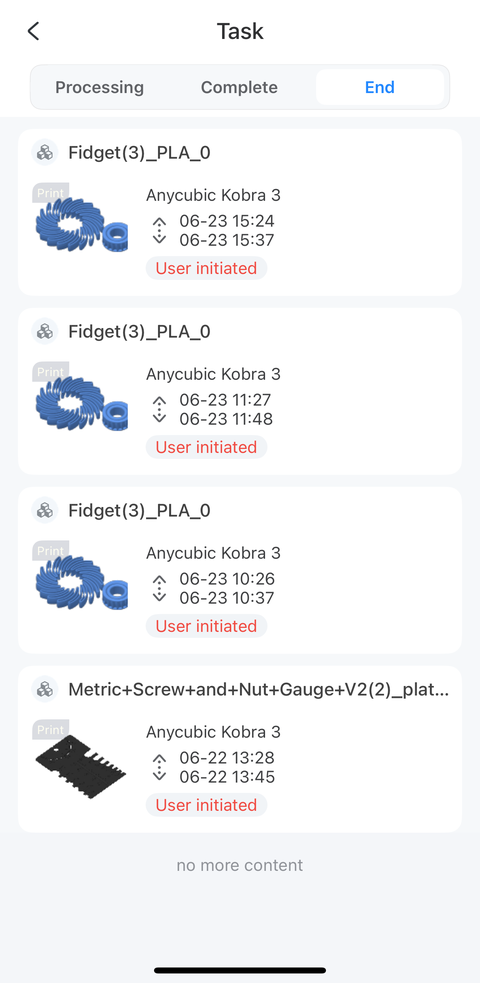
I looked around for what to make for my first ever print run and settled for this metric screw and nut gauge (whatever it is). Unfortunately, the printer kept moving closer and closer to the y-axis edge. It looked like it was going to try to print off the build platform so I canceled the task.
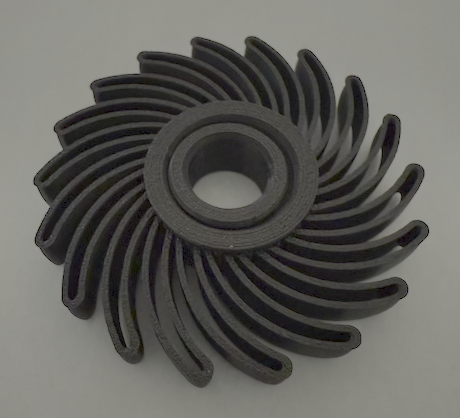
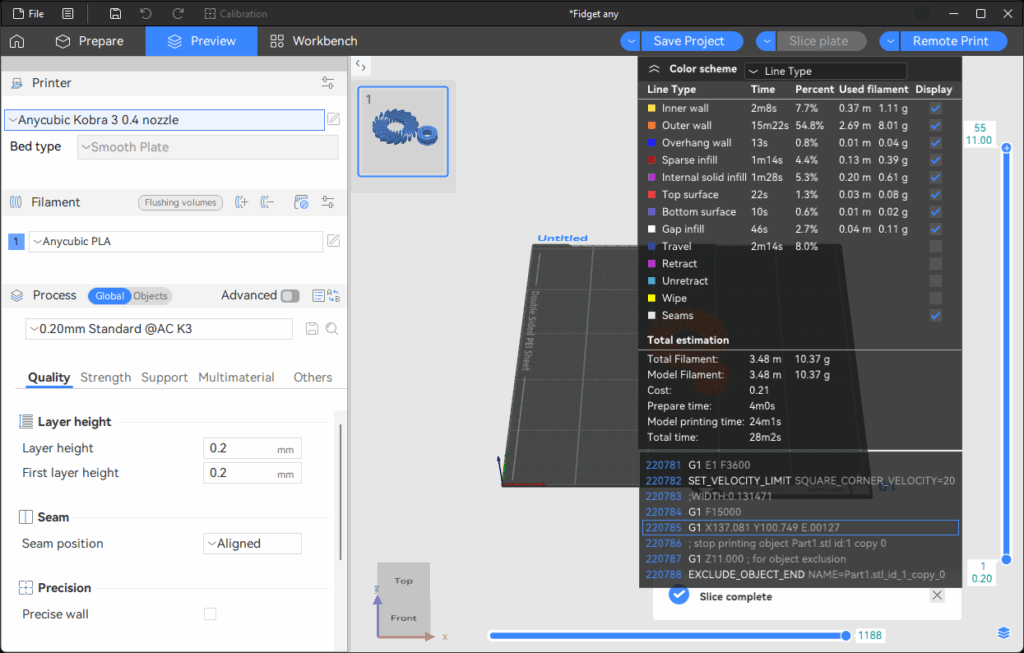
I decided to print a different model, a simpler one, to see if perhaps the model is at issue. This (mostly) circular fidget toy seemed ideal because its dimensions meant that it had to be centered on the build platform.
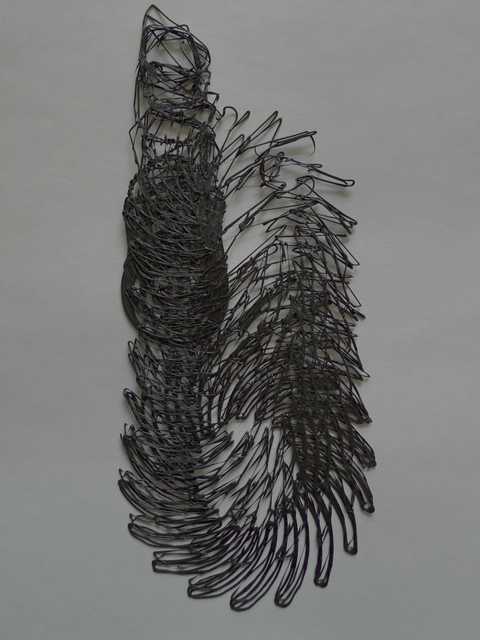
The first time I tried to print this model, it failed with the printer almost overrunning the build platform (just like it did with the previous model):
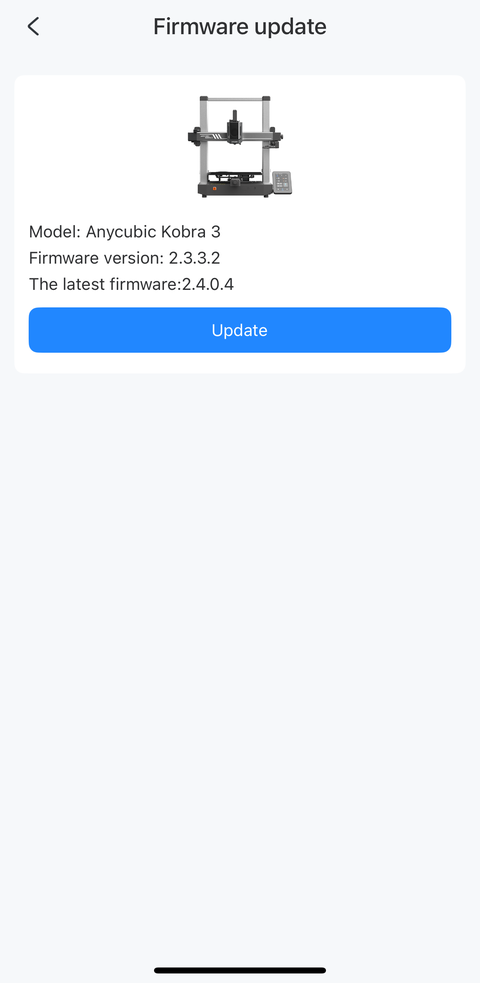
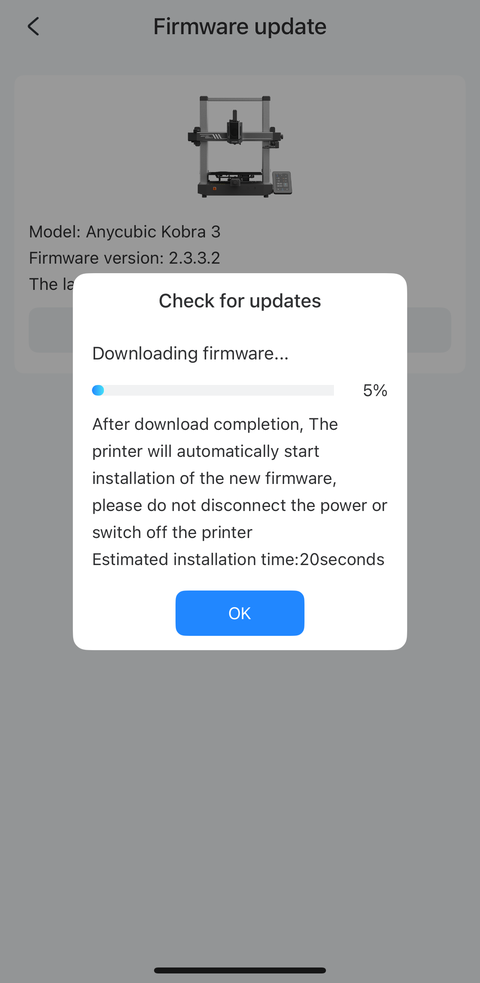
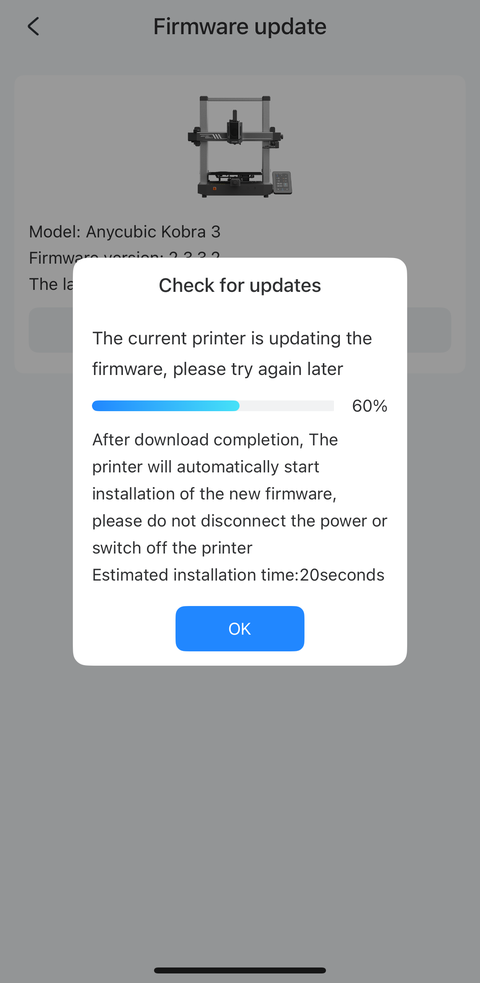
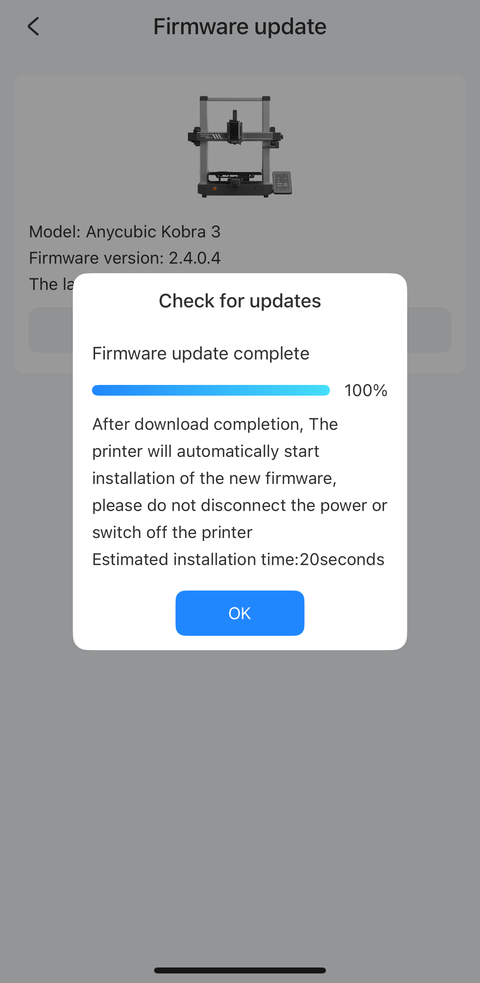
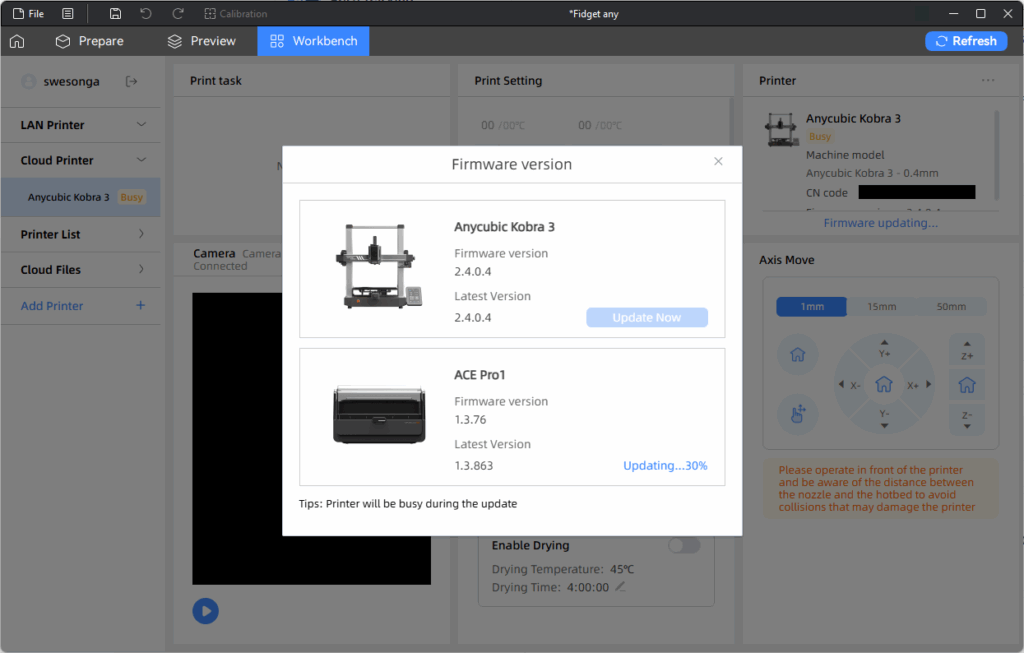
I cancelled that task and upgraded the printer’s firmware:


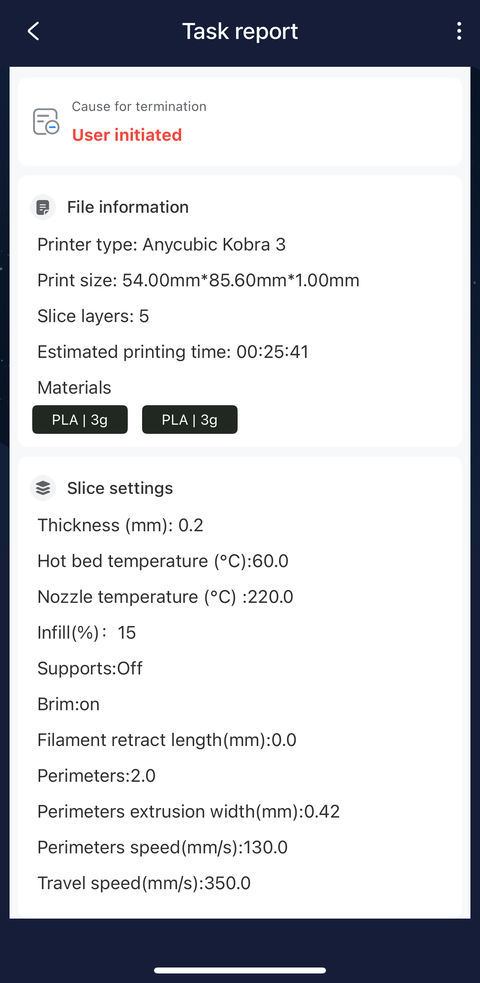
The same thing happened again so I cancelled the printing task. I had set up the 3D printer on a stand-up desk which had a little bit of swaying motion when the printer was at work so I moved the 3D printer onto the floor to see if this could have been the problem. The same broken model was being printed with the printer on the floor so I cancelled the task again. However, this enabled me to rule out the stability of the print platform. The tasks I cancelled are in the “End” tab, along with their start and end times in the images below.
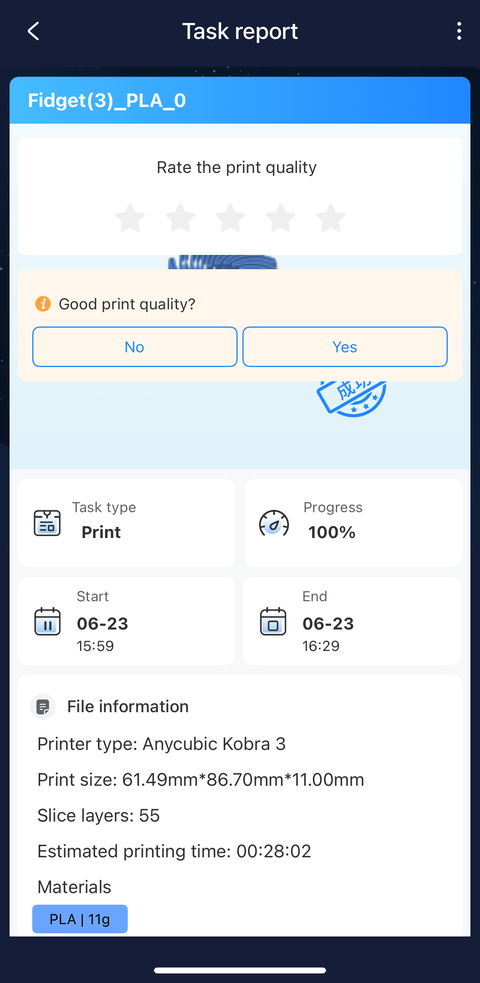
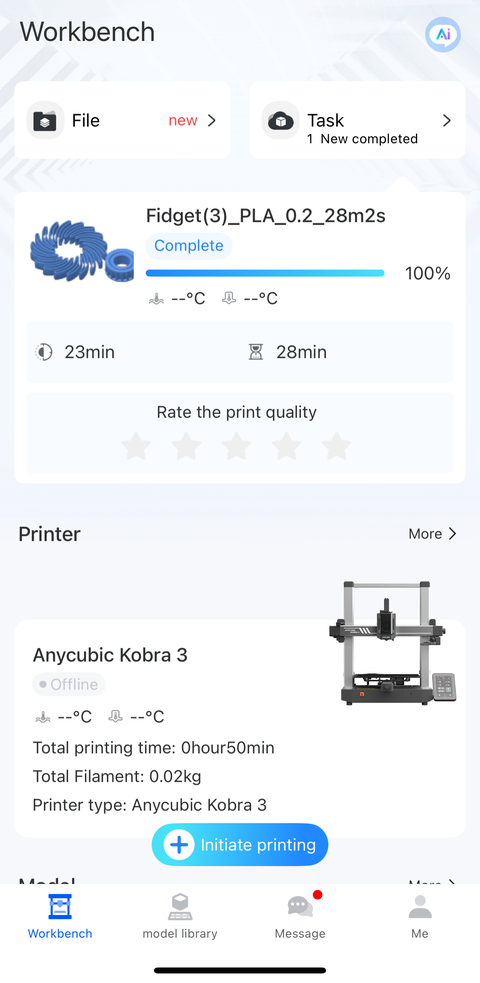
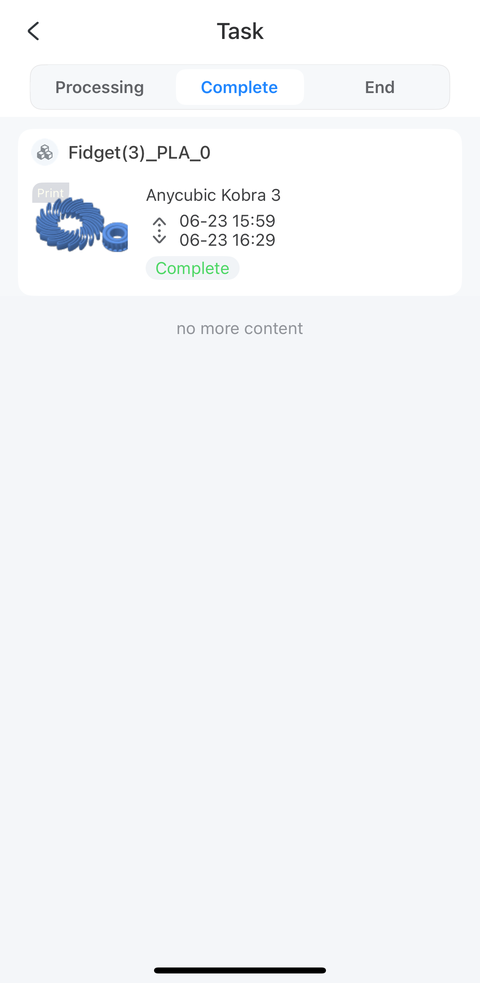
At this point, the remaining question was whether the build platform’s Y-axis was too lose. That could be the cause of the drifting that occurred as the build progressed. I tightened the Y-axis belt tensioner more than what I had initially considered reasonable then printed the model again. This time, the print head appeared to correctly stay within the bounds of the model! The fidget toy was now printed correctly! It was such a relief to know that my unit was functioning correctly and so I didn’t have to start dealing with tech support on a new product.
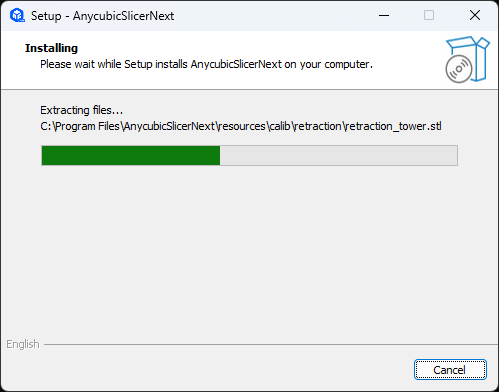
Desktop Software Installation and Usage
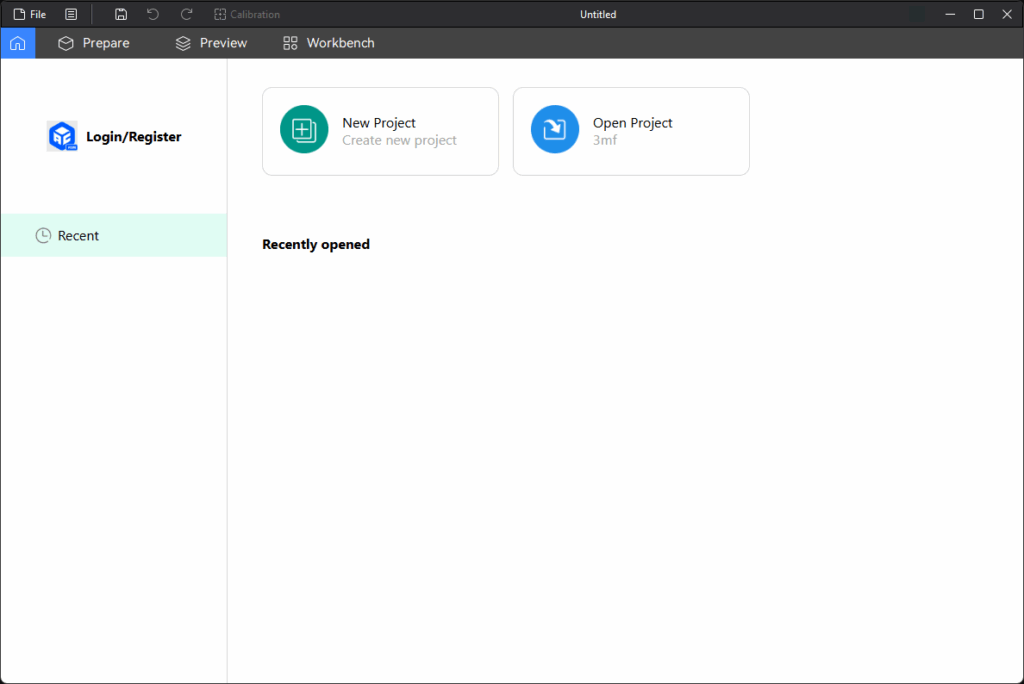
The printer’s accompanying USB stick has the Anycubic Slicer Next installer. I set it up when my initial attempts to connect to the printer on my phone failed.
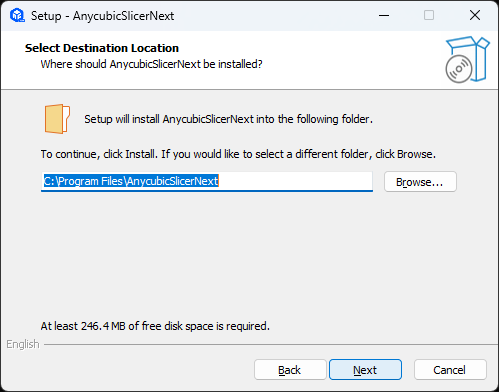
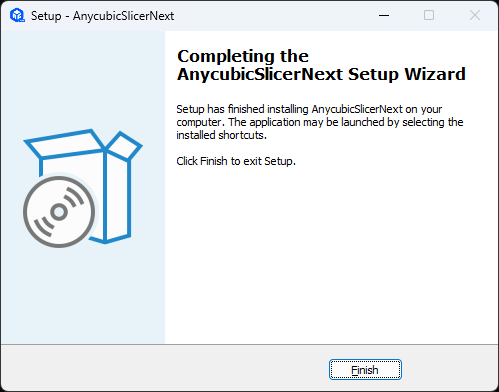
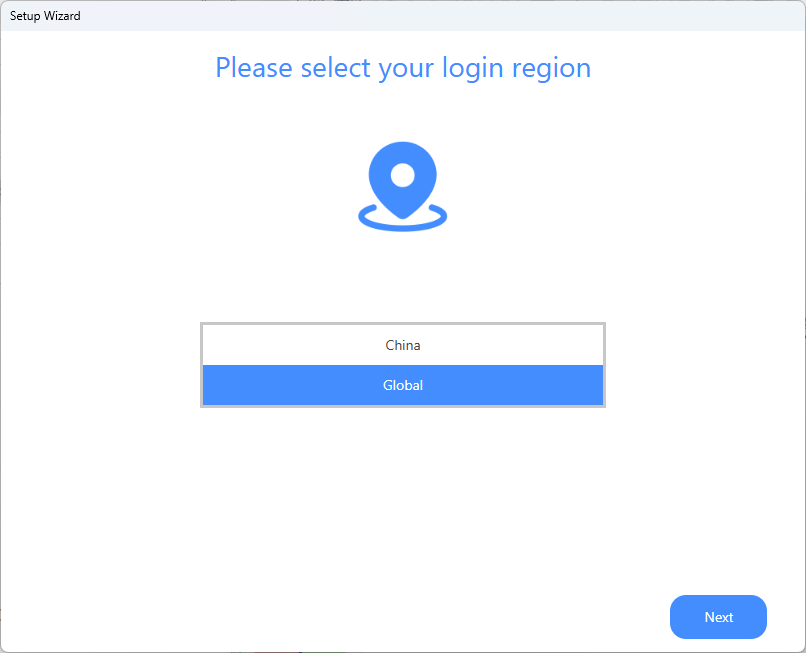
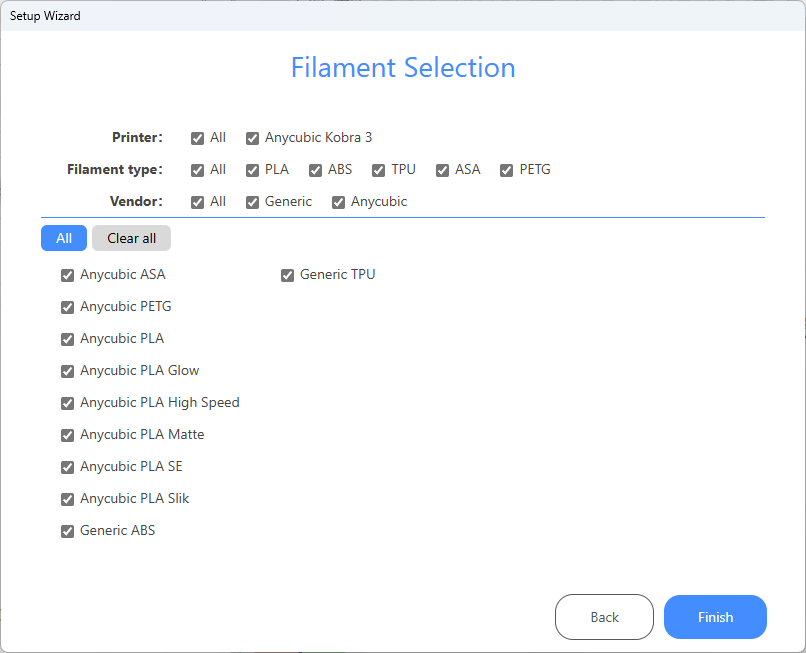
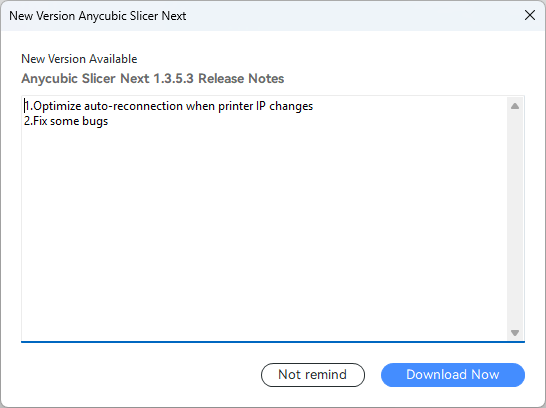
The only change I made in the startup sequence was to disable the other 3D printers. I installed the updates when prompted then logged in after Anycubic Slicer Next loaded.


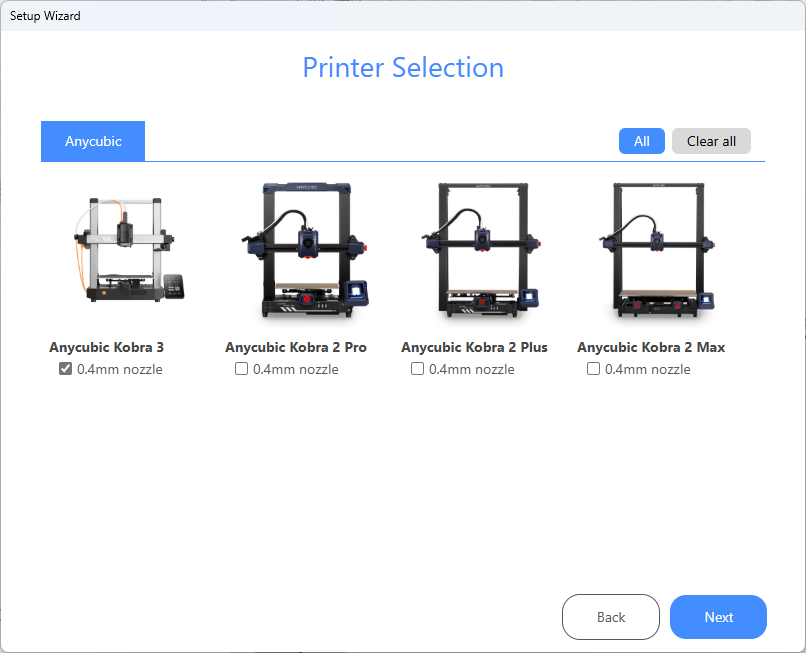
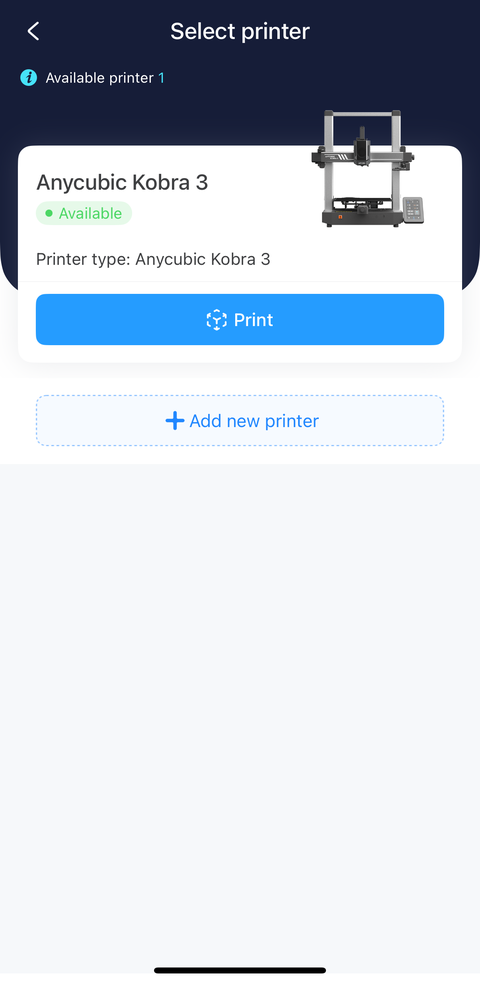
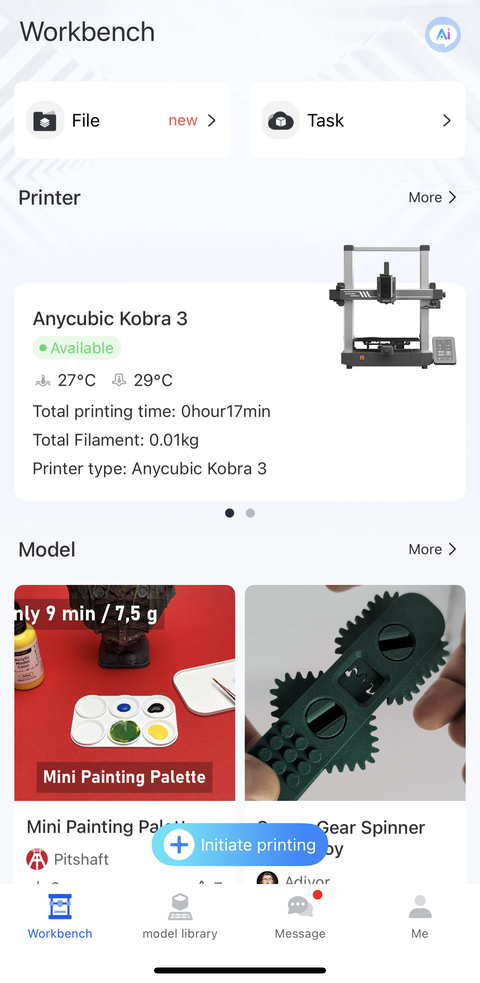
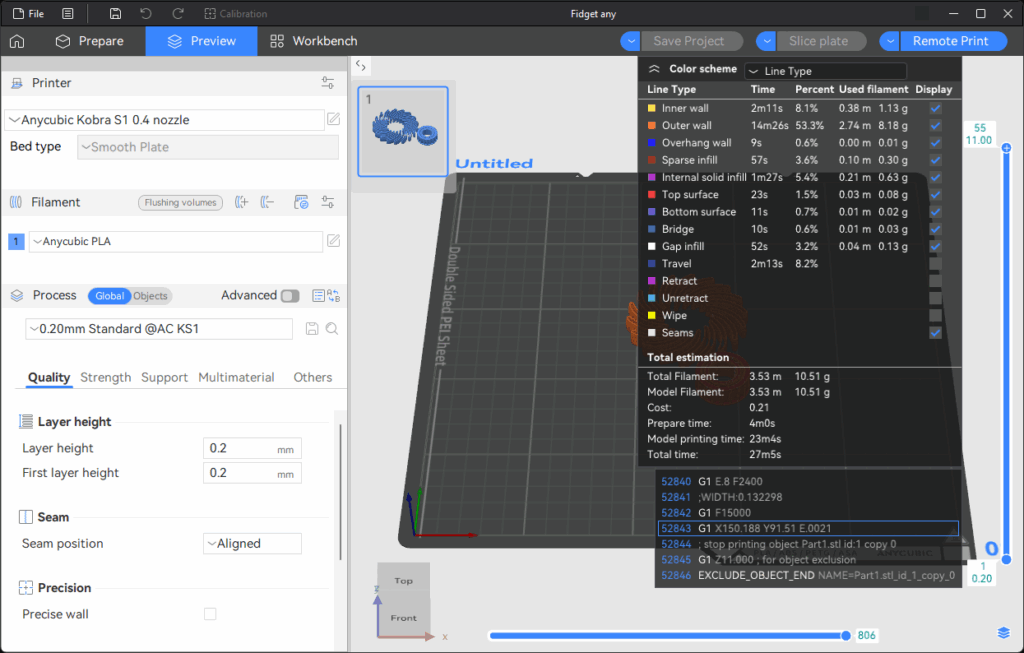
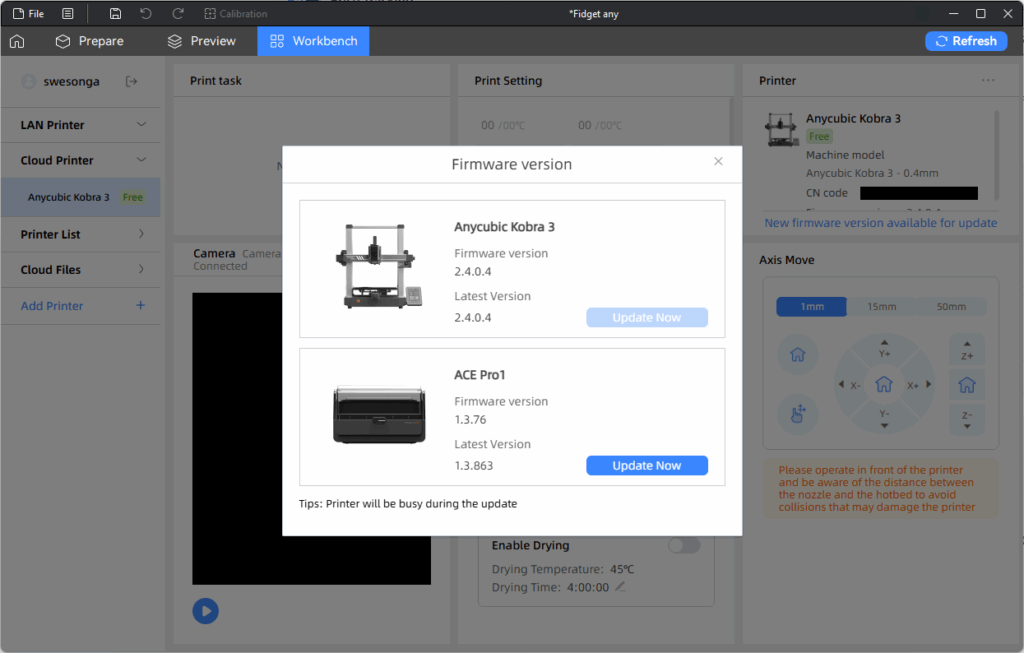
After logging in, I went to the Makeronline tab and found the fidget toy (this was when I had realized that a simpler model would greatly aid my troubleshooting efforts). The firmware updates message on the Workbench page are what prompted me to update the firmware (as phone earlier in the app screenshots from my phone). My first run through this program also had the wrong printer selected. The corresponding error is included in the images below.
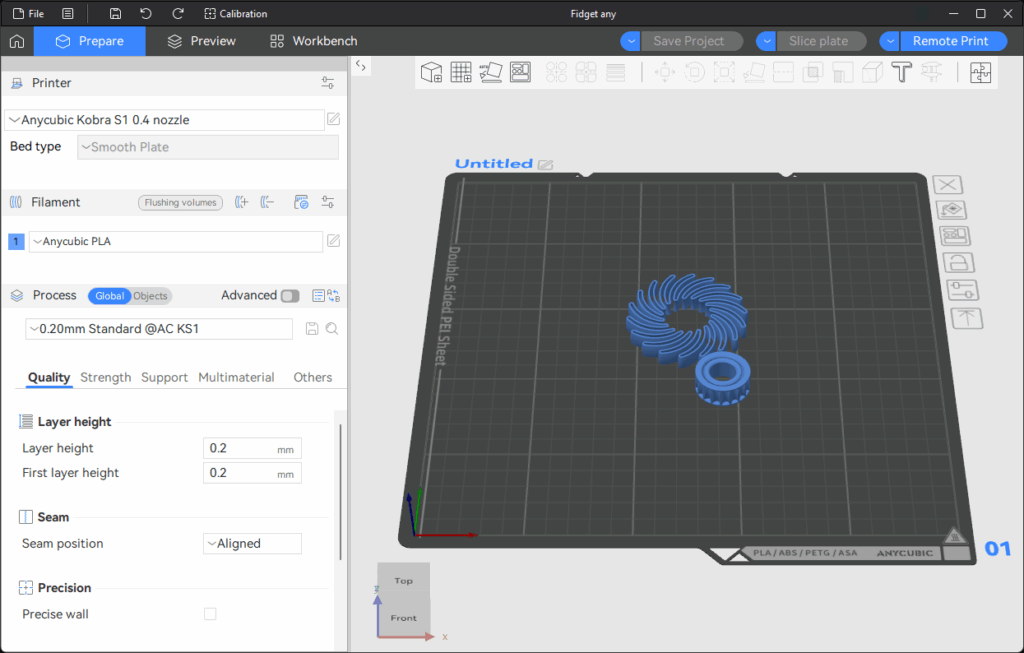
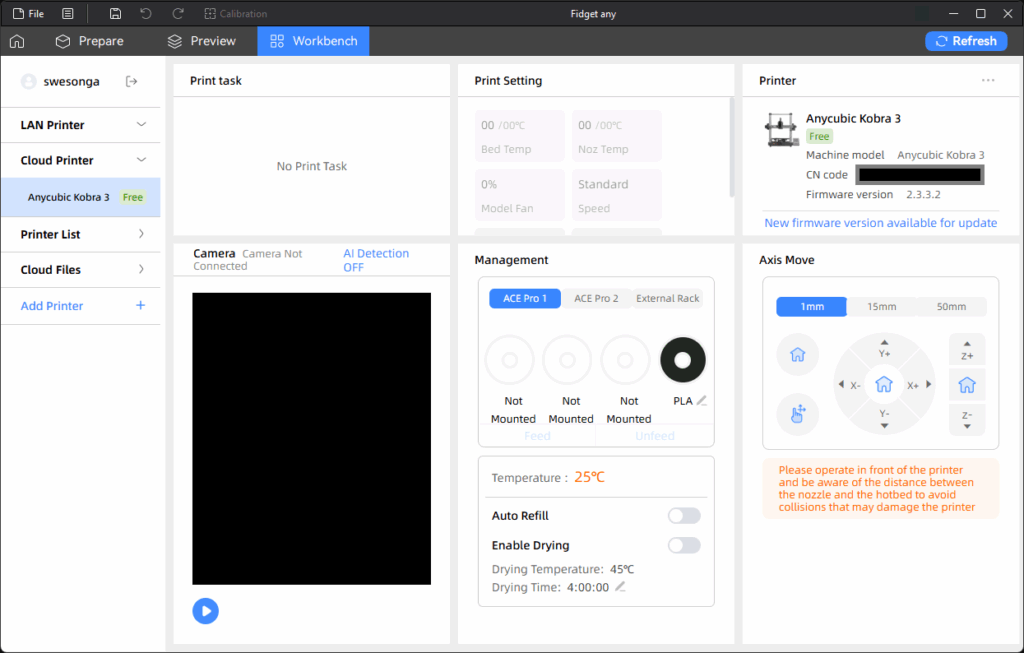
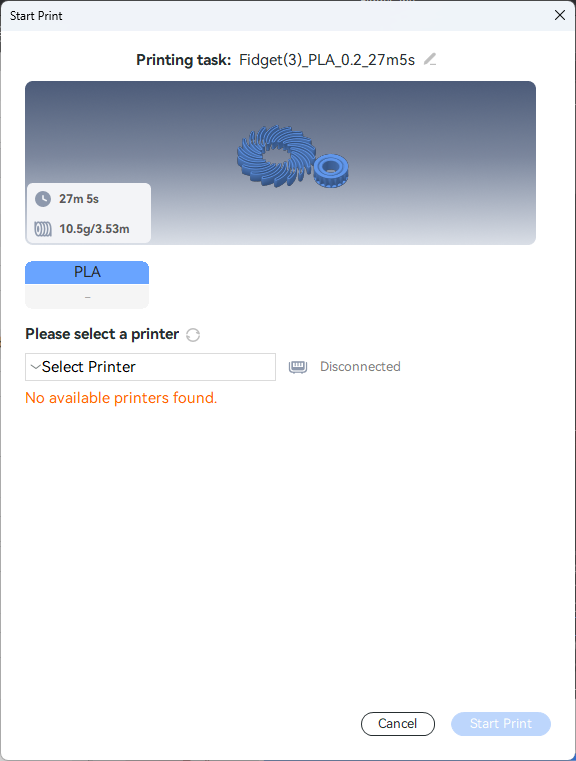
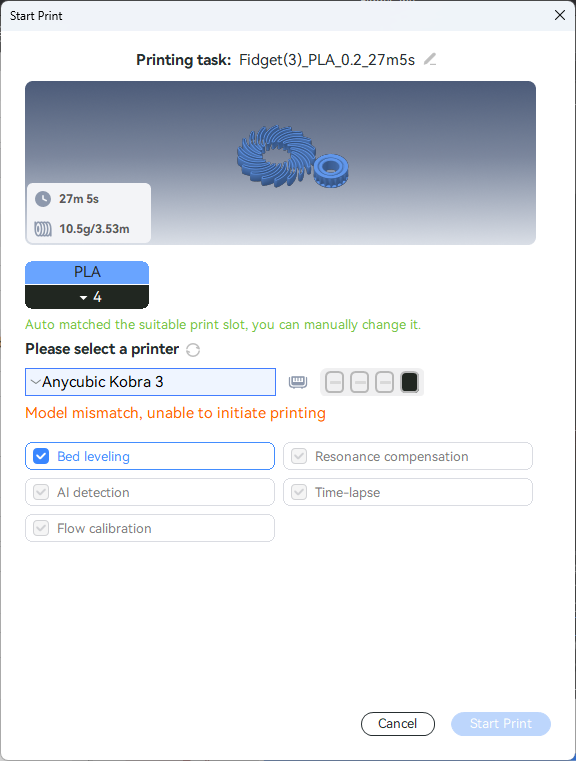
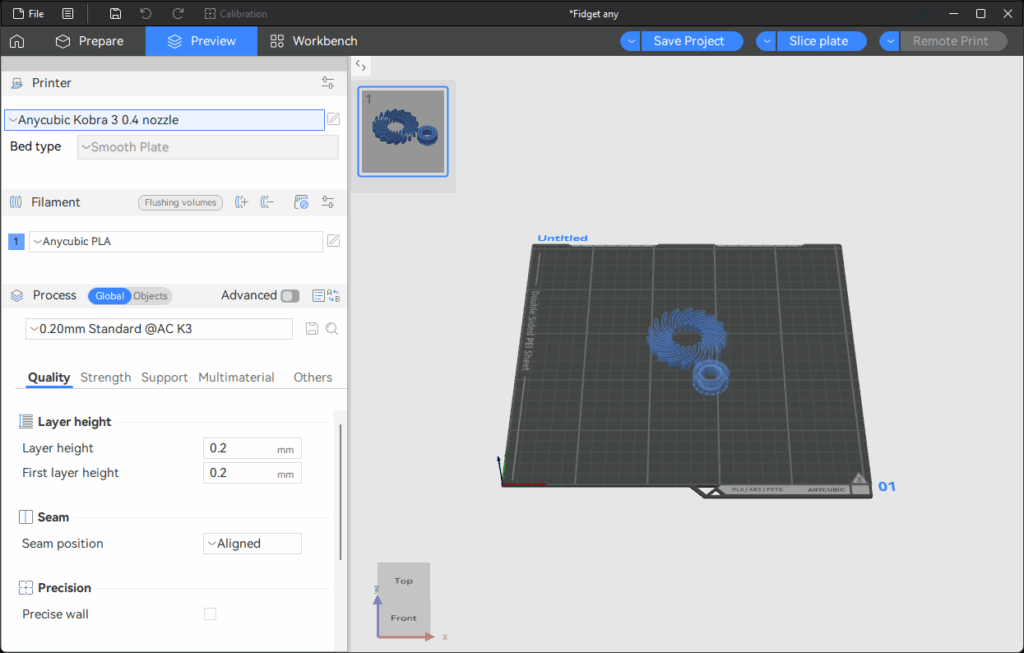
I needed to switch from the Anycubic Kobra S1 0.4 nozzle. Why is this one selected anyway if I only checked mine in the initial startup prompts? Switching to the right printer enabled the print task to start:

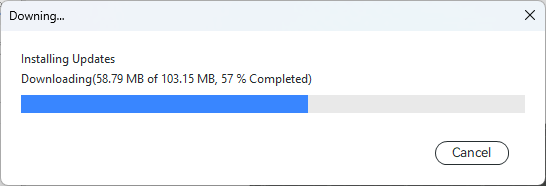
The job started above is the first fidget task I manually ended in the “End” tab of the Tasks page in an earlier screenshot of the app on my phone. After I installed the firmware update using my phone, there was still a “New firmware version available for update” message in the Printer section but it turned out the update was for the ACE Pro this time:

With both devices’ firmware up to date, I started the second attempt of the fidget toy (which failed due to the aforementioned lose Y-axis belt). One error that popped up was this tangled material error alert.
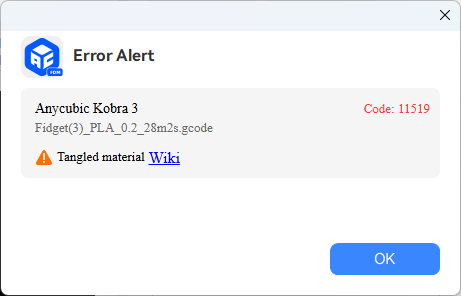
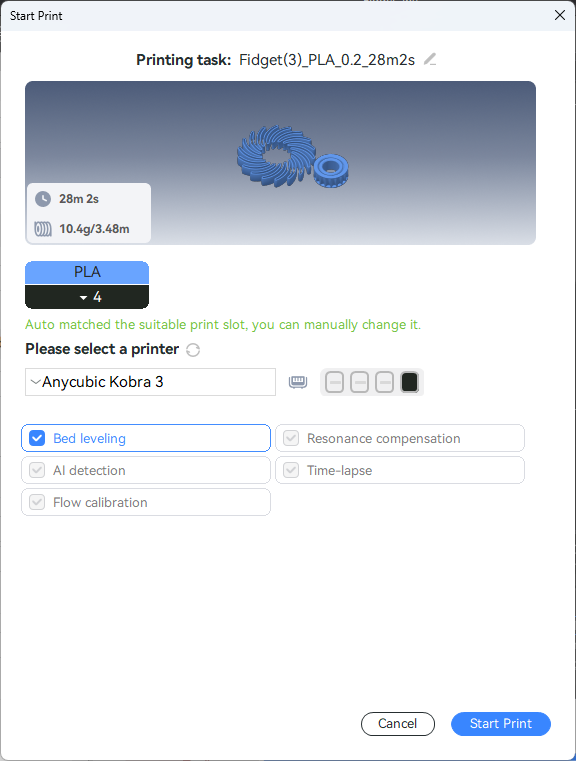
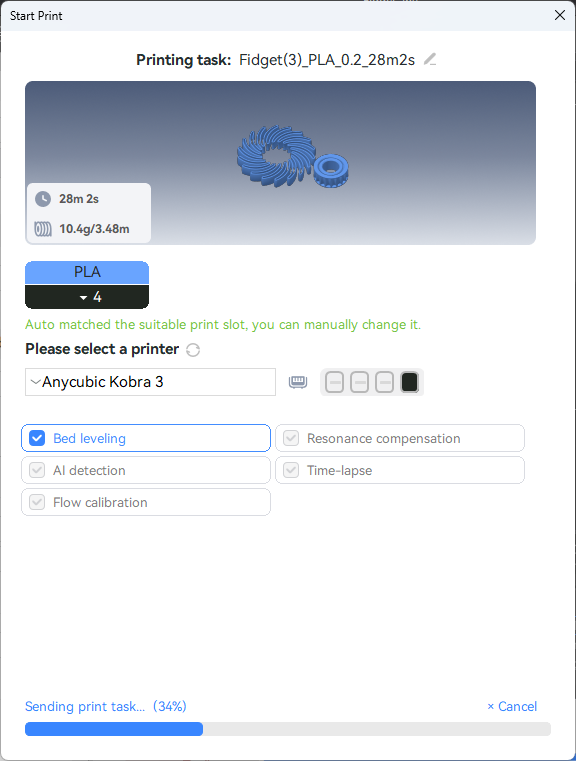
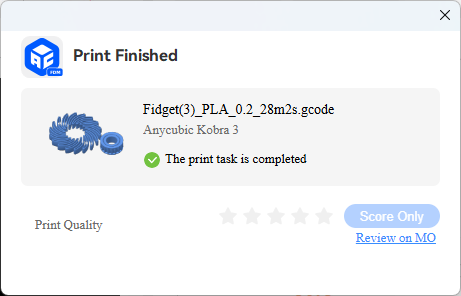
This was when I realized that the orientation of the filament when I loaded it into the ACE (Anycubic Color Engine) was off by 180-degrees around the z-axis. The link is to CODE: 11519 Filament tangle detected, please organize the filament and resume printing | Anycubic Wiki. I re-adjusted the roll and was able to resume printing. The dialog below marked the completion of the final print (after the Y-axis belt was tightened):
Modeling Software Options
Now that I could print models from Makeronline, the remaining key component was the software for creating my own models. I learned that one of the programs people use is Tinkercad, which is a free web app. Having used SolidWorks in the past, I decided to stick with it. I needed to renew my license though, which turned out to be more involved than I expected (see the post on Troubleshooting my SOLIDWORKS 2025 Installation for details). In the midst of troubleshooting those issues, I realized that I could probably use Blender as well! In conclusion, there are many options for modeling software for exploration and 3D printing.
Leave a Reply